Subways, Underground, Tram or anything else Urban shots!

Thank you :-)

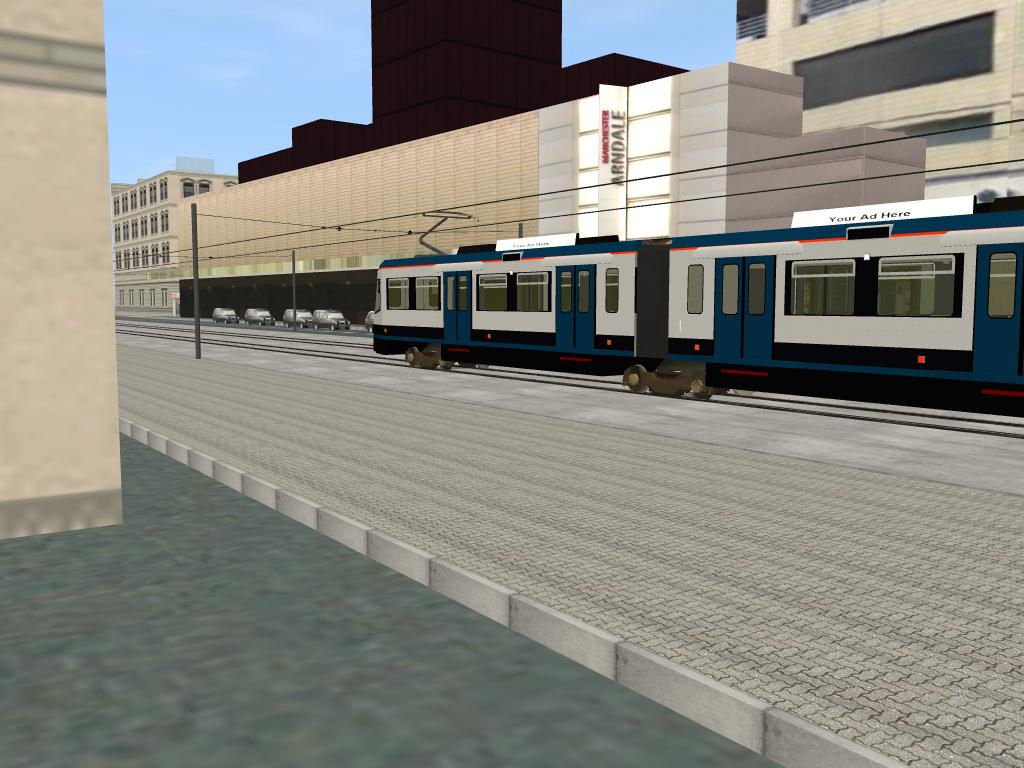
Here comes two other screens from my improved Municipal Transit Railway.
Now there are new cars parked beside the streets and the tram tracks have been replaced by using my new assets.


:D

Your's TUME
tume, I noticed another mistake on the CLRV. There is no destination sign over the rear door. By the way, are you creating an L1 or L2 CLRV?
 
tume, I noticed another mistake on the CLRV. There is no destination sign over the rear door. By the way, are you creating an L1 or L2 CLRV?

Hallo,

thanks a lot! I have recognized this one before but did not substitute the texture jet. Still the plane behind the back door destination window wears the destination texture like the others. Next time if I got the CLRV gmax files open I will change it.
I am not sure what the L1 and L2 looks like. This must be the new LRT generation. I want to develop the CLRV gmax files further to a ACLRV, which should not be such a big deal. But I don’t plan to do other cars right now. Still I will have to solve the script problem to get the interior textures self illuminated during the night if the head light has been switched on. Also I need to record motor sounds from TATRA PCCs at my hometown to work out the engine sound for all of my trams as realistic as possible. That’s the main reason I did not release the streetcars jet. Also I will have to get an arrangement with the original mesh creator of the CLRVs. I did not work from scratch as I used a preliminary mesh file but had to do a lot of improvements.

Your’s TUME
 
An L2 CLRV looks like this: http://www.transitstop.net/TTC Vehicles/clrv/4156 Interior.jpg
An L1 CLRV has red seat backs and the wood paneling is red.
If you need any help with the cars, I can hellp as I ride them every day.

Oh I see L1 and L2 just means two different versions of the CLRV - not a new generation of streetcars at all. If you have a look back into pages 50 and 51 at this thread, you see that my interior looks like L1. But if its just a matter of changing seat and wall textures I could make the L2s too. As described I still have to solve the self illumination of the inside texture depending on the headlight to create a nice interior light for all of my cars. Also the enginesound has to be done. In addition to this, I am working to redesign the texture arrangement of the windows and the window frames - even for the doors. Now the windows are just textured by a grey texture including opacity texture to make it partly transparent. Now I have now control where the pixels of the window and the frame textures are situated. But I need this to be able to put the very nice looking "fat free mobility is here" adverts onto the car sides. And this big adverts also includes windows and frames - not just the wall itself.


TVB_StreetCar_1.jpg


I just like this kind of yellow and its not too hard to create a texture from it. But I need to place it in position even at the windows and therefore I have something to get done.
The windows and the frames (including the doors) will have to be attached within the side walls into one pice of mesh in gmax. Than the texture can be placed in position. After that the mesh for the window, the frames and the doors needs to get separated again. The texture will stay in position. After that, I will have to make the windows partly transparent again. So there is a lot of work to do and I hope it can be done that way.

Do you have any information when the Sheppard East LRT will be completed and which cars they will run at it?
I noticed there was a big deal of discussion about building a LRT or a subway line. It seems to me that the Mayor of Toronto Robert Ford just hates LRT and streetcars and I hope some of the plans for Transit City will come back to life.

Your's TUME

:)
 
Oh I see L1 and L2 just means two different versions of the CLRV - not a new generation of streetcars at all. If you have a look back into pages 50 and 51 at this thread, you see that my interior looks like L1. But if its just a matter of changing seat and wall textures I could make the L2s too. As described I still have to solve the self illumination of the inside texture depending on the headlight to create a nice interior light for all of my cars. Also the enginesound has to be done. In addition to this, I am working to redesign the texture arrangement of the windows and the window frames - even for the doors. Now the windows are just textured by a grey texture including opacity texture to make it partly transparent. Now I have now control where the pixels of the window and the frame textures are situated. But I need this to be able to put the very nice looking "fat free mobility is here" adverts onto the car sides. And this big adverts also includes windows and frames - not just the wall itself.


I just like this kind of yellow and its not too hard to create a texture from it. But I need to place it in position even at the windows and therefore I have something to get done.
The windows and the frames (including the doors) will have to be attached within the side walls into one pice of mesh in gmax. Than the texture can be placed in position. After that the mesh for the window, the frames and the doors needs to get separated again. The texture will stay in position. After that, I will have to make the windows partly transparent again. So there is a lot of work to do and I hope it can be done that way.

Do you have any information when the Sheppard East LRT will be completed and which cars they will run at it?
I noticed there was a big deal of discussion about building a LRT or a subway line. It seems to me that the Mayor of Toronto Robert Ford just hates LRT and streetcars and I hope some of the plans for Transit City will come back to life.

Your's TUME

:)

Your streetcar actually looks like an L2 CLRV
This is the interior of an L1: http://cptdb.ca/wiki/images/thumb/7...oronto_Transit_Commission_4004_interior-a.jpg
 
Last edited:
Need more pictures:


hert:wave:

Hallo,

is that in Trainz??
I ask because it does not really look like it. Also the automated car traffic seems to turn its front wheels while going through a curve.
There is a SF simulator about cable cars, streetcars and busses available in stores here in Germany. But I never got it. Perhaps your screen comes from that.
If it’s Trains than I apologies that I did not recognize it.

By the way, If you want to do something on a SF layout, I could do some improvements to my buildings that I created for my Municipal Transit Railway (more versions – more details like 3d fire stairs – more wooden houses – season change) if appreciated.
Only it will be a slow process as still the Milwaukee Road is my main project and spear time always low. :'(

I am also still working at my SF PCCs. I could get forward to release it, just the script for light illumination of the internal textures – to light up the internal car best depending on the headlight state – drives me crazy. I have got samples, but as I am not a specialist in scripting, I could not get it working right now. The Tram NF10 Silver used a script to light the internal car depending on the daytime. Therefore the internal light of every tram was switched on during night – even if the tram used to be parked in the depot. Therefore it would be better to get such an illumination depending onto the headlight state. Unfortunately the script used at the NF10 Tram does not work in TS12 anymore – I don’t know why.


:D

Your’s TUME :wave:
 
Yes the screenshot comes from Bus and Cable car Simulator. Which I got from the N3V store. Its a real fun game driving throughout SF in trams, buses and cable cars. I do know that there is already a San Francisco route on the DLS if I ever wanted to updated it. Love your content Tume so keep on Trainzing.

hert:wave:
 
tubetracki.jpg


The improved tube track, with the latest conductor rails, is coming soon, but I need to know first which type of material I need to use for a normal bump in 3ds Max 2012:

Bitmap or Normal Bump?

I mean, when this Material/Map Browser pops up, there is plenty of types of material, but I am not sure which of the two would work in Trainz.
 
An excellent screenie 321/Antje ....may I ask why not just try both? I have no experience here, but I always find trial and error works (just remember to back up the project before you choose on of these objects). Or is this way too complicated to try twice?
Eric :)
 
The improved tube track, with the latest conductor rails, is coming soon, but I need to know first which type of material I need to use for a normal bump in 3ds Max 2012:

Bitmap or Normal Bump?

I mean, when this Material/Map Browser pops up, there is plenty of types of material, but I am not sure which of the two would work in Trainz.

Hallo,
you already created a very nice looking track!
Although you may should better ask such questions in content creation not in screenshots, I will try to provide some help. :)

At first, you need to use tga format for all of your textures. I use GIMP to create my textures. There you also can add a tool for normal map generation.
Here you can find a helpful tutorial to create normal maps for your textures:
http://en.wikibooks.org/wiki/Trainz/Tutorial_for_Normal_mapping_(TRS2009)

There you also will find the required download links to get GIMP and the needed normal map tool running at your PC. The tutorial includes a description how to work out a nice normal map from your textures. But in case of your track textures you don’t need to do all the described steps.
Just make a copy of each of your textures and remove the color making it black and white. After that you open the filter menu looking for normal maps. Open the filter window and play around with the values. The tutorials includes a screen of the normal map creation window – it’s the third screen from the bottom up.

GIMP provides powerful texture creation. But just for your track textures you also could use a short cut to get normal maps from your textures.
Just download the PEV texture_viewer from (called “Images2TGA”):
http://www.members.optusnet.com.au/villaump/pevsoft.htm
Open one of your textures using Images2TGA. You should find a tool named “create normal map” just click onto the button and you will get a normal map indicated at the Images2TGA window. Save it as “name_normal.tga” e.g. “gravel_normal.tga”: You don’t need to attach the _normal, its just for you to find the file later on more easy.
The Images2TGA does not create high end normal maps as you would get with Gimp. Mostly you will have to change the textures like described at the “Tutorial_for_Normal_mapping_(TRS2009)” to get nice results. But just for track the quality should be fit in.

Hope this will help to get the normal maps as needed.

Now the gmax or 3ds part.
Just download the content creation guide from:
http://rapidlibrary.com/files/content-creators-guide-tc-pdf_ul8tzrqrzti89on.html

Get to page 350 and start to read. There you also find something about normal map creation using some tools from Nvidia. But you don’t need that as you have got the bump maps using another way.
The most important page for you is page 354. There you find the material settings. For your track you don’t need a gloss effect and you also don’t need an alpha or opacity effect. Best you go for the straight bump map material using the name syntax: name.m.tbumptex
Don’t misspell the “.m.tbumptex” behind the name or trainz will not be able to deal with it!
Click into the Ambient and Diffuse setting to adjust it. The tutorial says “White” which means a number of 255. I have got best experiences using 231 for it. Set the Specular to 0 for the gravel texture so there will be no reflection at it. Set the Specular to 30 for the track textures and you will get a little reflection onto it – only visible in trainz. Best you play around with it to learn how to use these settings and which results it brings up.
Save often and eventually you need to export the mesh like usual.

I hope this will help you out.
Keep on working at your nice creations.

Your’s TUME :wave:
 
The CTA system are compatible with TRS2006?and,Where i can found this system?

Hola ToniCrown

Tengo razones para creer que el sistema de transporte se muestra en la imagen no está disponible para TRS2006. Si usted tiene una versión más reciente de Trainz (2009 +), entonces puede conseguirla.El diseño es en la estación de descarga para Trainz, búsqueda de sniper297 bajo la Categoría rutas y usted debe encontrar.

Disculpen mi español, ya que se está haciendo a través de traductor Google.

Saludos

Johan

Hello ToniCrown

I have reason to believe that the transport system shown in the picture is unavailable for TRS2006. If you have a more recent version of Trainz (2009+) then it is avaliable. The layout is on the Download station for Trainz, search for sniper297 under the routs categorie and you should find it.


Excuse my spanish as this is being done through google translate.

Regards

Johan
 
No problem Johan. I can speak both English and Spanish, as im from Spain :p

In Spanish

ToniCrown. Lo que quiere decir el amigo Johan. Es que el autor, Sniper297, un conocido de estos foros. Ha creado el material para el TS2009 y superiores. Por lio que dificilmente lo encontraras para TS2006 o el TClassics. Aun asi, si lo que quieres son tuneles y estaciones subterraneas, en la DLS hay cantidad de ellas. Ademas del Pack del Metro de Barcelona disponible en IberTrainz. Si no trata de hablar con Sniper297, yo te puedo ayudar con la traduccion del mensaje, y preguntarle acerca de que build usa el contenido que deseas tener

Un saludo

Nd Greetings
 
Last edited:
Back
Top