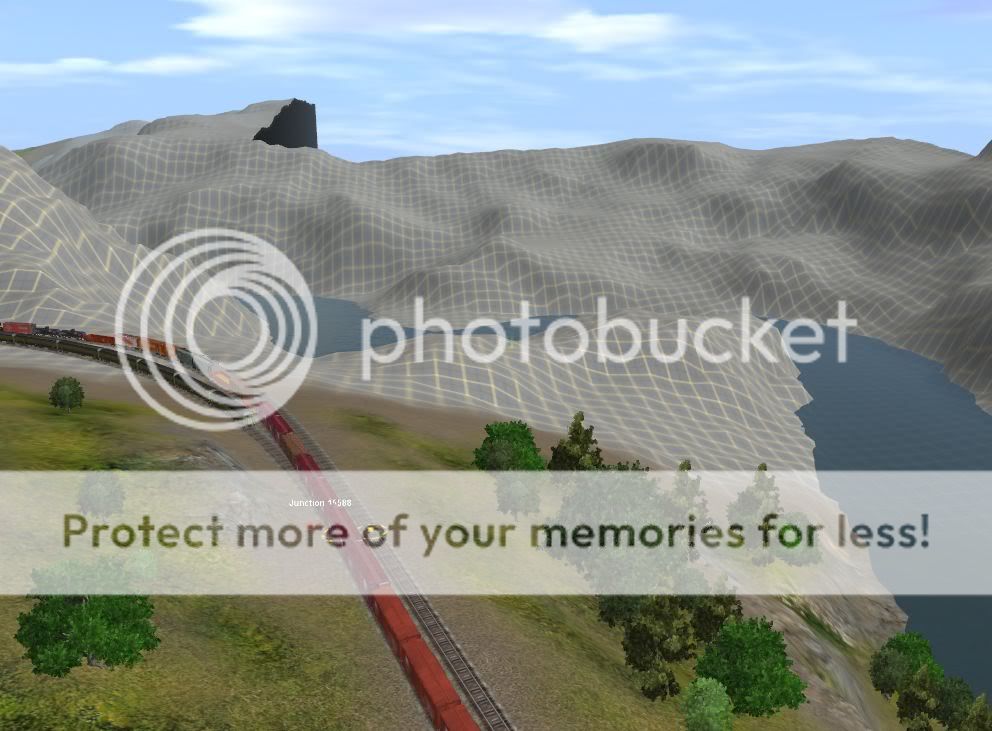
Finally, we reach summit (214m above Wyefield Junction).
This is the second attempt at creating a track layout I like. It may still change a bit, so I'm going to hold off on landscaping the area for a while.
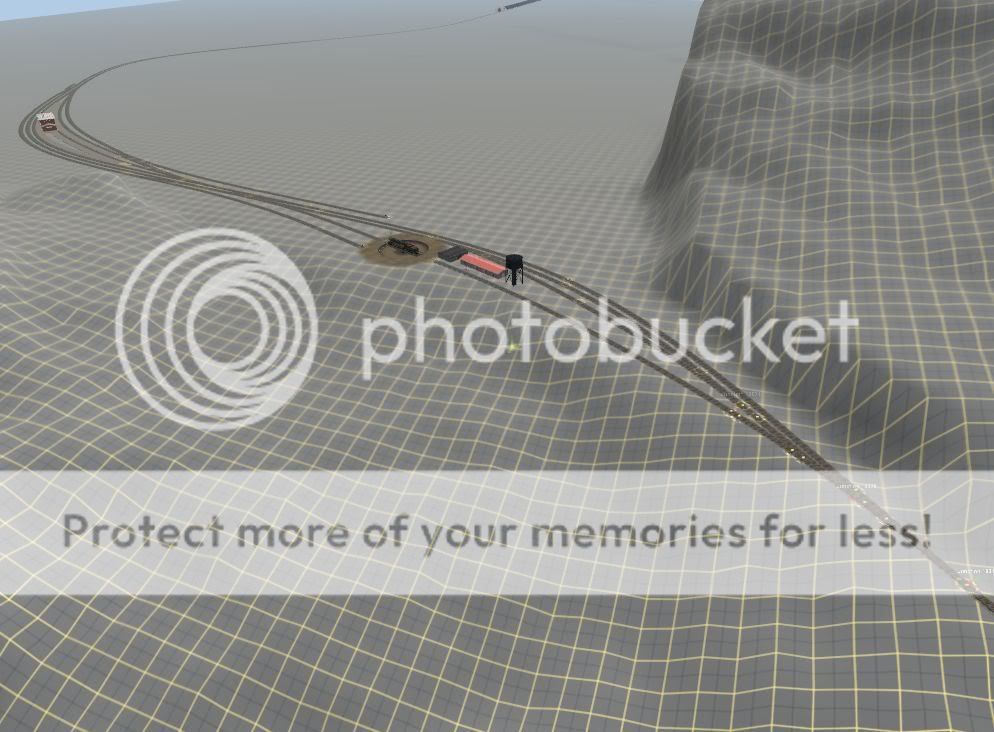
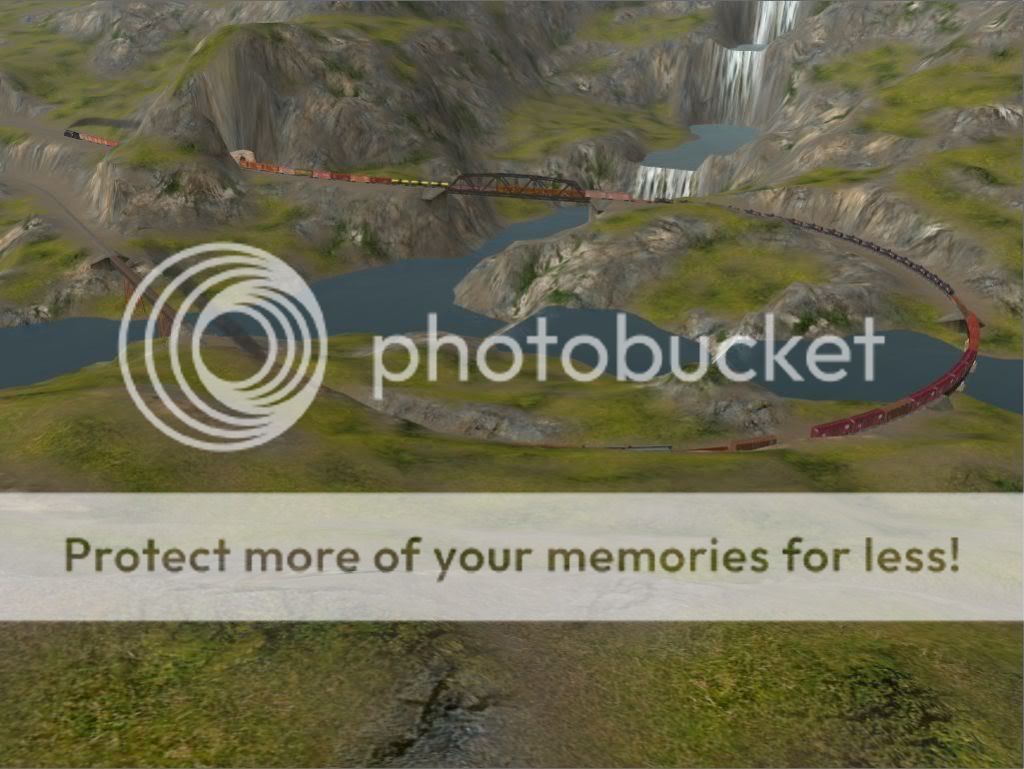
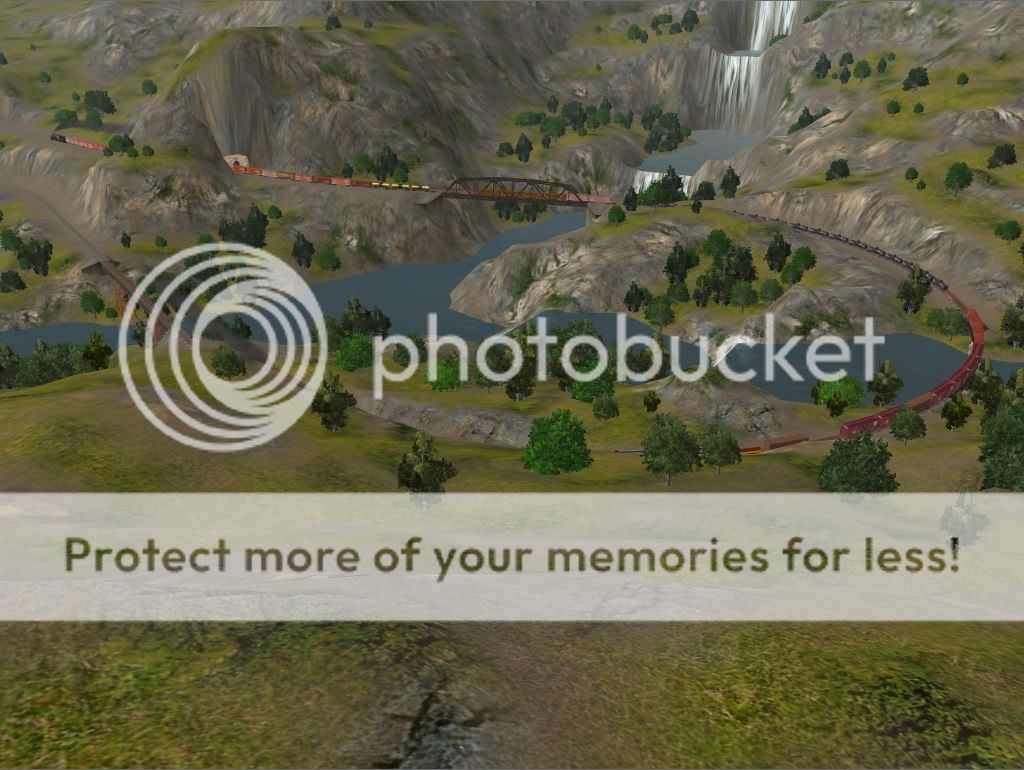
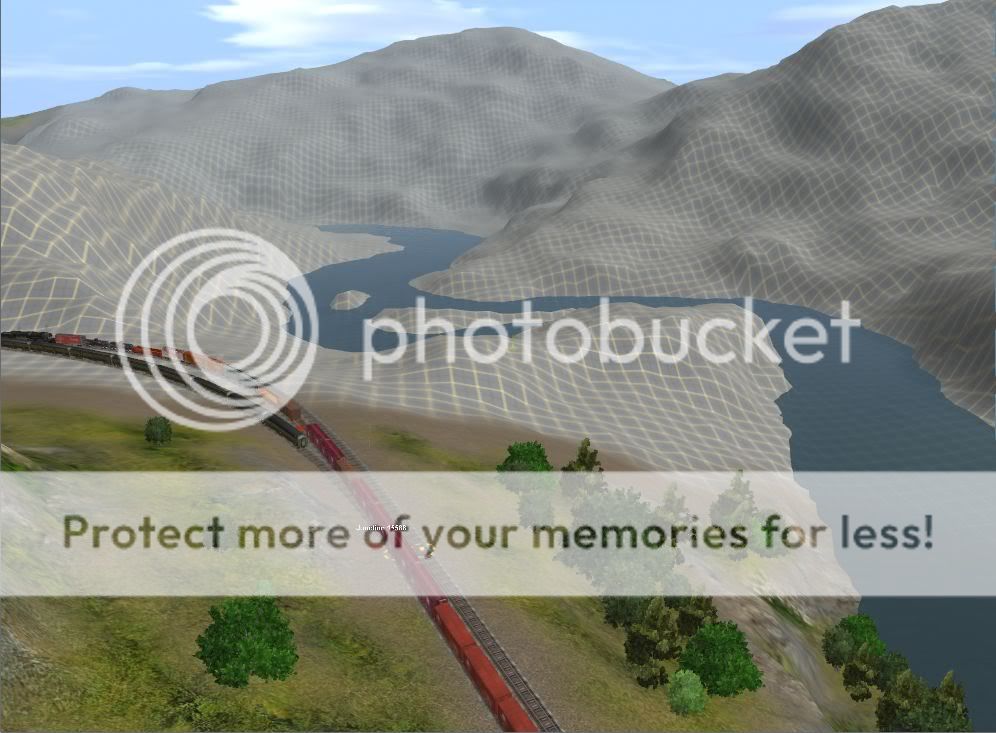
81) Here is an overall view of Summit as it stands at the moment. Beyond the long tunnel in the distance, the route will end in a staging yard until I decide to start on phase III. The short loop just behind the water tower allows helper locomotives to run round the caboose (necessary if the railroad's operating rules require helpers to be ahead if it). The turntable exit track has plenty of room to stack up at least 4 helpers until there is a convenient path for them to return down the mountain. I'm assuming that this is a good place for passenger trains without dining cars to stop for meals, thus the extra trackage behind the passenger station. I'm not sure what else I might add here yet (suggestions will be welcome).
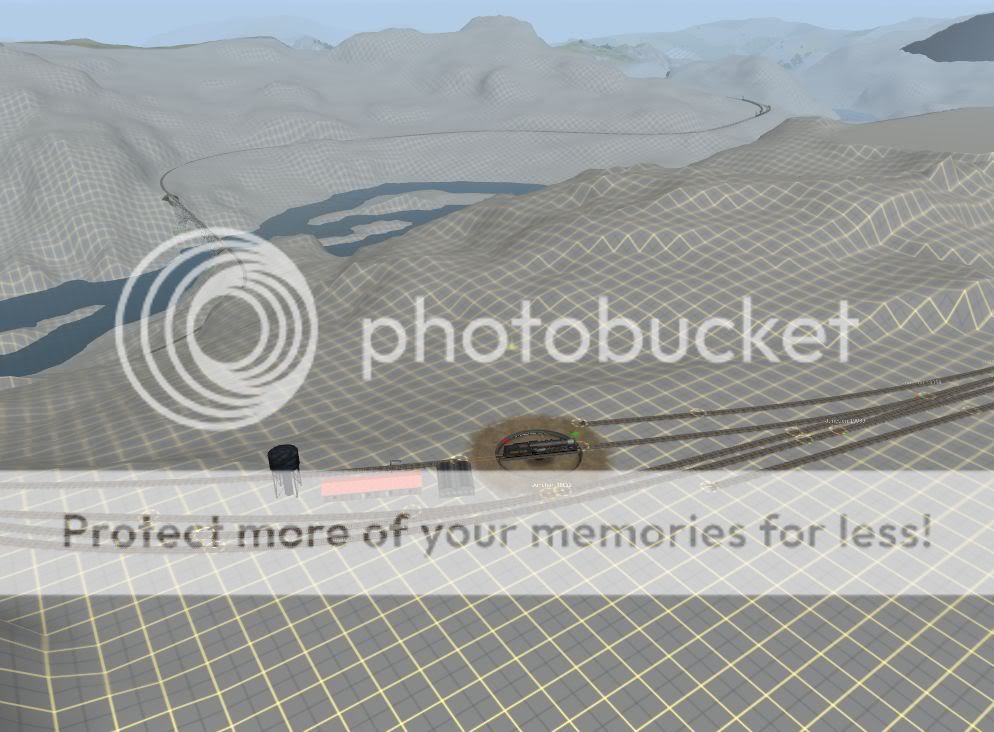
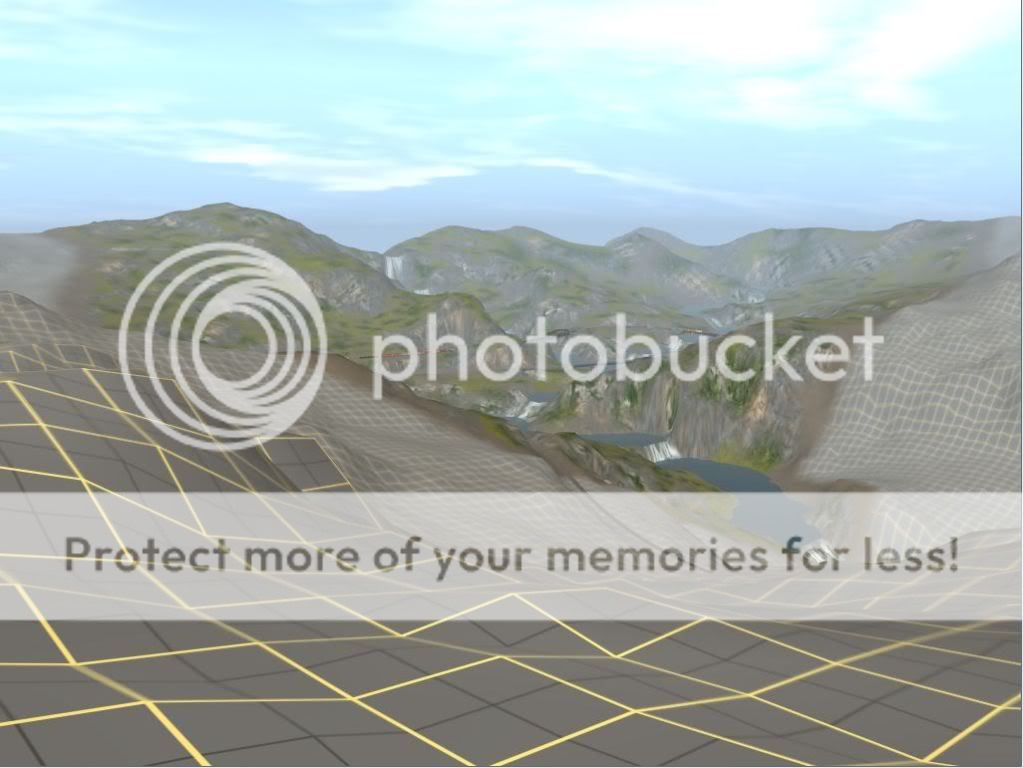
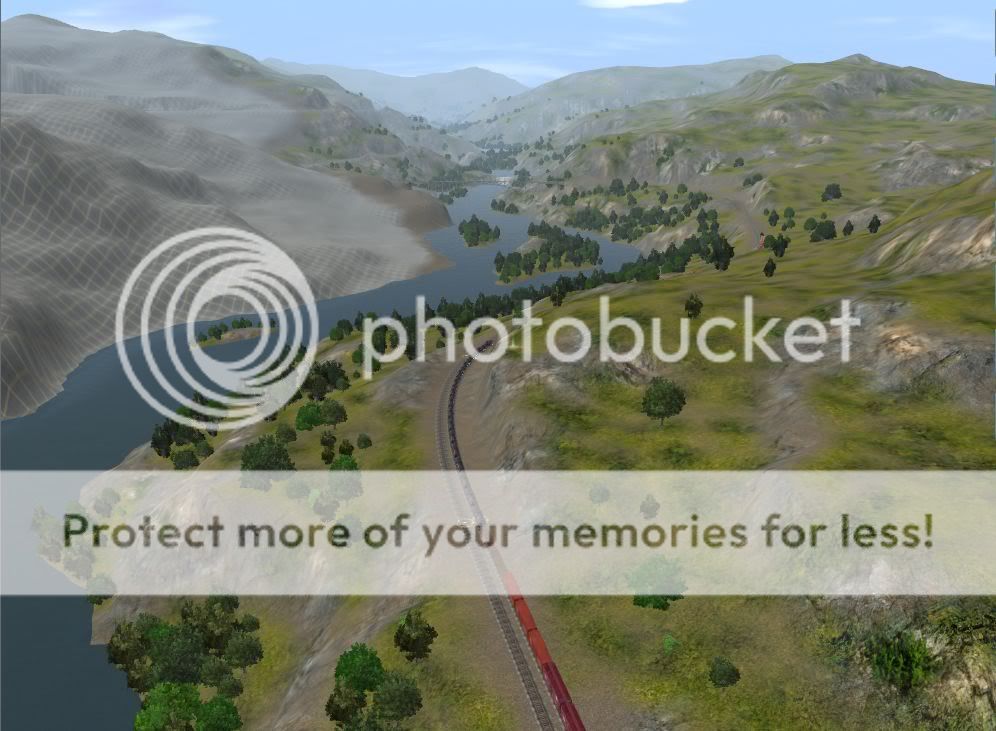
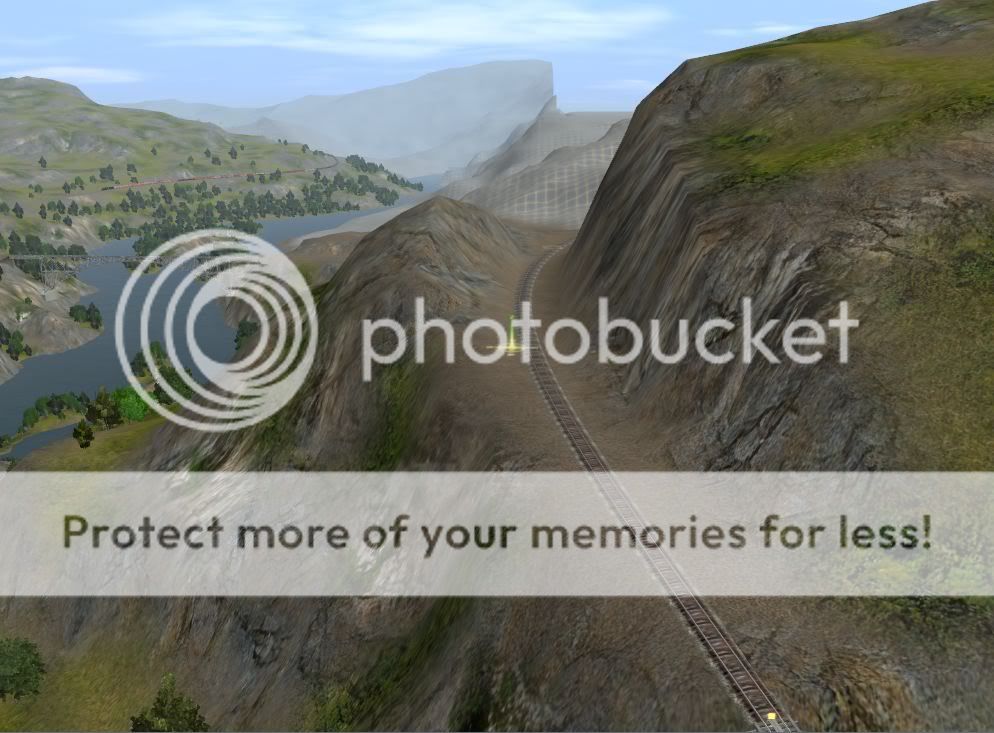
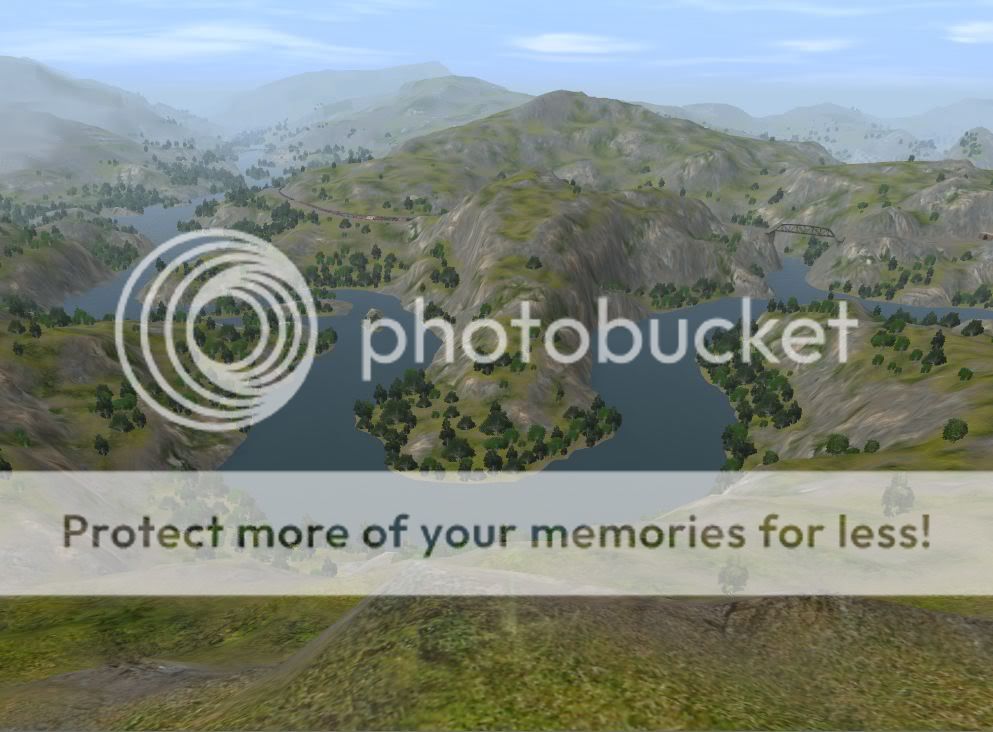
82) Here's a view looking down the hill from Summit, back towards Ridgeway (which is only a mile away as the crow flies, but much further by rail). I think I need an extra baseboard at top right where the edge is rather obvious.
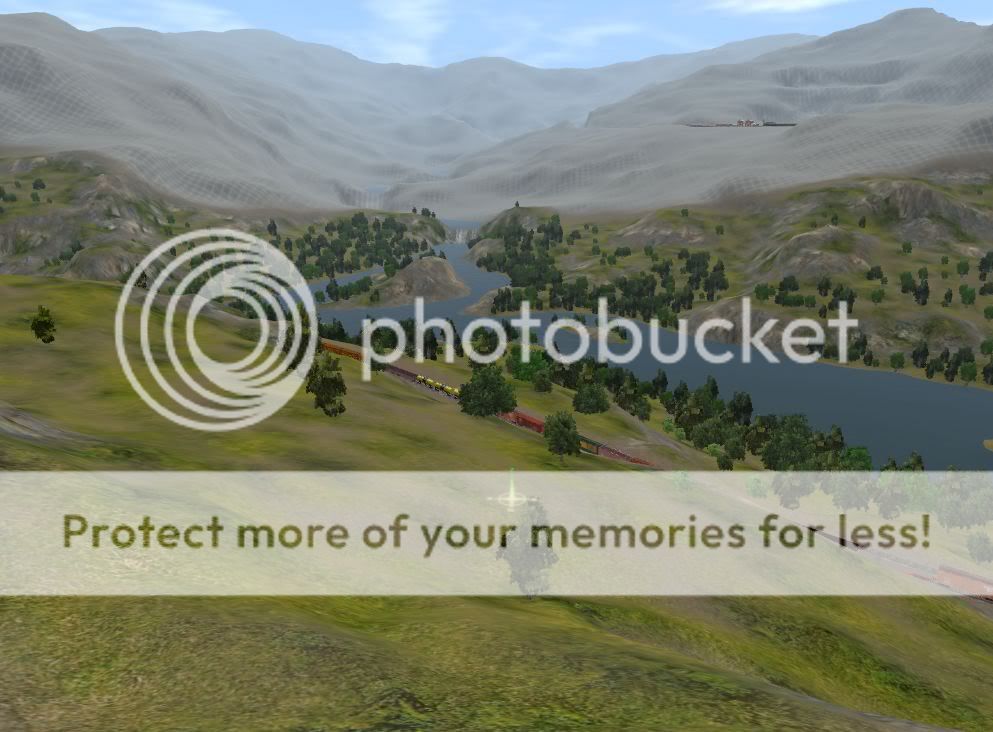
83) Here's a minimap of the area, showing the route from Ridgeway (E) to Summit (S).
Just for interest, I measured the main line.
Milepost 0 is east end of the yard lead at Wyefield. Distances are approximate.
Wyefield yard limits: 1 1/2
South Wyefield widget works: 2 1/2
Helper Junction (depot): 7
Ridgeway (depot): 12
Summit (depot): 18
North portal of summit tunnel: 18 2/3