Install the app
How to install the app on iOS
Follow along with the video below to see how to install our site as a web app on your home screen.
Note: This feature may not be available in some browsers.
You are using an out of date browser. It may not display this or other websites correctly.
You should upgrade or use an alternative browser.
You should upgrade or use an alternative browser.
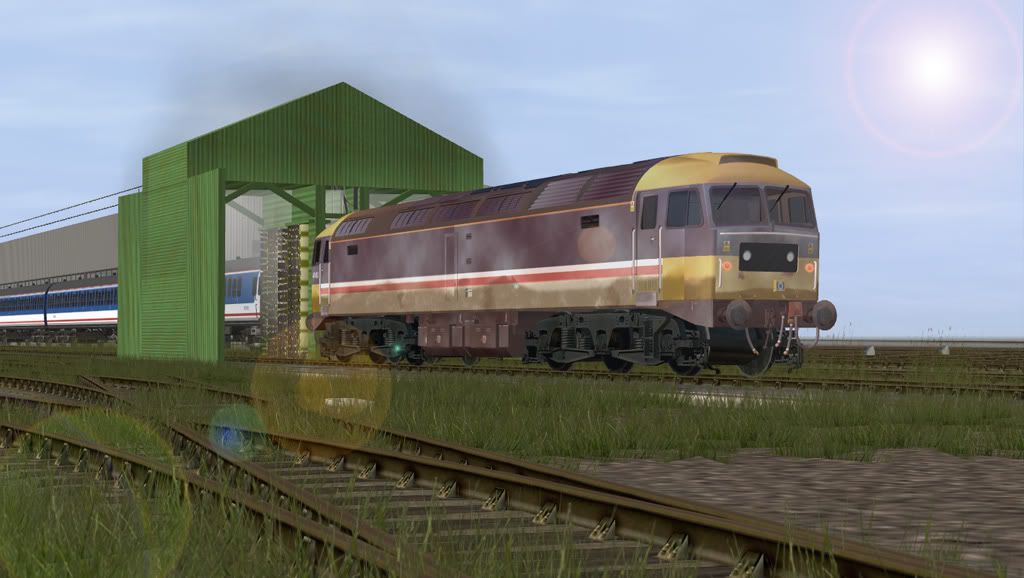
Photo-Shopped Shots
- Thread starter Wiley4
- Start date

trackplate
New member
Nice shot Wiley

Trust you don’t get loads of waffle
Trust you don’t get loads of waffle


trackplate
New member

Ah, a thread that's right up my street ")
The size of the images is such that I've had add them here as links to stay within the forums CoC.
I think, of the two, the first one is probably my favourite...
http://i116.photobucket.com/albums/o22/the_way_back/TRS Screenshots/Misty117.jpg
http://i116.photobucket.com/albums/o22/the_way_back/TRS Screenshots/31015bw.jpg
atsfrr3000
New member
Looking good guys, I like the "raindrops" pommie, nice touch.
Cheers
Wiley
The raindrops are actually a real-time feature on one of the available Weather rules, I believe the rule was made by Smileyman. When it starts to rain small drops appear on the screen and slide off, and there's more the harder it rains.
Not necessarily realistic or super-artistic, but just one of those "for fun" things that makes an operating session more fun.
-Chris (tm)
trackplate
New member

Gangsta_Boi
Local Line Lunatic
Electra, how did you achieve the fog effect and blur effect on your first screenie ?
Thanks,
Gangsta_Boi
Thanks,
Gangsta_Boi


(big pics: 1000x750 pixel max)
I'll throw in a couple fun manipulated pictures. (You can click on them to see the full-size version.) ...
First, one that I set my hot coffee mug on.

[If you're curious, you can view the original picture.]
And then a mysterious train that rides lonely Appalachian rails every Beltane Eve ...

- Madeline
titaniclover
TS2010EE SP3; Build 49933
WHOA!!!!!
Madeline! how and what asre you using to do these pics!!?
Madeline! how and what asre you using to do these pics!!?
titaniclover
TS2010EE SP3; Build 49933
first off....Madline how did yuou do that and with what program second.
i have a photoshoped well shots.
sometimes we forget things that live in infamy sometimes starts to fade.

other times are memory will never forget disasters that happened.

if anyone wants to know....the first one is the USS Arizona after Pearl Harbor and the second is the break up of the RMS
Titanic.
Ps Sorry for double post. Mod please delete post #16
i have a photoshoped well shots.
sometimes we forget things that live in infamy sometimes starts to fade.
other times are memory will never forget disasters that happened.
if anyone wants to know....the first one is the USS Arizona after Pearl Harbor and the second is the break up of the RMS
Titanic.
Ps Sorry for double post. Mod please delete post #16
My electronspectrum "gizmometer" indicates those coffee stains are actually coffee mixed with Irish Whiskey. Good on 'ya!
I love the second pic, and it pretty much proves what people say about missing dependancies........
Ah Maddie....you are a jewel!
Ed
Ack! The gizmometer reveals all! Irish Whiskey is great.
And hmmm ... So Trainz' bleak missing-dependencies warning screen is really trying to warn that missing assets will be doomed to wander your route, haunting you with their absence and frustrating your graphics card as it tries in vain to render that which cannot be perceived ...
- Spooky Maddy

WHOA!!!!!
Madeline! how and what are you using to do these pics!!?
Mostly just PaintShop Pro. So I guess these aren't truly "photo-shopped", more like "PSP'ed"
I didn't record what steps I took to make "Coffee Stainz on Trainz" so the steps I'm about to list won't be entirely accurate, but I did something like the following:
- First I found some pictures on the Net of coffee rings against a white background. Then I added each of the three rings as separate layers on top of the original Trainz screenshot and set the layer blend mode for each of these to "multiply". (Multiplying any color by white just gives you back the original color, so the rings' white backgrounds disappeared.) I then darkened the rings a bit because they came out a little faint. The rings were the easy part. I didn't need to do anything more to the rings themselves.
- Then using the freehand selection tool, I selected an irregular kind of oval-shaped area around the two rings near the center of the picture. I feathered the selection by a lot, like maybe by 40 or 50 pixels. Then I used PSP's "wave" deformation tool and made the picture warped in the selected area. I also did this around the smaller ring but with less intensity.
- I again selected a rough region around the two big rings and used PSP's "texture" tool to make the paper look wavy (and did the same thing around the smaller ring, but, again, with less intensity).
- Next I selected rough areas around the rings again (I kept redrawing the selection by hand because I did not want the selection to be exactly the same each time), and used Flaming Pear's Glare filter, aiming for a look that you might get if you apply heat to a photograph.
- I selected the rings anew and applied Flaming Pear's Aetherize filter mostly for its color blurring effect (the color blur keeps the luminance of each pixel constant but bleeds some of the neighboring pixels' hue and saturation).
- Selecting the rings yet again, I increased the lightness and decreased the saturation of the regions, making them look even more washed out.
- Selecting the rings anew once more (for the last time, yay!), I played with the color histogram tools in PSP (I think I equalized the histogram?). And then I was done.
"Ghost Train" was much easier to do. I took two screenshots from the same location, one with and one without the train. I layered the one with the train on top of the other one and played with the opacity of the upper layer and the layer blend mode (I think I ended up using "Overlay"). That still didn't look quite right, so I used the glare filter on the picture with the train, then used the aetherize filter (I love that filter), stretched the contrast via the histogram tools, and erased all the areas of the upper layer that I didn't want.
It was fun.
- Madeline
Last edited:
trackplate
New member
Views from Canada 1930 new layout coming soon

Similar threads
- Replies
- 11
- Views
- 381
- Replies
- 1
- Views
- 509
- Replies
- 20
- Views
- 654