I suspect I'm asking the impossible here. Anyway I managed to work my way through using TransDem and eventually got it right. It does take a few attempts to get there, but not that bad. I really needed to do this as building a route and smoothing the contours takes a massiveeeeeee amount of time as anyone who has created a route knows. I have only uploaded one (last year) which was the Zig-Zag (world heritage site) near Lithgow in the Blue Mountains west of Sydney. This starts at Mt Victoria and goes to Bowenfels just west of Lithgow.
Then at the beginning of the year I started working on the next section (separately) Lithgow to Bathurst. Although by road it's only 61 kms, by rail it is 84 kms which a lot of twists and turns. I am about 2/3rds done, so still a lot of work to do. I decided to use TransDem to do the last part. I have also started another route, which is on a lower priority and so it has only about 8 boards so far (New Plymouth NZ), so I used TransDem (also) to do the next stage of this, and tested to see if I could join the two together. This actually worked with just 40 metres of extra board between the two and a difference of height of about 8 metres. That's easily smoothed over.
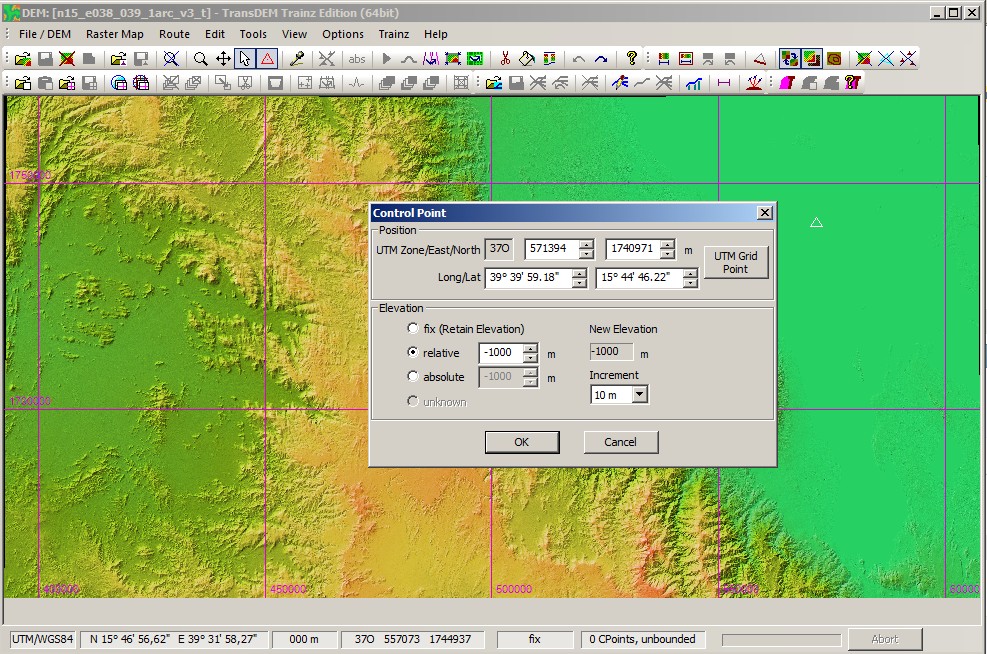
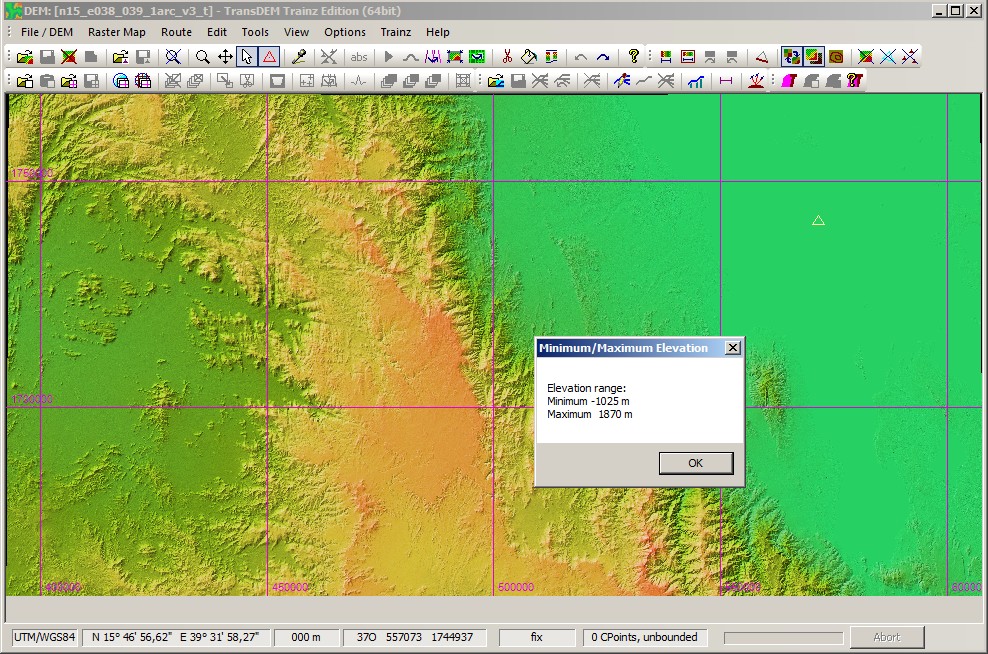
So then I tried it with the Bathurst one and horizontally I'm about 60 metres out (need extra 60 metres, so some adjustment in the track), but..... The height is off by 1,000 metres!!!
Now, I do know how this came about. When I started the first route at Mt Victoria, the elevation there is around 1,000 metres. Having never used surveyor before I used that first board as the base and drew contour lines (every 20 metres of elevation) and proceeded from there. What I did NOT do was raised that land up to 1000m but set the elevation on world origin. World origin seems to be a pain as it doesn't keep its settings. I am forever finding it has changed south (of the equator) to north. Anyway, the last board of the Zig-Zag route became the first board of the Bathurst route, hence although it tells me a certain elevation is 760m, on merging the routes it suddenly becomes -240 metres!
So those wise owls out there, can you tell me if there is any hope of correcting this in any way? I can use world origin and add 1000m to the elevation, but as soon as I merge it with the TransDem map, it drops 1000m whilst TransDem keeps it's correct elevation. Tall order I am sure.
Then at the beginning of the year I started working on the next section (separately) Lithgow to Bathurst. Although by road it's only 61 kms, by rail it is 84 kms which a lot of twists and turns. I am about 2/3rds done, so still a lot of work to do. I decided to use TransDem to do the last part. I have also started another route, which is on a lower priority and so it has only about 8 boards so far (New Plymouth NZ), so I used TransDem (also) to do the next stage of this, and tested to see if I could join the two together. This actually worked with just 40 metres of extra board between the two and a difference of height of about 8 metres. That's easily smoothed over.
So then I tried it with the Bathurst one and horizontally I'm about 60 metres out (need extra 60 metres, so some adjustment in the track), but..... The height is off by 1,000 metres!!!
Now, I do know how this came about. When I started the first route at Mt Victoria, the elevation there is around 1,000 metres. Having never used surveyor before I used that first board as the base and drew contour lines (every 20 metres of elevation) and proceeded from there. What I did NOT do was raised that land up to 1000m but set the elevation on world origin. World origin seems to be a pain as it doesn't keep its settings. I am forever finding it has changed south (of the equator) to north. Anyway, the last board of the Zig-Zag route became the first board of the Bathurst route, hence although it tells me a certain elevation is 760m, on merging the routes it suddenly becomes -240 metres!
So those wise owls out there, can you tell me if there is any hope of correcting this in any way? I can use world origin and add 1000m to the elevation, but as soon as I merge it with the TransDem map, it drops 1000m whilst TransDem keeps it's correct elevation. Tall order I am sure.