4 questions really.
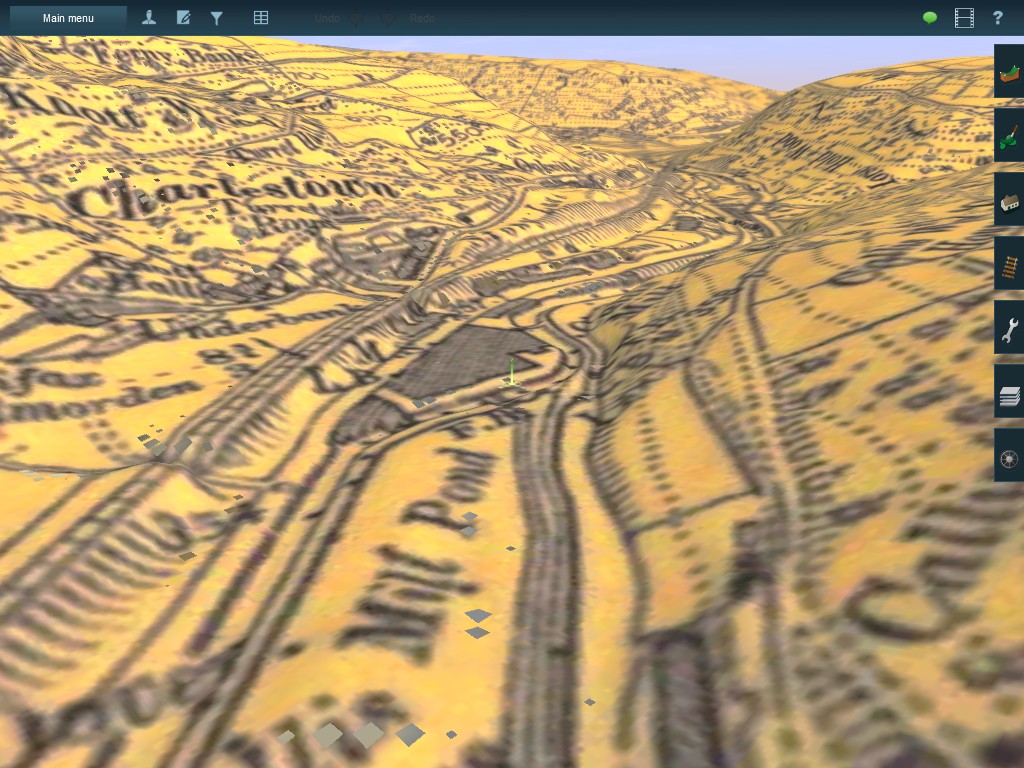
I have a scale OS 6" map of the line we want to build, is there any way to overlay the map over the grid?
Second. The line has gradients of 1 in 60. and climes for best part of 5 miles, before descending at 1 in 80 for 7 miles. Is it possible to add these gradients?
The line is single track with 5 stations with loops and yards, and very deep cuttings and high embankments. Is this a problem to model?
Lastly, there are several of us who want to build sections. Can these be joined together?
Many thanks for any replies and help.
")
