That seldom used "Get Radius" button

cascaderailroad

New member
That seldom used "Get Radius" button ... does anybody know how to use it effectively ?

There is a Get Height/Apply Height, and a Get Gradient/Apply Gradient button(s), where you can type in a numeral, and apply that numeral.

Why is there no Apply Radius in Trainz, where you could type in a radius, and the curve would be generated ?

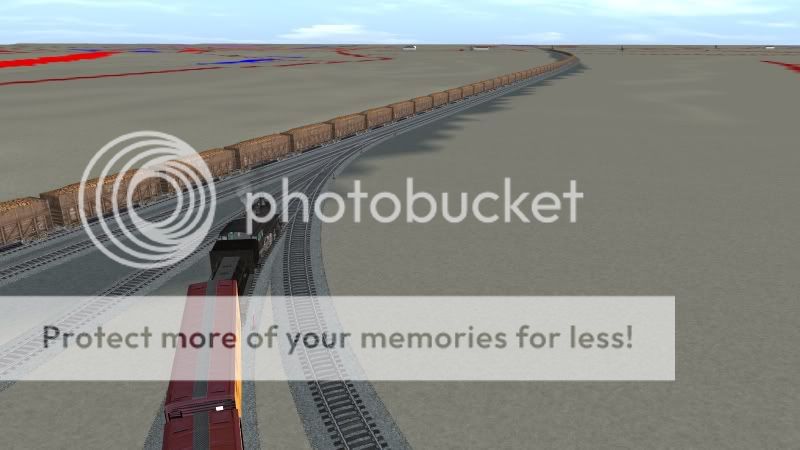
I use the Get Radius button extensively, and measure just on the outside of the curve splinepoint, and slightly move my track splinepoint laterally, untill I get a resonable radius of @ 700m R - 1300m R.
 
There is no way to use an 'Apply Radius' tool. The 'radius' of a track curve in Trainz is defined by the position and relative angle of the two adjoining track segments. Between any two adjoining track segments there is only one possible curve. The only way to change a curve is to alter the relative positions of one or both adjoining track segments.

There is also the track geometry to consider. A Trainz track curve is not a circle with a consistent radius but a curve whose momentary radius constantly changes from infinity to some minimum, then back to infinity as the curve is traversed. At which point in the curve would you 'apply' a radius?

The way you are using the tool is exactly as intended...

Andy ;)
 
Last edited:
A Trainz track curve is not a circle with a consistent radius but a curve whose momentary radius constantly changes from infinity to some minimum, then back to infinity as the curve is traversed. At which point in the curve would you 'apply' a radius?

This, of course, follows the prototype as fixed radius curves are for toy train sets. (There may be exceptions on the prototype - there seem to be exceptions for almost everything else!)

Ray
 
I don't know about what radius a crave is but what i do is take the two tracks and cross them then count the squares from the corner of the two tracks about ten squares (100m) make a spline point go to the other track do the same thing.
Remove the ends of the cross pieces,straiten the track and i have a smooth curve. This should work for track coming together at Angles.
 
I use that same method of crossed tracks also ... using the Trainz ruler and measuring back @ 300' - 6000', I apply lead in spline points (depending on the greater the curve radius).

After that I add another spline point farther out, to make a more genltle curve easment lead in.
 
One use for the 'get radius' tool would seem to be to check that the track radius at a given point is not too tight (compared with the prototype) for the kind of stock using it. For example, shunting locos in a yard would tolerate a tighter minimum or 'ruling' radius than long wheelbase express locos.

Ray
 
The only practical use to which I put the "get radius" tool is to ensure my straight tracks are really straight, which is sometimes not obvious. If it shows anything but 0.00 I know the straighten tool needs to be applied.

In my opinion, curved track is one of the greatest design flaws in Trainz. Rather than lay out the curves prototypically, i.e., an easement into a circular curve and out of the curve with another easement, Trainz does the opposite, a sharp curve into an easement, then out with another easement to a sharp curve. For curves I use templates and attempt to provide a visually if not prototypically acceptable easement at each end. Ideally, the easements would be cubic spirals, but try as I might I could not reproduce them. I do not agree that curves are laid out "freehand" and that circular curves are only fit for toy train layouts. Curves are a very serious matter for the prototype as they increase the burden on locomotives and cause equipment wear. They are very carefully laid out in advance and while compound curves are not rare, they are the exception, I believe. Anyhow, end of my jeremiad on curves in Trainz. :)

There was a fellow we have not heard from for a while who went by the handle Handlaidtrack who was obviously a connoisseur of track geometry and worked really hard to replicate prototype track. Even published a route, and the effects were impressive. But he apparently gave up on it as I have.

Bernie
 
Last edited:
Actually Trainz curve geometry is not too shabby provided two conditions apply: Firstly the track either end of the curve needs to be straightened; and secondly the curve needs to be less than about 30 degrees.

On the second point if the curve exceeds about 30 degrees it turns into something more like a bezier curve than a railway curve - as bl4882 points out, too sharp at the ends and too large in the center and exactly the opposite of what is required. Inserting one track vertex half way along and dragging it outwards till the curve 'looks' right is the quick and dirty fix. Still not 'right', but it does the job.

If the track either side of the curve is not straightened almost anything can happen, specially on long curves...

Andy ;)
 
Last edited:
Reference my earlier comments on fixed radius curves and toy trains - it may well be that practice differs in different countries. Any comments I make are based solely on my understanding of UK practice and many years of reading about the differences between toy trains and model railways .

Ray
 
I'm with you Ray - I can't think of a single use for a 'fixed radius' curve in Trainz unless you are attempting to duplicate an old-style model railway built before the advent of flexible track...

Andy ;)
 
FT Track is a great template ... where you lay single track spline points off to the side, then match up the single track spline points overtop of the FT Track. Then slide the FT Track away and delete it.

Also a curviture of FT Track 350m R, with one FT Track 400m R on each end of the curve, is another great easement curve template.
 
FT Track is a great template

Yes, I agree with this - which is why I make my own for a particular purpose, especially to create a 'way gauge' for spacing two or more tracks accurately, eg. for 1 metre or 3'6" tram tracks.

Ray
 
@Ray, it was not my intent to be critical, and I sense that interpretation in your post. I hope you will not take my comments in that way.

The following is a screenshot of a 30 minute curve in the distance on the main line just south of Salinas on a route I've been fiddling with the last few years.

bl4882_20111128_0001.jpg


FWIW, what I do is to first lay out the circular curve as accurately as I can, using a curve template such as one available from DrDen, or others, such as the FT solution recommended by Cascaderail, and once that is done, measure along the straight track 20 or more feet (a lot more in this case) down the straights, insert a spline point, then remove the original spline point. For a reason I do not know, this results in an eased curve and, in my opinion, is visually satisfactory. Of course what is visually satisfactory to me will not necessarily be so to others.

Bernie
 
Last edited:
Where is this GetRadius button? The only one I know about is to set the radius of influence for switches, track marks and triggers. Neither which have to do with the radius of the track that is laid.
 
Ray, it was not my intent to be critical, and I sense that interpretation in your post. I hope you will not take my comments in that way.

@bl4482 - No, I did not take your post to be critical of what I had said - I very much enjoy the debates in these forums, and welcome any comments on what I say - I most certainly do not claim to be an expert in any way!

I feel that I have made a wide circle of friends in different countries through these forums, and this is very important to me at my age (over 80) and no longer able to attend evening meetings, as I used to.

Keep the comments coming! Your description of your method of setting out curves is much appreciated.

Ray
 
Where is this GetRadius button? The only one I know about is to set the radius of influence for switches, track marks and triggers. Neither which have to do with the radius of the track that is laid.

I must admit this is confusing me too.

I've not asked because I use an old version and assumed it is something "new".

The only item I thought it could be is the Show curve radius button (the horse shoe looking thingy) on the Track flyout.

Place the cursor over the track segment and as you move it over the curve it shows the radius in metres at that point, so a low number means a tighter curve and a high number means a straighter track (so sayeth the Manual).

Well I'll be . . . I had never noticed that button . . . I have laid well over several hundred miles of track and I think I must agree, it does not appear to be of much use.
 
I never used to use it either ... but today I found a kink in a track, which had a 500m R lead in, and a 980m R kink ... I use the "Get Radius" button more and more to move track spline points around.

The more track I lay ... the more I find myself using a calculator and mathematics, cypering curve radius, and metric heights.

I think I have OCD.:hehe:
 
Back
Top