handlaidtrack
New member
Some of you may remember the layout I created and added to the DLS a few months ago.
I've been slated for resurrecting old threads before, so instead of adding to the original discussion, I'll just start a brand new thread.
The first section of the layout was covered in these threads:
http://forums.auran.com/trainz/showthread.php?t=72960
and
http://forums.auran.com/trainz/showthread.php?t=73121
Well, guess what...
I've just started on the first of several planned additions.
Here are some early views of the first three days' progress. I will add to them as work progresses, although the new posts may be somewhat sporadic. I recently got married, so I don't know how much time I will have to devote to this layout.
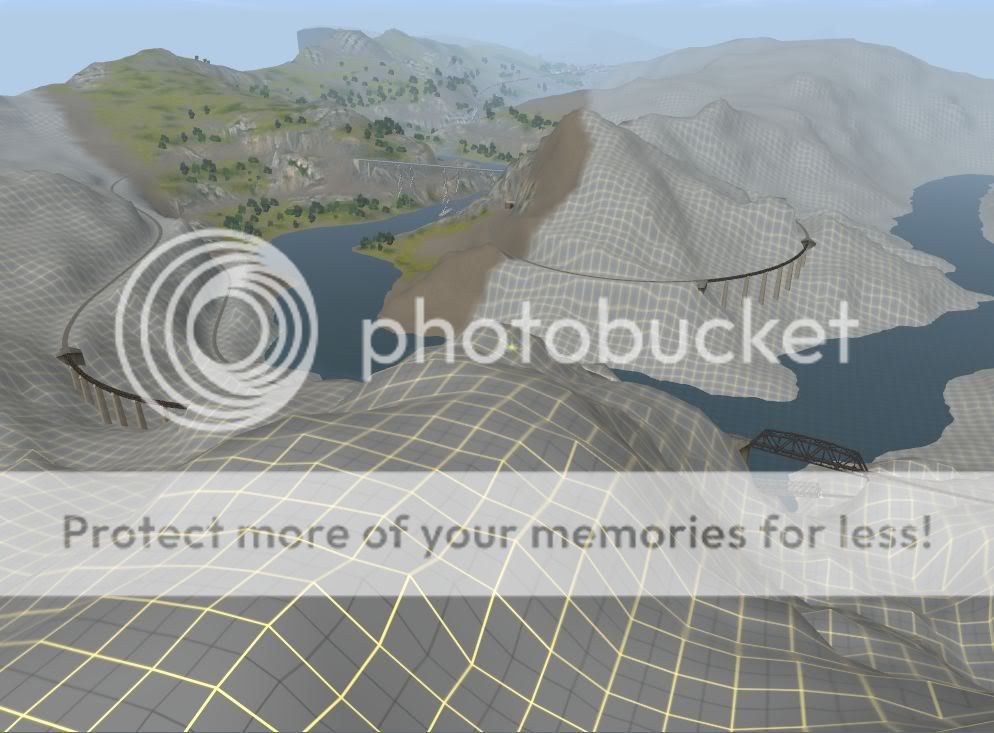
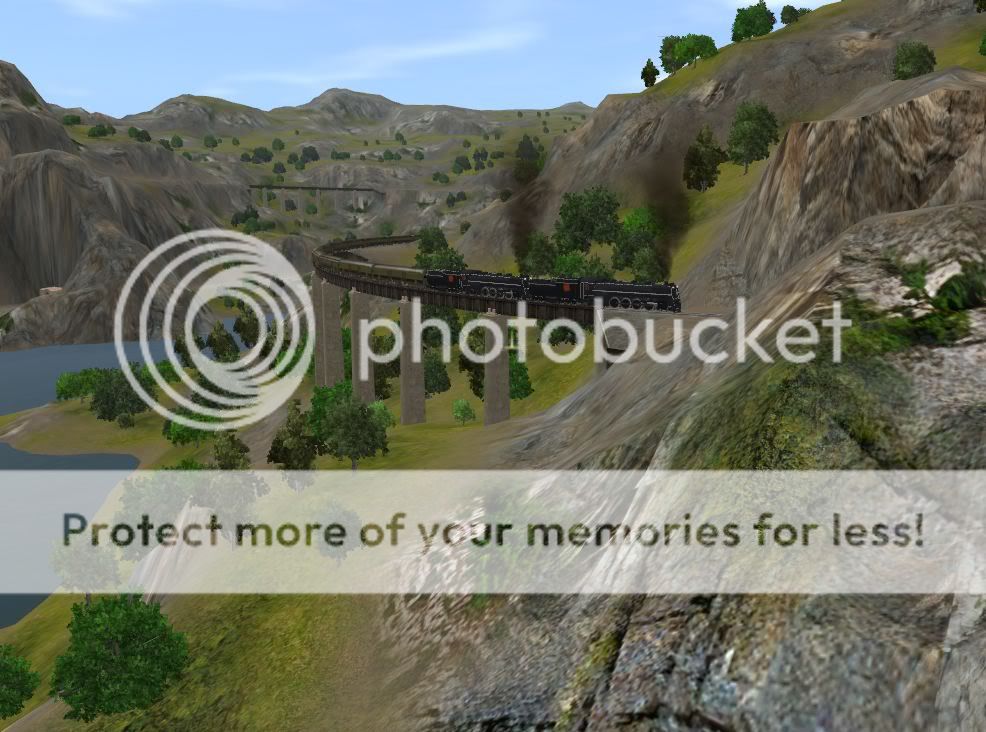
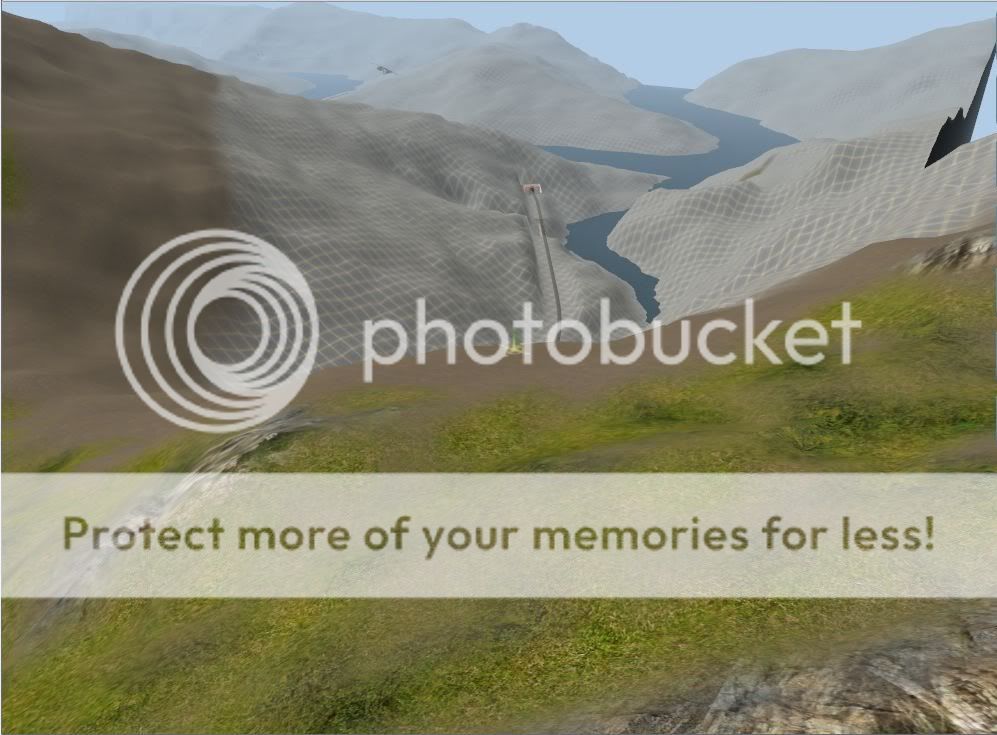
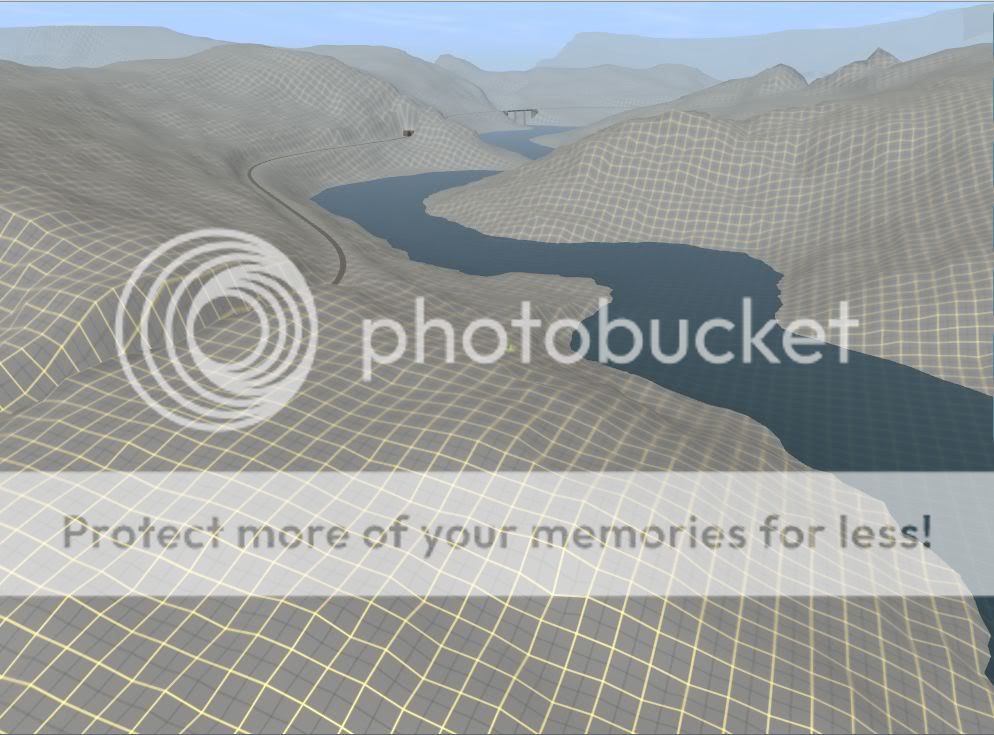
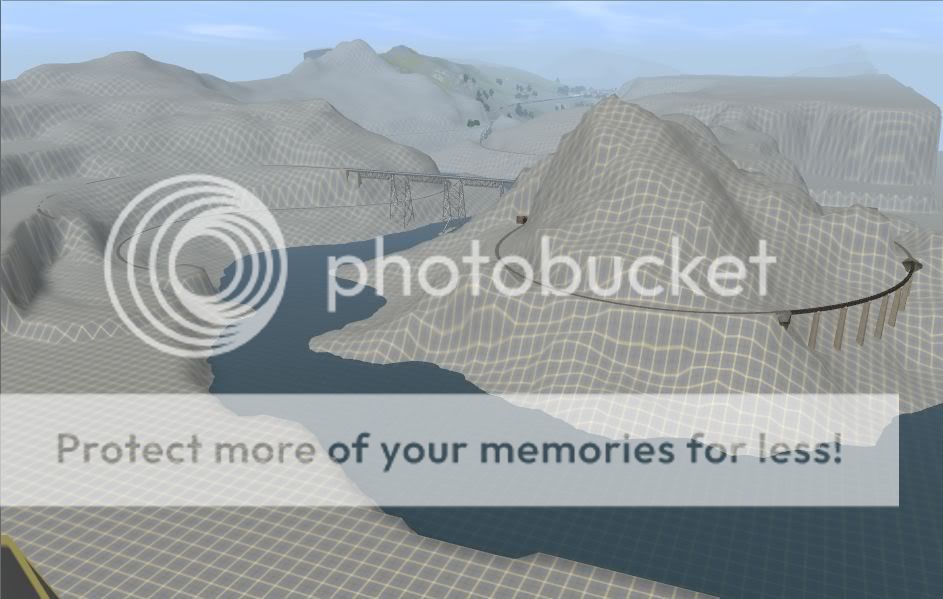
1) Here's a first look at the new section just south of the widget works
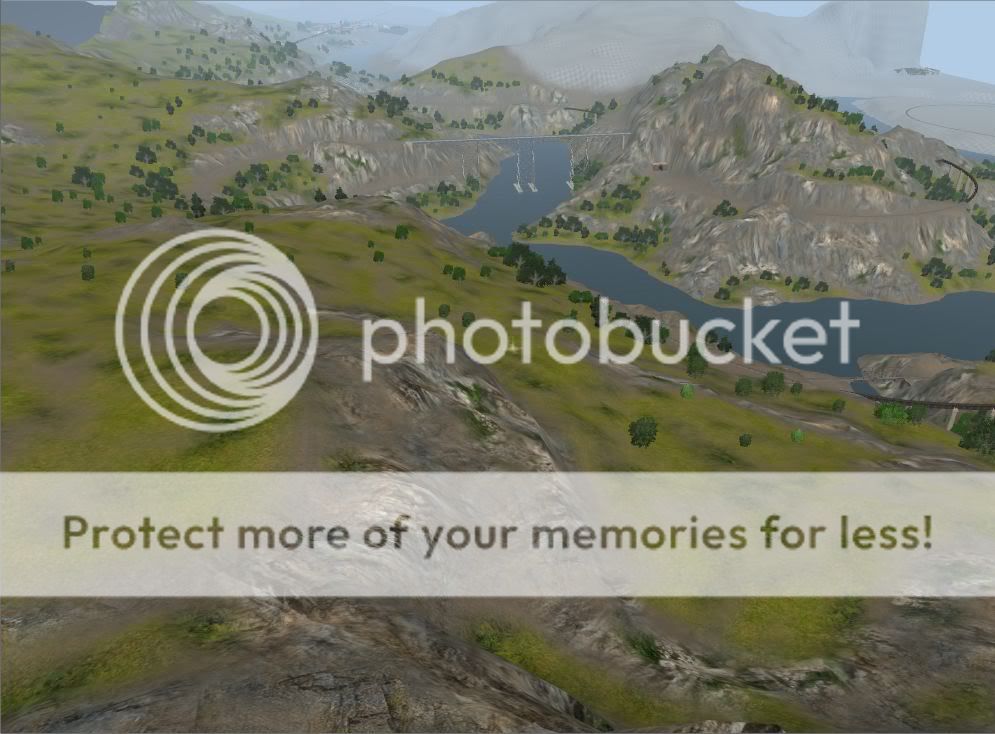
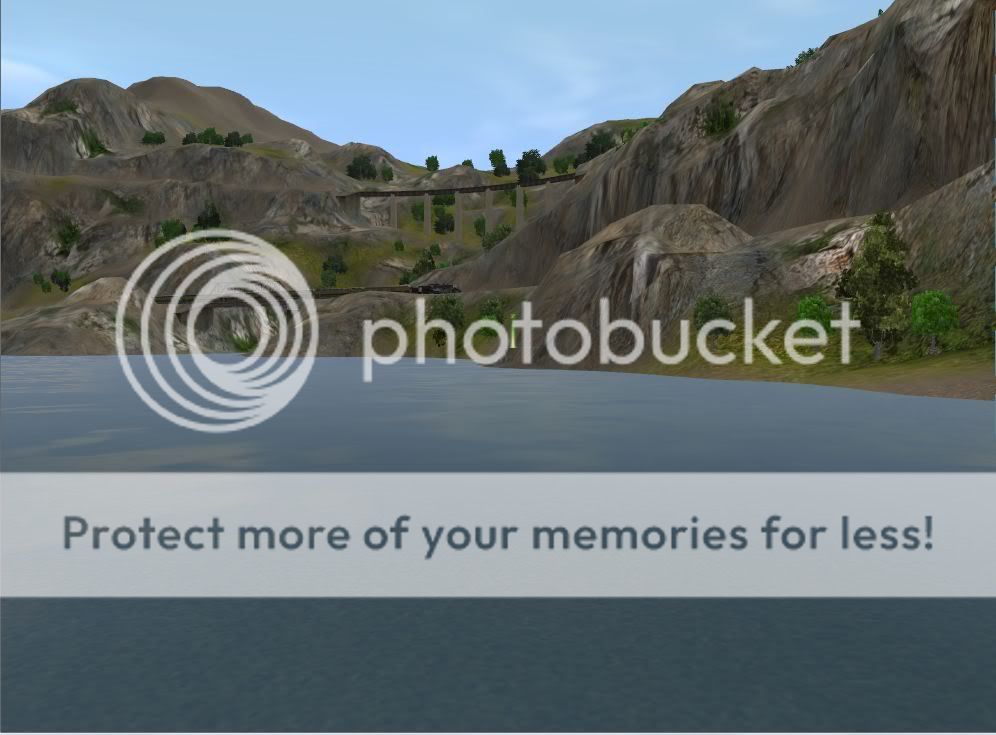
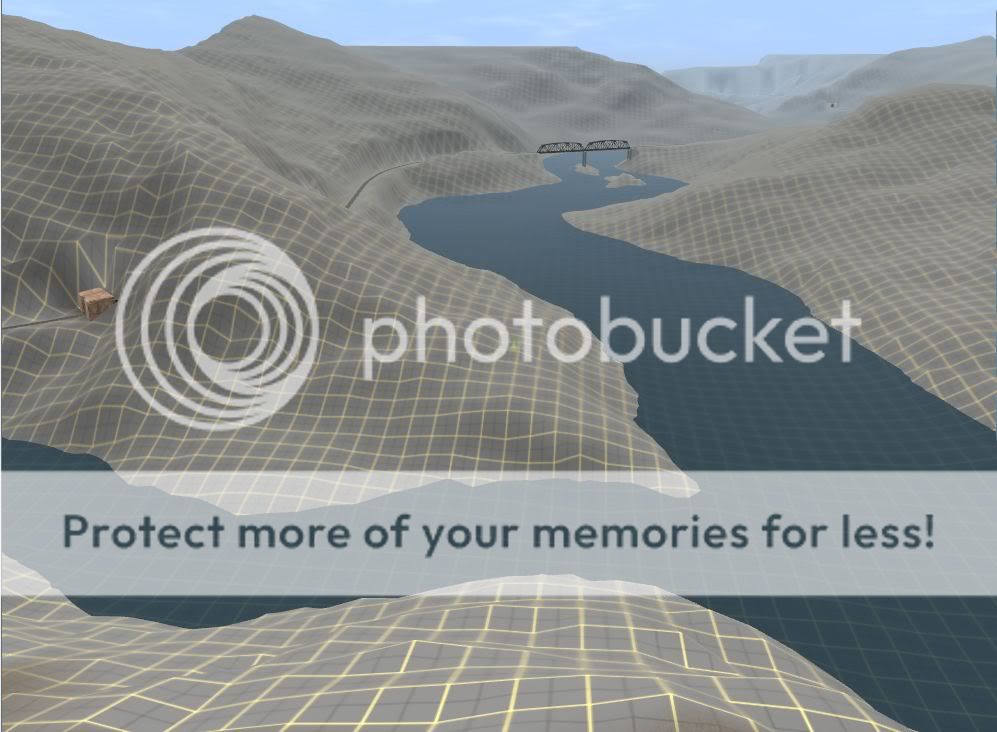
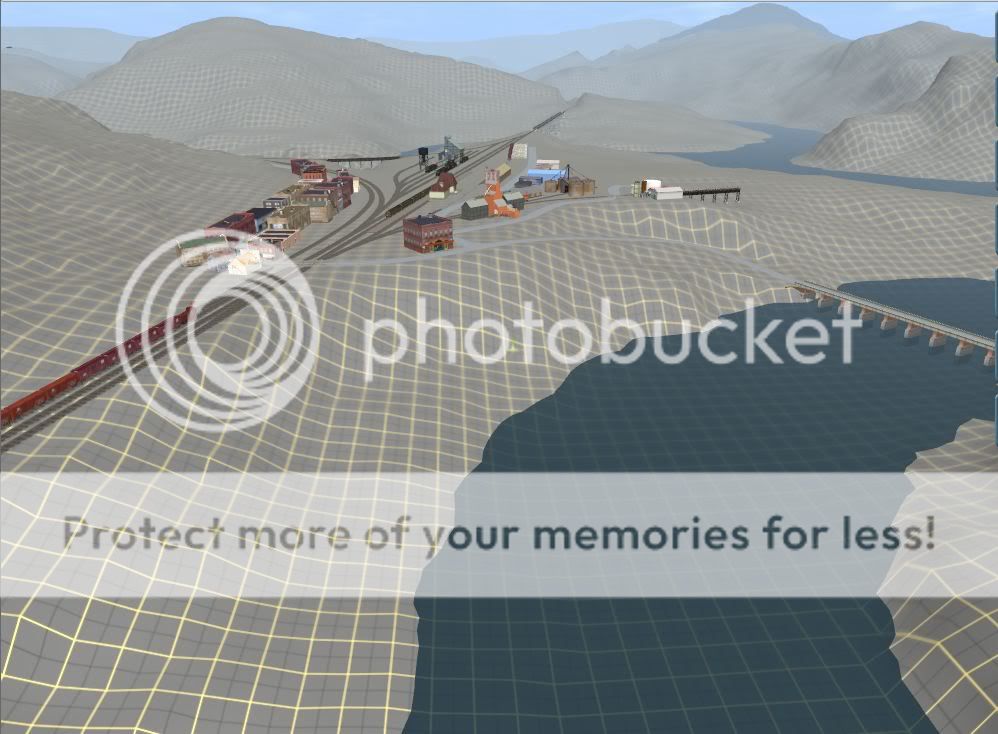
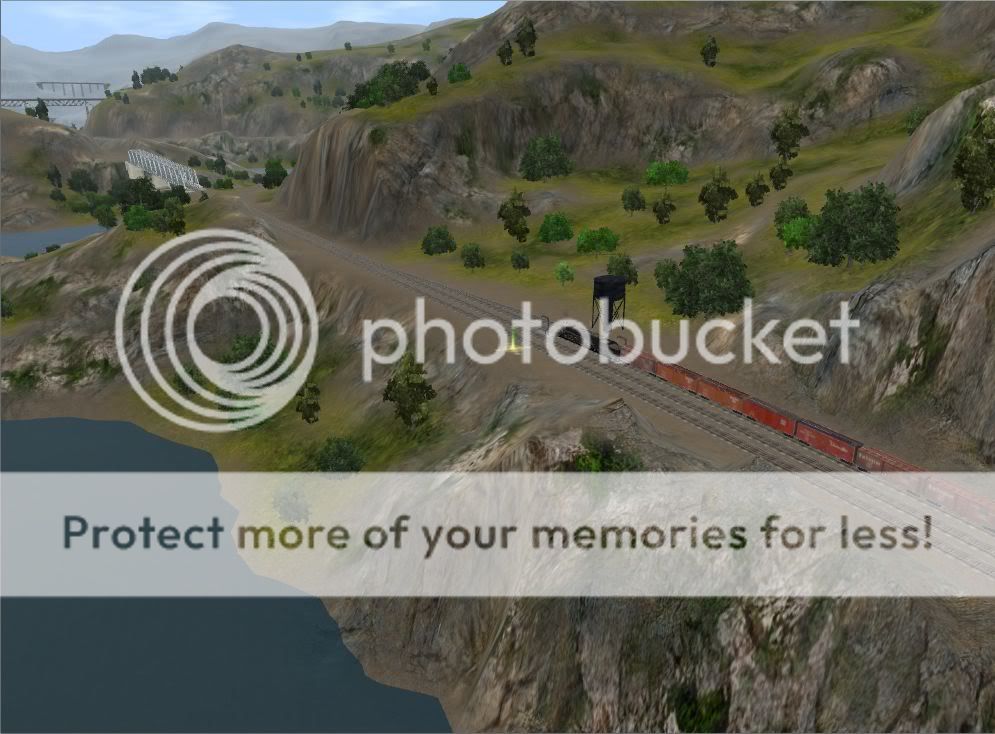
2) Here's a view looking into the next valley to the west, reached via the long tunnel just visible at extreme left in the previous picture.
(two more half boards have since been added to the right where the baseboard edge is visible here).
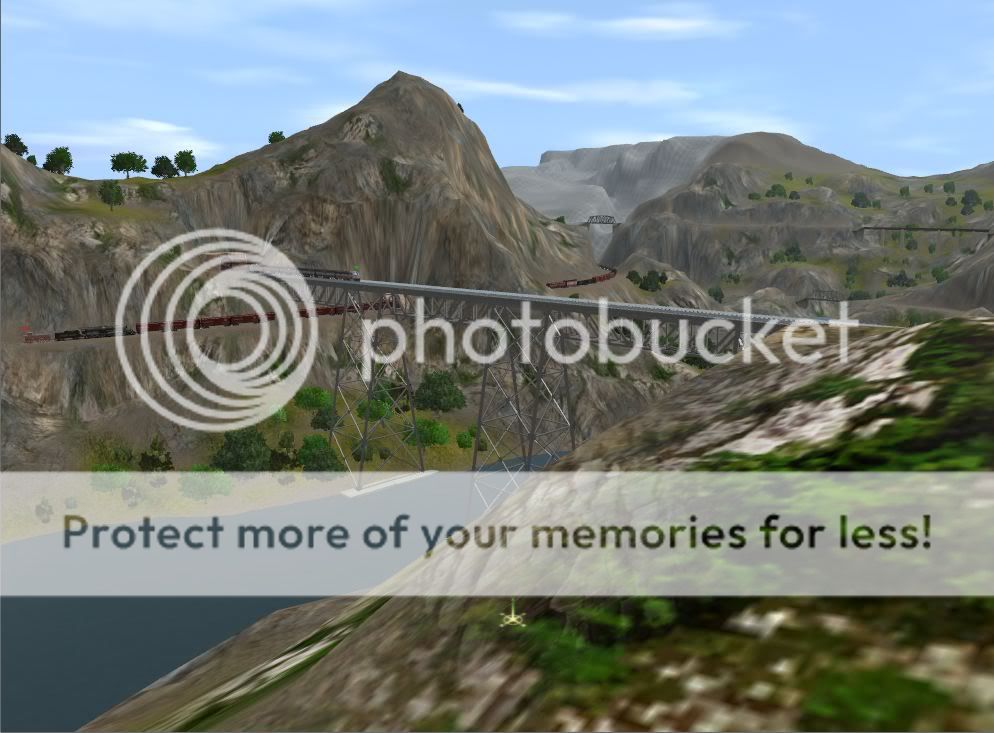
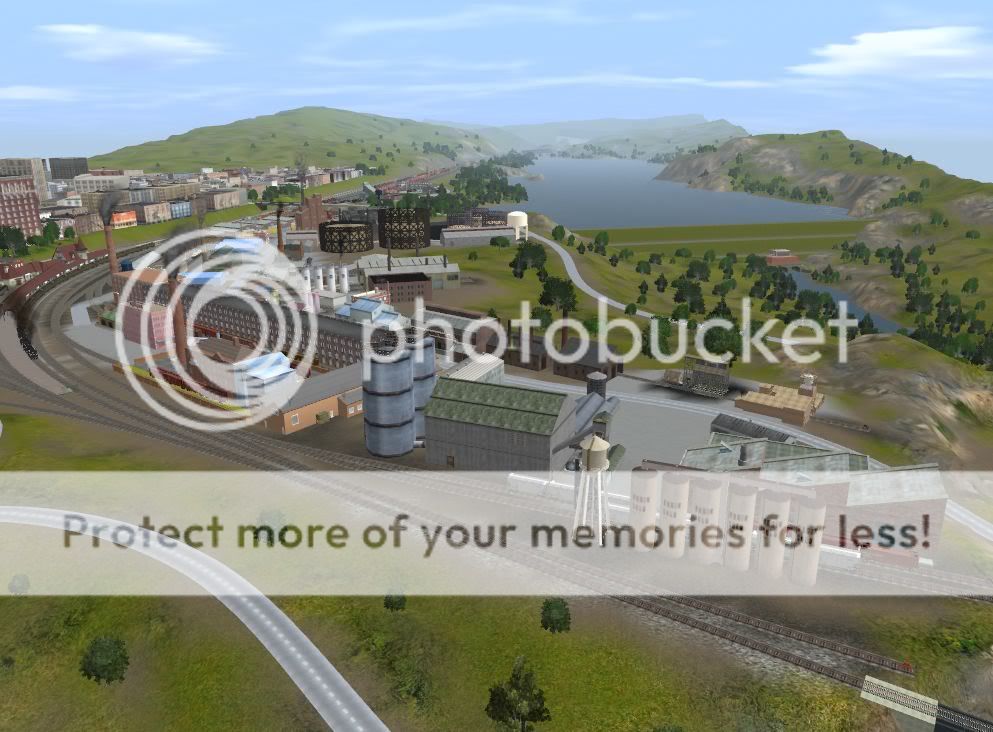
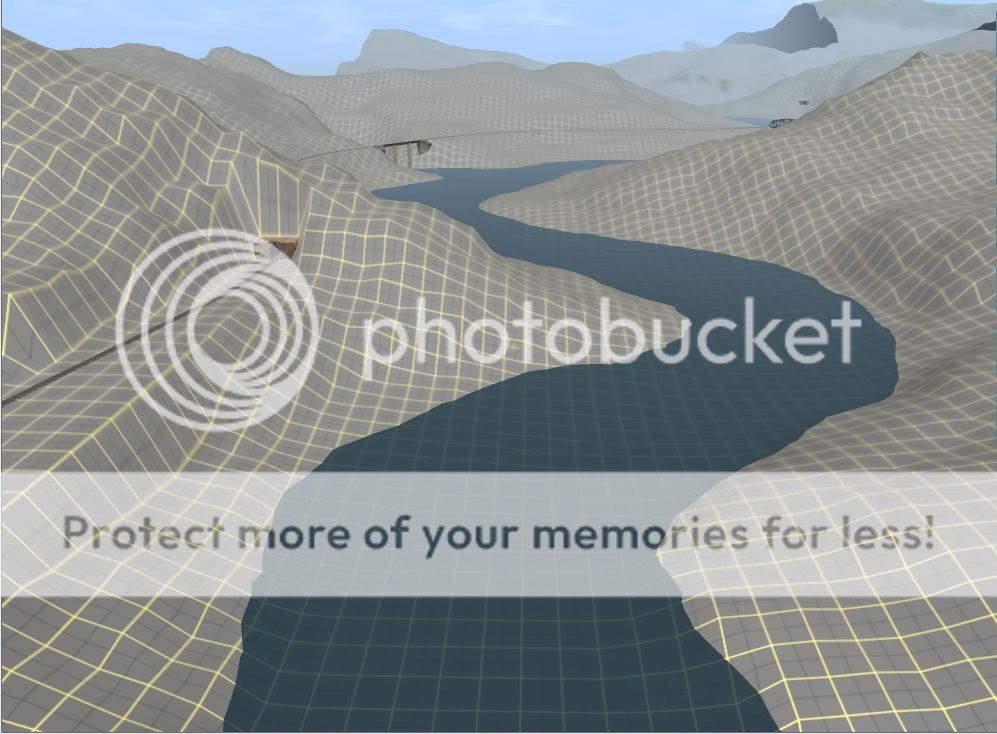
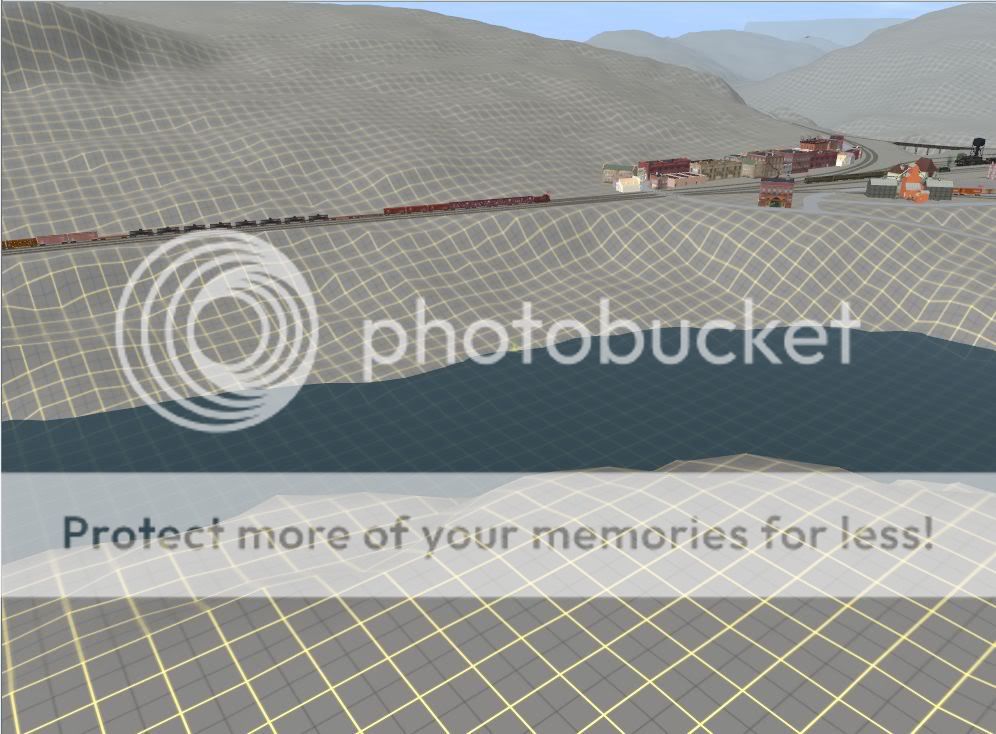
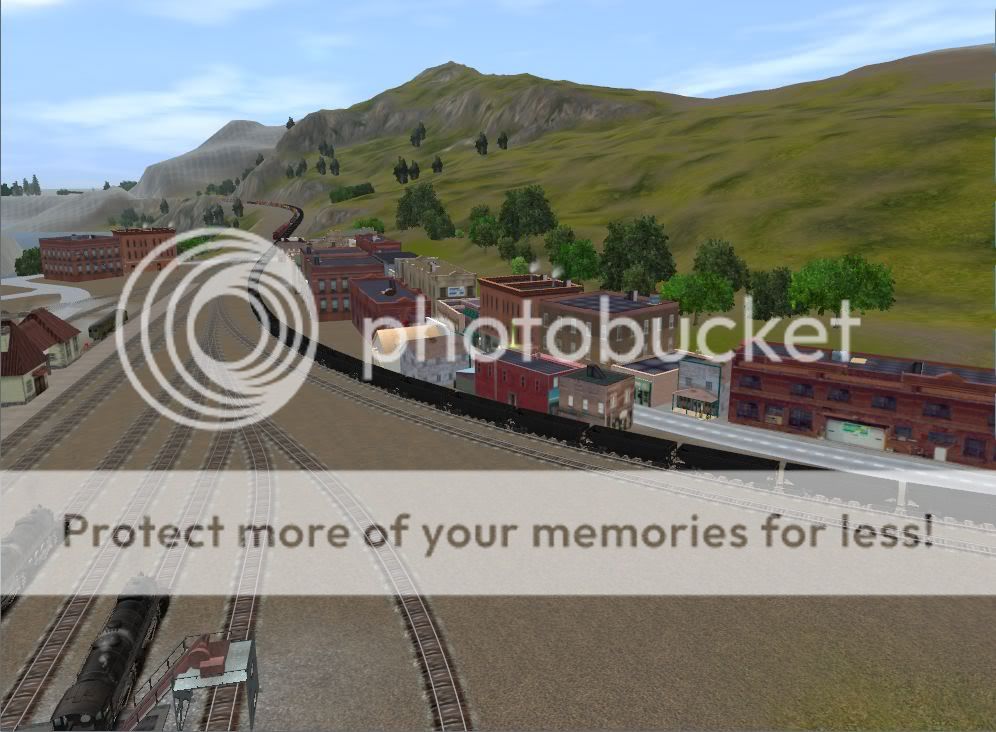
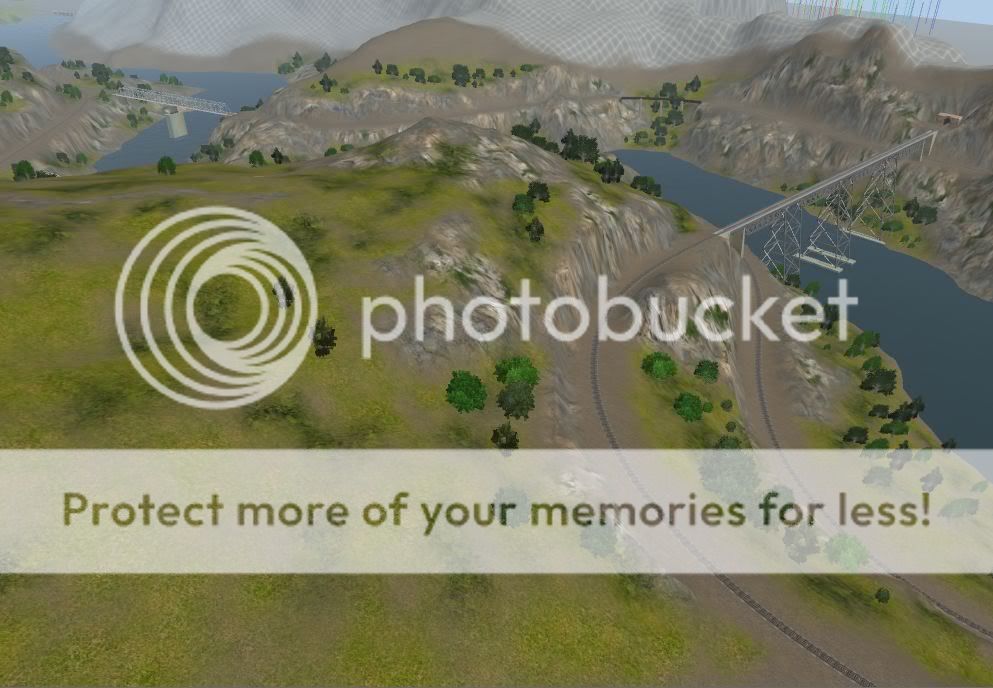
3) Here's a view looking south down the new river valley
(tunnel at left is the same one shown top center in the previous view)
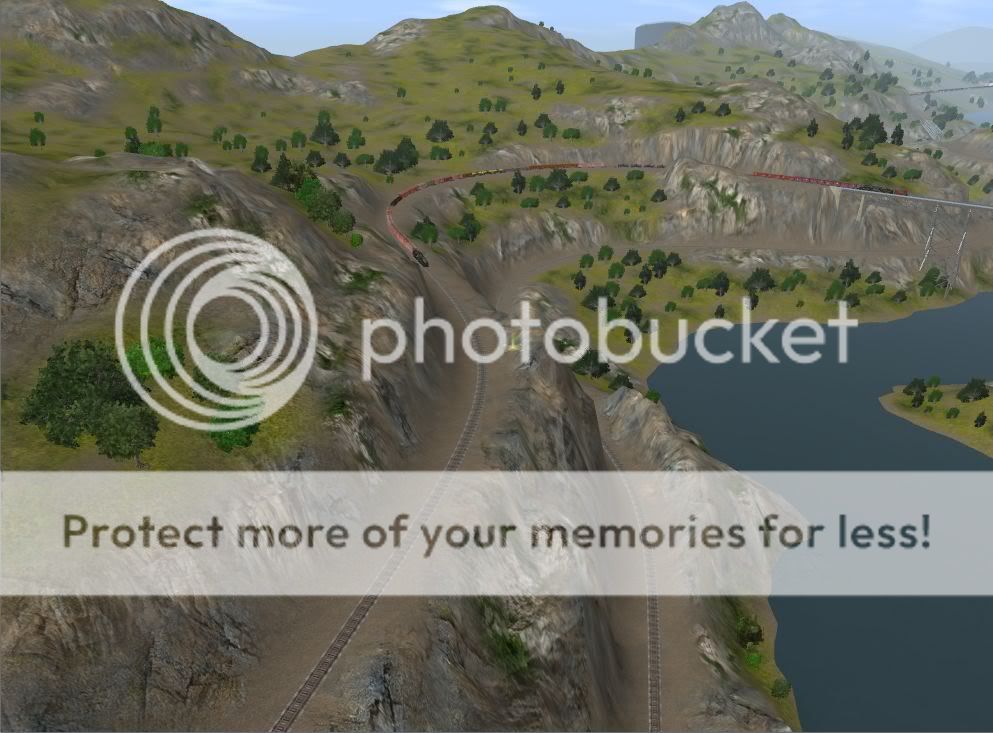
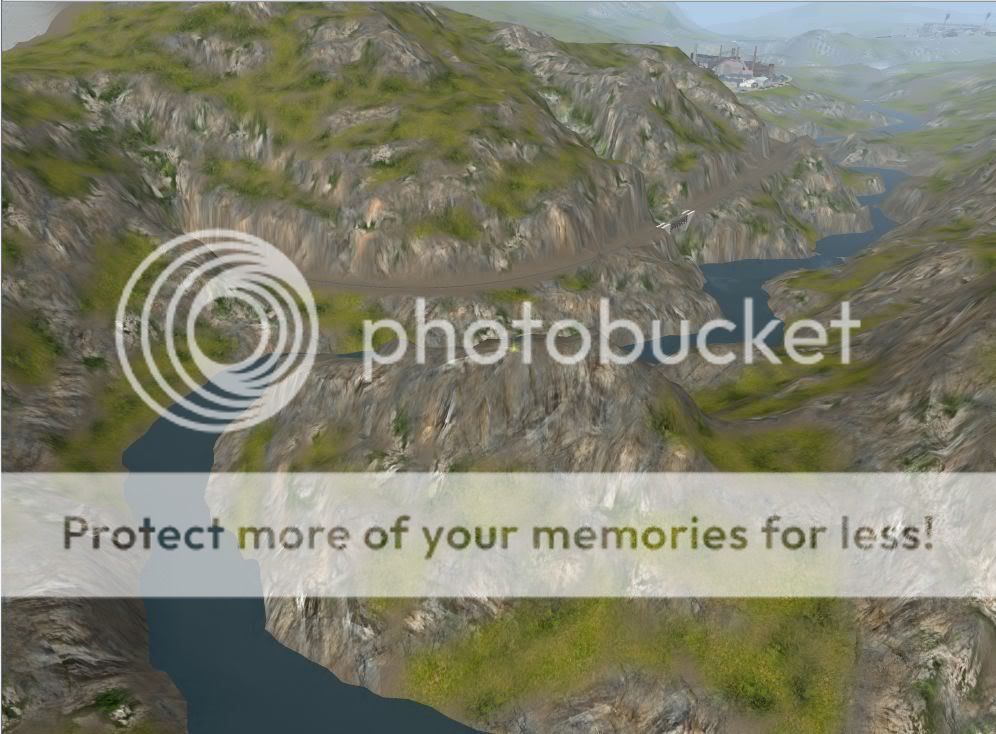
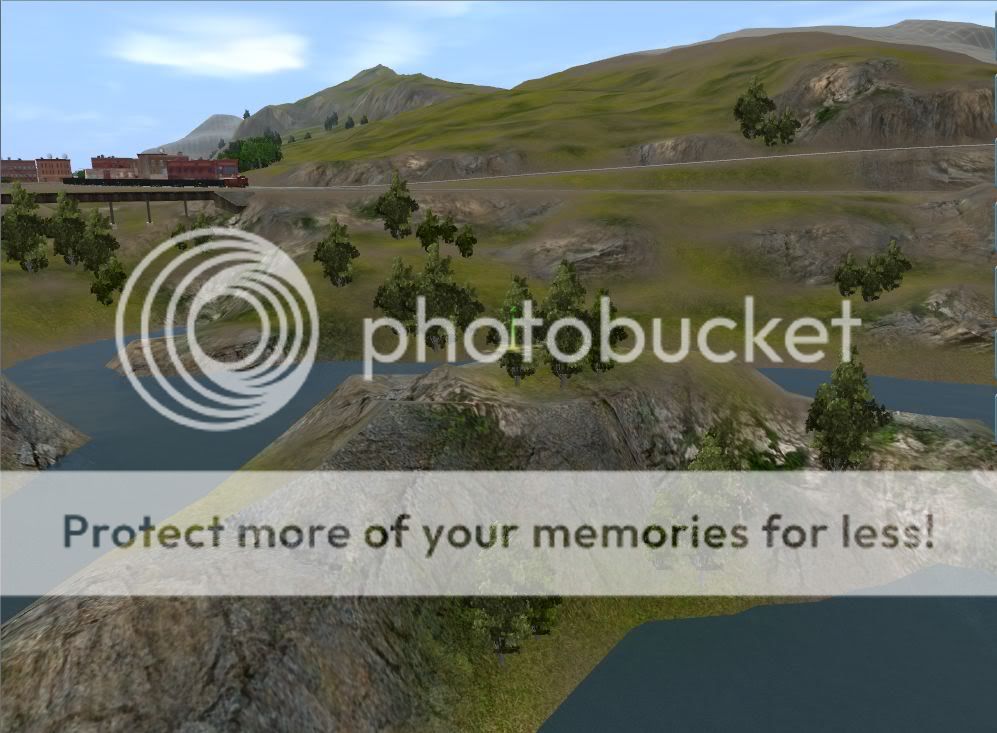
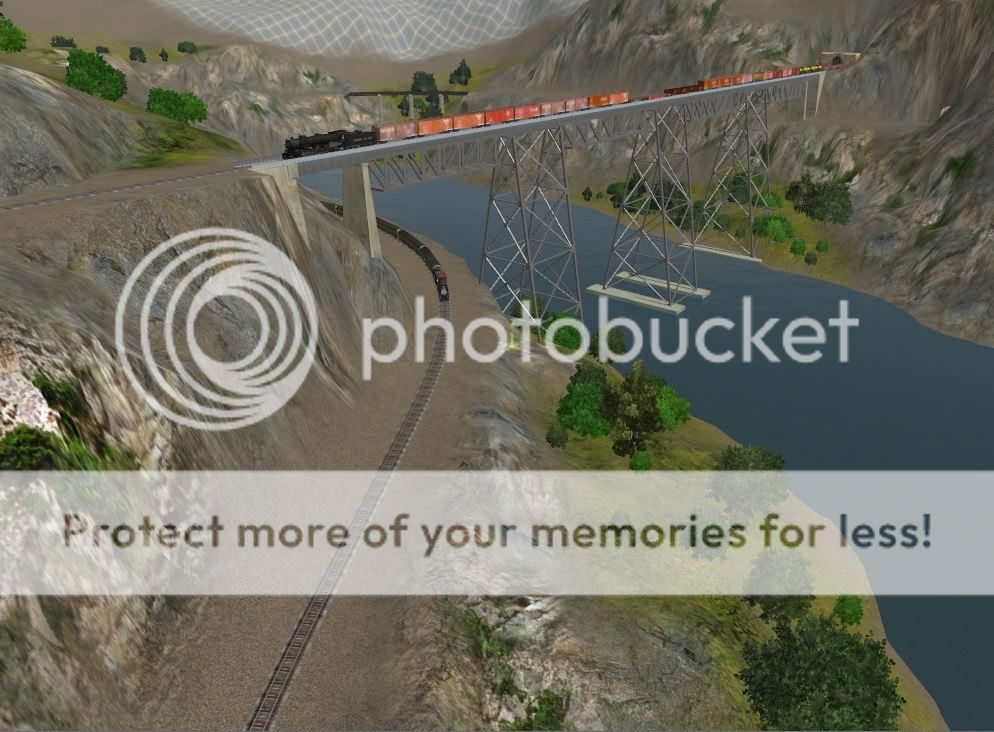
4) Looking north at the same hills
(I've since added another pair of boards to the far end where edge of the baseboard is all too obvious)
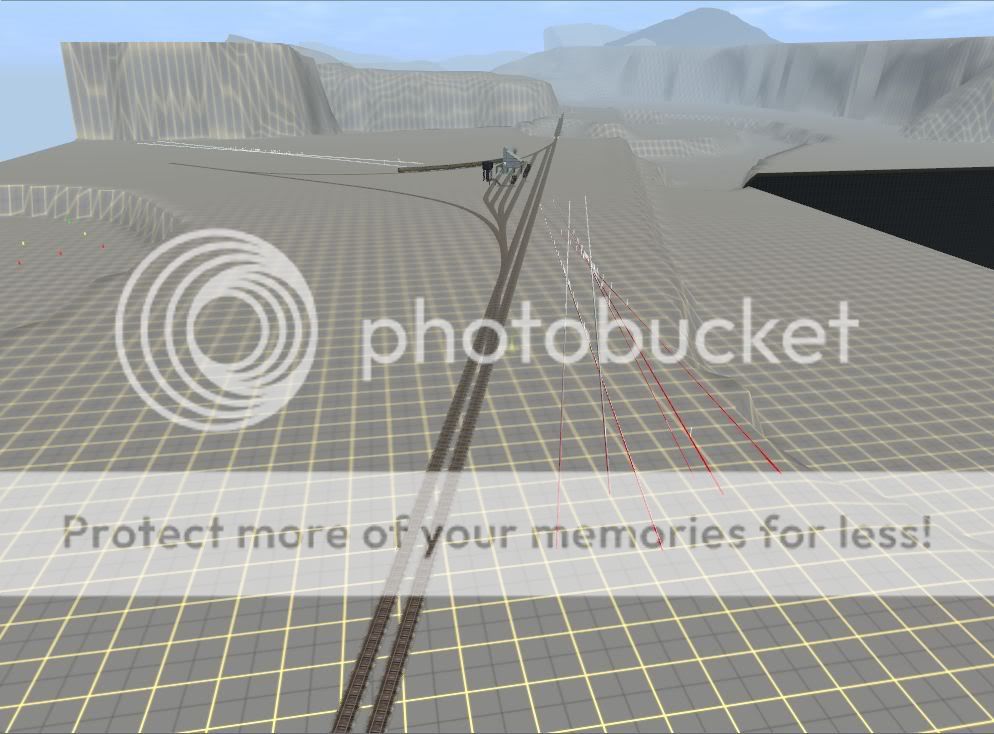
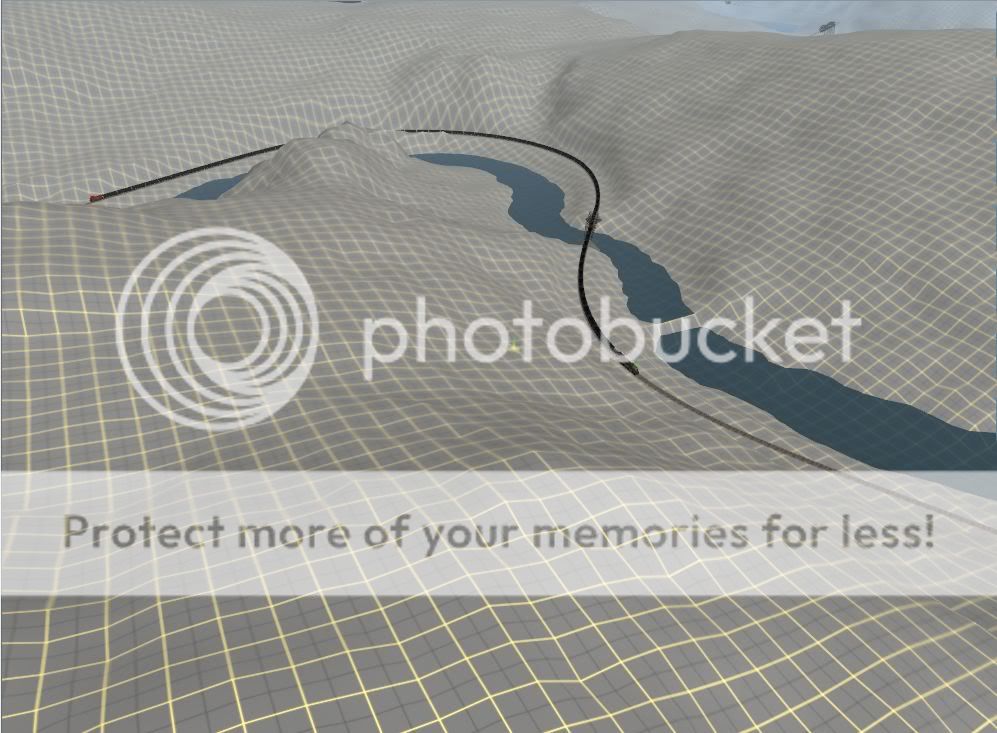
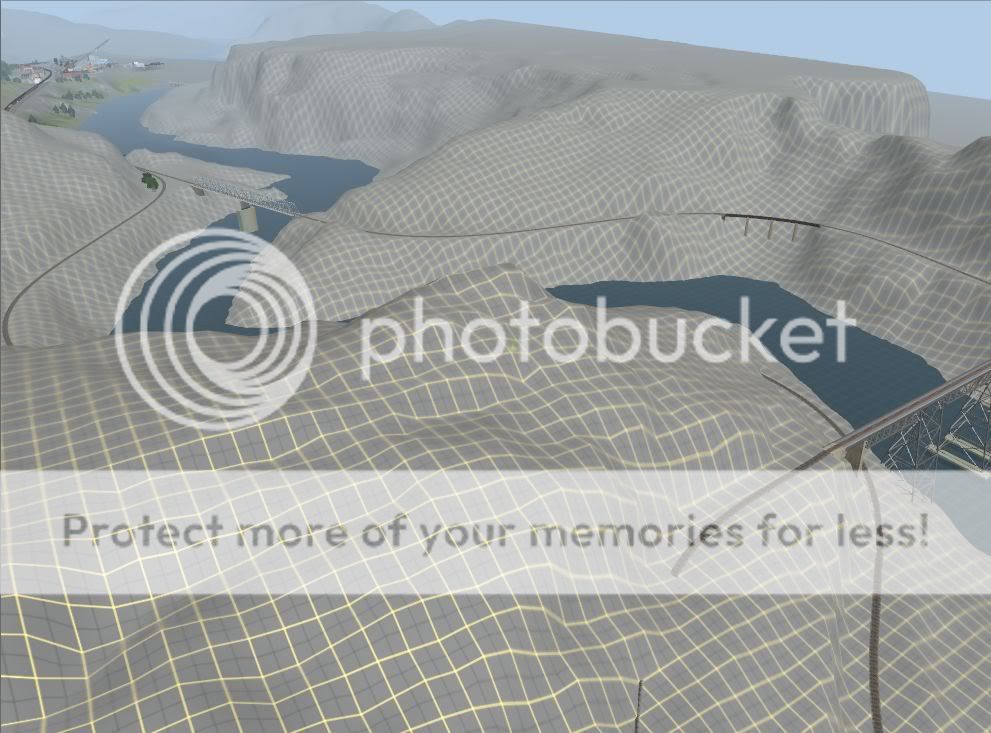
5) Current end of track. Helper junction is just starting to take shape.
Merry Christmas everyone. I hope you enjoy the pictures.
More to follow.
Please feel free to add your own comments.
I've been slated for resurrecting old threads before, so instead of adding to the original discussion, I'll just start a brand new thread.
The first section of the layout was covered in these threads:
http://forums.auran.com/trainz/showthread.php?t=72960
and
http://forums.auran.com/trainz/showthread.php?t=73121
Well, guess what...
I've just started on the first of several planned additions.
Here are some early views of the first three days' progress. I will add to them as work progresses, although the new posts may be somewhat sporadic. I recently got married, so I don't know how much time I will have to devote to this layout.
1) Here's a first look at the new section just south of the widget works
2) Here's a view looking into the next valley to the west, reached via the long tunnel just visible at extreme left in the previous picture.
(two more half boards have since been added to the right where the baseboard edge is visible here).
3) Here's a view looking south down the new river valley
(tunnel at left is the same one shown top center in the previous view)
4) Looking north at the same hills
(I've since added another pair of boards to the far end where edge of the baseboard is all too obvious)
5) Current end of track. Helper junction is just starting to take shape.
Merry Christmas everyone. I hope you enjoy the pictures.
More to follow.
Please feel free to add your own comments.
Last edited:

 :hehe:
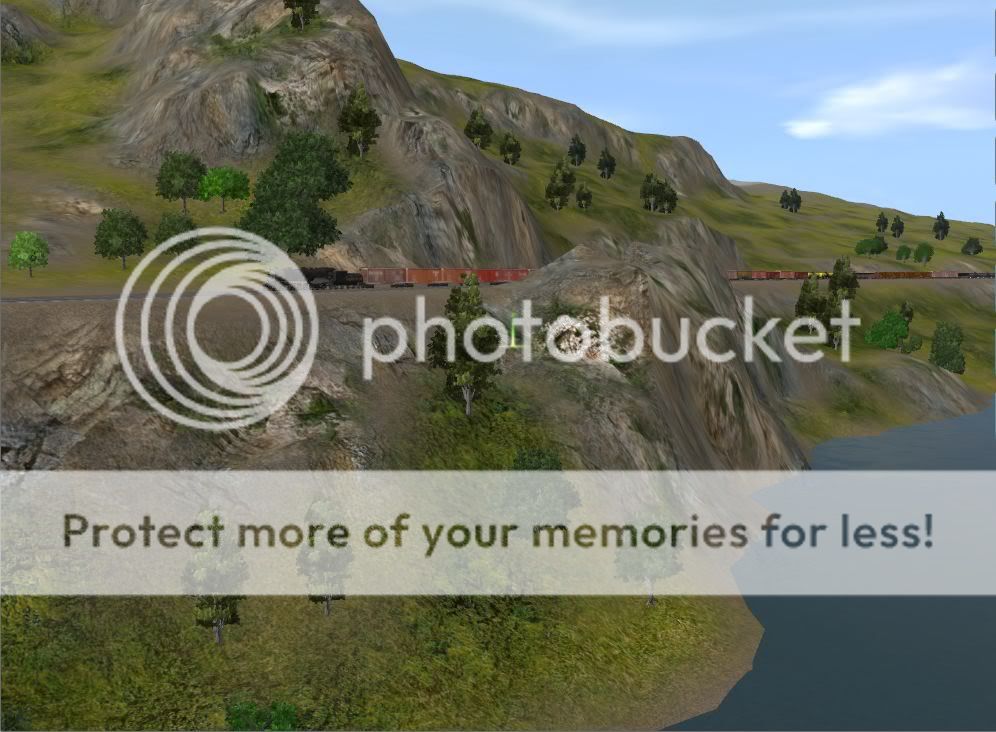


")