Tutorial ?

Does anyone know of any detailed tutorials concerning scenery building? Things like ground cover color pallet mixes for different regions and how to make roads and track with crossings look more realistic, river/lake banks and water colors, etc. Does one put down a base color and add rock/grass/gravel textures and then whatever? Experimentation is okay, but can be terribly frustrating at times, also. I just don't quite have the necessary artistic touch to make it look good! Anybody have some "best practices" of steps/procedures that they use?
Any help would be appreciated.

Thanks.
 
Morning CC; I can't help on this, just wanted you to know you're not alone! I tried playing around with a"practice" lake this morning. Looked good as a swimming pool! It's going to take me a long time to get anything looking even halfway decent in the scenery department. I have a feeling we just have to keep experimenting with it. Man, it really makes you respect the skills of those guys who have created such beautiful routes. Keep at it, I'm afraid this is something that takes some time to master.

Hang in there, cheers........Rick
 
Take a look at the "Tips and tricks-surveyor" thread at the top of this forum. Many good ideas are on here. I use it quite often to get ideas.
 
I cheated by getting a head start. :cool: My Dad was a model railroader, so I started learning scenery techniques 50 years ago, many of which can be applied to virtual scenery on computers. Magazines like Model Railroader are still a good source for scenicking tips and tricks.

I uploaded scenery addons for flight simulator 4 back in 1990, Trainz surveyor isn't quite as coarse as the old editor for that, but the terrain sculpting and painting tools are not the best I've worked with. One thing that helps, the plateau tool set for different strengths and radii to smooth the spikes, and textures with detail oversprayed with solid color textures usually work best.

18493006.jpg


For something like a lake or pond, set the terrain height tool for -4, set the water height for -2, darken the water color and use a darker bottom texture so it doesn't look unrealistically transparent - water that's too "deep" (water level 10 meters or more above the bottom) usually does look like a swimming pool.

80058657.jpg


Next step is an old model railroader's trick, the edges are too well defined, so break them up with foliage splines;

24820101.jpg


Use bushes or undergrowth so the tops are just above ground level overlapping the edges of the water, the "fuzzy" appearance camouflages the sharp edges.

One quick tunneling tutorial;

http://www.trainsim.com/vbts/showth...s-pickaxes-and-Dugan-s-Dynamite-Tunneling-101

There are probably others, have to hunt around. But basically it's a matter of practice practice practice, after all it's art, not science.
 
AH HA, yeah, that looks like my swimming pool in the second photo. Looks great in the last photo. I must have a look at some harbour scenes and see how the pros deal with it.

Cheers.......Rick.......There we go CC, some great tips. Alright then, back to Lake Wannabe I go! Thanks for the tips.
 
I found one undergrowth spline by DMDrake, cloned that and uploaded a bunch with varying colors for variety;

undergrowth_6a,<kuid:522774:100597>
undergrowth_6b,<kuid:522774:100602>
undergrowth_6c,<kuid:522774:100603>
undergrowth_6d,<kuid:522774:100604>
undergrowth_6e,<kuid:522774:100615>
undergrowth_6f,<kuid:522774:100613>
undergrowth_6g,<kuid:522774:100686>
undergrowth_6h,<kuid:522774:100687>

IAW Dave's EULA they're free to clone and reskin for other textures if you want something different, just remember to credit DMDrake for the original mesh. Main reason I use those is to hide the "golf course" effect;

38564324.jpg


You don't usually see short mown grass up to the treeline and beyond, so add some undergrowth at the treeline;

38675113.jpg


To break up the unrealistic flatness. Also helps along the edges of fences, walls, and buildings.

40746752.jpg


Couple of rows zigzagging along the right of way or river edges;

39956804.jpg


Main thing is to focus on what it looks like from the train, it's not a helicopter simulator.
 
After installing track, bridges, roads, and any other spline objects, I create a base ground texture on an area approximately six hundred ft square, tapping one of the bracket keys as I install the texture, to avoid a bitmap pattern. I use 'grass a2' (kuid:-1:1000) as my base texture, setting it to the highest scale.

Using the 'copy and paste' tool, I place the texture side by side to expand it to a larger area, and then start covering the route.
I eventually enlarge this texture base so that I can copy an area 1400 ft wide X 2000 ft in length. This is the largest area that will fit on my screen, and makes the work go fast.

After covering the portion of the route that I'm working on, I lay down a blend of four or five ground textures in a remote area of the route, again, tapping one of the bracket keys as I install the textures, to avoid a bitmap pattern. The area I use for this is also 600' X 600'.

CopyampPaste1.jpg


Next I install trees over this area, using six or eight trees in multiples of four, adjusting them to create an even spacing.

CopyampPaste2.jpg


This area of ground textures and trees is then copied and pasted over the route, mainly over track , roads, and waterways. The unneeded trees are then deleted by copying an area of the 'grass a2' texture approximately two grids square, and pasting over the trees that are to be deleted. Be sure to untick the 'Paste Objects' button in Copy and Paste.

Groups of residential and commercial buildings can also be copied and pasted near proposed towns, and then installed in place.

I set the bottom elevation of a lake or river about seven meters below the surface of the water. This makes it a lot easier to trim the edges of the shore.
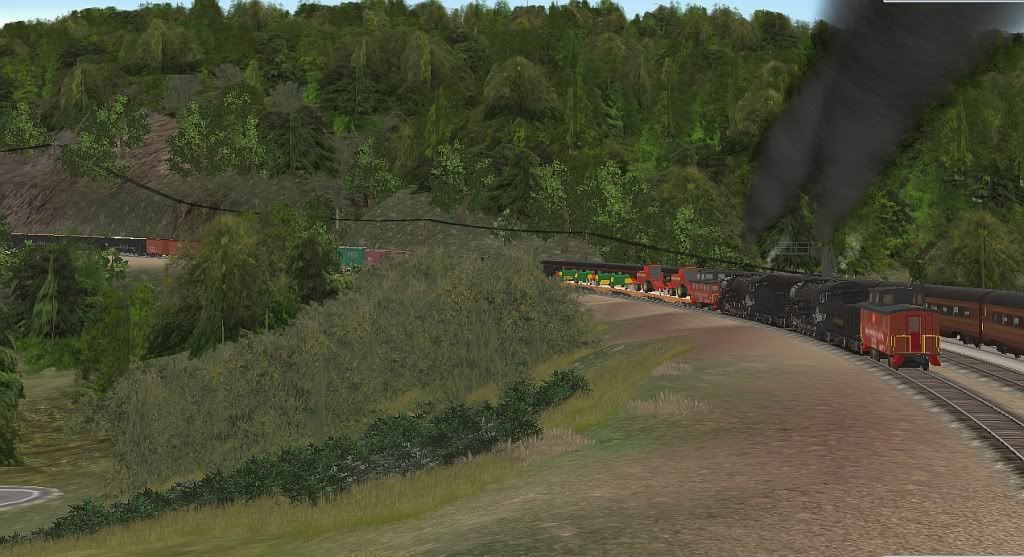
The final result:
CopyampPaste3.jpg


I've used this method to install scenery for quite a few years, but you'll need to try different variations from other posts in this thread until you achieve results that you're satisfied with.

Good luck,

Joe
 
Man, that looks great! I've been working on the harbour, trying out the "tools". I'm going to pick up the items you guys mentioned. I don't know what happened to that CC fella, but I'm sure glad he asked about a tutorial! I had a fast peek at your site Joe, looks like some handy tuts there. I better bookmark it, before I forget to go back and have a look around. Thanks, gentlemen, If I can get things looking half that good, I'll be happy!

Cheers......Rick
 
I'm right here, Rick! A guys gotta' go to work once in a while! Seriously though, what a great bunch of ideas! Joe, that screenshot above is EXACTLY what I'm talkin' about! Sniper, I love that riverside shot of yours, too. I appreciate all of your input. I ordered a new desktop just now that should arrive on Friday that I CANNOT WAIT to use to work on my projects that I have been planning. I want to improve some of the stuff I have been doing in TS2010 and start a large project in TS2012 of the Yadkin Valley Railroad that runs thru western NC from NorthWilkesboro east to Rural Hall and back north to Mt. Airy. I have never done an actual existing route before, so it should be interesting.

Thanks, again to all who had input.
 
Seeing what can be done, makes a fella eager to keep at it! Time to fire up surveyor, Listen to the man in black do "Orange Blossom Special" and........what's that? Aw, for......, the boss says I got to do my chores. Oh well, I'll have to wait until this afternoon.

".........scalded to death by the steam"

Cheers..Rick
 
Back
Top