Track Guides

shearkhan

New member
Hi there
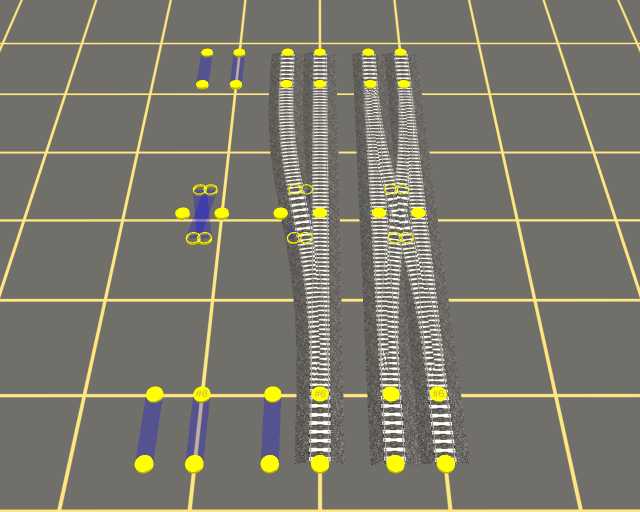
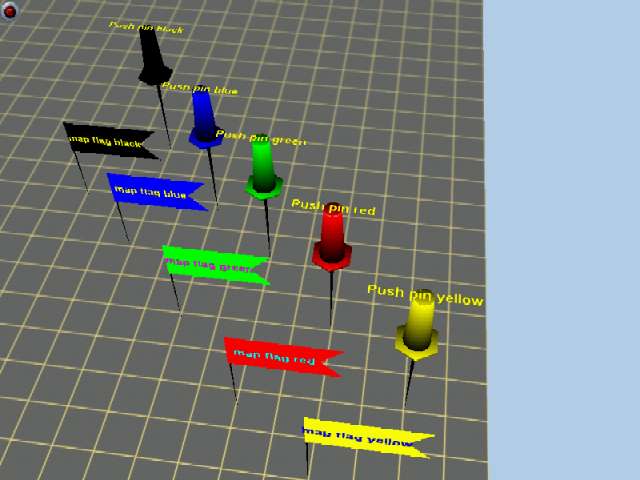
I have just downloaded martinvk's track guides >push pins<
(70337 : 23083 ) and they do not have the circles,with wich to lock the track onto,and of course you can't move the track about as they're
supposed to, I'm on TRS 2004 by the way.
also another conundrum popped up yesterday, I insered a spline point onto an existing piece of track, to alter the shape as you do,
now this was'nt to lay a branch line or anything like that, just to move it,
I could'nt believe what I saw at first,as not only did I get a spline point,
but I also got a bro2 signal but also a No 7 both exactly positioned where they would be when you create a junction, now I do have surveyor options set up on automatically place the lever,when creating a junction, but on this occasion I was'nt doing that, of course I put in another, spline point, and it did it again, and then a third time.
now this a wonderful idea,for creating junctions,if only I knew how and why it did it, believe me I hardly ever alter my surveyor settings.
Dissapointingly though,I tried it just before I wrote this and.....zilch.

TRAINZNUT
 
The track guides, or curve ones, I don't know what ones you mean, but from my experience they arent meant to have circles. You're supposed to just put your splines under the points so it gives you a guide..

But you might be using something totally different to what i'm thinking.
 
A search of DLS will reveal some really nice 4m and 5m track guides that do indeed 'snap' to the end circles and let you drag your track to your desired length. For freight yards, there is one on the DLS that is 5 track capable (though the name eludes me), and it works wonders.

Another tip, though unrelated, is the use of the 1 Kilometer stick as a 'straight track' device. Just place close to either rail and then set the other end of the track at the same position down the line.
 
Hi TRAINZNUT,

May I offer an alternative view? Abandon the guides and plan and lay your own track. This is Newhall, Santa Clara, California timetable west throat. It was done with no track guides and reflects the actual track configuration as of 1947 fairly accurately.

newhallyard.jpg


This is not hard work, just takes a little time and persistence. BTW, that is one of bdaneal's locos waiting for work.

If you want some information on track geometry, you might want to try to Google "Reading Blue Mountain and Northern Railroad" and "Harmer Steel." The whole subject of track geometry is fascinating when you get into it.

Anyway, hope this helps.

Bernie
 
Last edited:
Hi TRAINZNUT,

May I offer an alternative view? Abandon the guides and plan and lay your own track. This is Newhall, Santa Clara, California timetable west throat. It was done with no track guides and reflects the actual track configuration as of 1947 fairly accurately ....

Bernie
Nicely done track work, although by following the actual track configuration, you are using a track guide, albeit a prototype guide. I do the same thing when modeling a prototype line

My various guides were designed for when there is no prototype. They help to align the track. The actual design and track detail location is still up to the user.

Some of my guides were made to stay in the map during Driver. The track attaches to them and were made to be able to move complete track units around. This is especially handy when building double track from two single tracks. Once they are assembled, it is easy to shift the double track without affecting the spacing.
tguides2-surveyor.jpg

A set of guides that track attaches to.

Other guides are Surveyor only objects. They only provide a visual guide to align track.
CR6.jpg

Building a cross-over

The flags and map pins are meant to help remind me where future objects and features will be placed. While placing track, I don't always want to be sidelined building rivers, forests, towns, sidings, spurs, etc. I place a flag or pin, label it appropriately and move on. Later I will return to add the missing items.
flags_and_pins.jpg


Another aid to design is my famous Angle Guide. It is over 10km long and can be rotated to any defined angle. The red and green bars are spaced at 4m to help place double track. Being visible over long distances, they help align distant objects.
AG.jpg

AG_10KM.jpg


Finally, in order to help place cameras so that there is a smooth hand-off from one camera to the next as the train proceeds through the map, the tracking and static camera guides were created. They show the capture distance of the cameras. A train inside the guide will be seen by the camera placed at the guide's focus point. When a train leaves the guide, that camera loses the train. Unless another camera is ready to continue the tracking, the point of view reverts to the overhead point of view. By slightly overlapping the guides, you can insure a smooth transition from camera to camera without the jarring loss of capture.
cg_sphere_and_staticFS.jpg


See the DLS for all of the above. :)
 
Hello Martinvk,

I've seen some of your guides before, but having them all laid out that way in one place puts a bit of a different perspective to them. I'll check them out. Thanks for your post.

Bernie
 
Track Guides (chagrined)

My humble apologies to all,I have just disovered that the track guides and push pins although the look the same,they are two different animals.and the track guides work exactly as described, have just seen martinvk's
further illustrations,and his other guides,which I shall be downloading forthwith, however it seems as there are no takers on the other little conundrum,which happened ie. a BR02 and a No.7 signal appeared when
I inserted a spline point .:(

I'll be the taker on the last point. This is a known "feature" of Trainz. When you've placed signals, speed signs and other trackside objects, then decide to add an additional segment-point, the items added to that section of the track will move and jumble all over the place as you've seen. In order to keep this from happening, you need to plan you track laying so that the track is laid where and how you want it before adding signals, etc.

This becomes an issue when you try to smooth out track and need to add additional segments to raise and lower the railbed so that it doesn't float above the terrain underneath. Maybe TRS2009 and TRX won't have this issue.

John
 
Track Guides(2nd point)

Hi jcitron (john)
NNice to know I'm not the only one this has happened to, wish I could do it on purpose when I;m laying new track,perhaps it could be incorporated in the 2009 sytem,after all you can add a switch point automatically,
when you start a branch line or switch system. I think that would bve very handy to have your signals preset.:cool:

shearkahn (pete) trainznut
 
Back
Top