Not sure what one it is. It's the one that came with the Dave Snow source model (GP15-1 Undecorated w Dynamics 4 ARN). I think all I did was recolor the number files to be white in color.What kind of font did you use for the running numbers on the cab sides?
Install the app
How to install the app on iOS
Follow along with the video below to see how to install our site as a web app on your home screen.
Note: This feature may not be available in some browsers.
You are using an out of date browser. It may not display this or other websites correctly.
You should upgrade or use an alternative browser.
You should upgrade or use an alternative browser.
Show off your reskins!
- Thread starter SUBWAY125
- Start date


@Railroader1970 I did some digging and a font via image search and found that the font is Handel Gothic. Here's the image I usedNot sure what one it is. It's the one that came with the Dave Snow source model (GP15-1 Undecorated w Dynamics 4 ARN). I think all I did was recolor the number files to be white in color.

Request for help/information:
I'm adding weathering to a reskinned GP38-2 from @davesnow and I've finished everything but the fans. Is there anyone familiar with reskinning the "fan art.tga" file that Dave typically uses, who'd be willing to tell me how to (a) change the main color of the fans and (b) add a layer of dirt/grime? I'm working in Paint.net, but also have GIMP. I've been fiddling with this for a couple of days now, and just can't figure it out.
-Max (maxwerks)
Last edited:
Hi Max
I have done the fans and other parts before. I am no expert with graphics but have some experience (mostly in trainz projects lol)
I believe what you want is layers...
Basically you want to do the following;
1) Open the original fan art.tga file then save it as a new native file in your graphics program. (You will need something that can do layers. I use an older program named paint shop pro, but I believe gimp also does layers)
2) Copy the original background layer in the new file and paste it as a new layer. Hide the original layer as a backup.
3) Using the copied layer change the colors to grayscale
4) Set the grayscale layer properties blend mode to overlay
5) Add a second new layer positioned below the grayscale one. Name it 'colored' or whatever you want the colored layer named.
6) Select the color you want the fans to be and use the bucket tool to dump that color on the colored layer. You will need to adjust how light or dark the color is to get the final color you want as the grayscale layer will blend with the colored layer (the colored layer just tints the detailed grayscale layer)
As for the weathering you can add one or more layers on top of the colored layer with different transparency effects to get the grime you want. May also need to put the grime layers above the grayscale one. Just try out different combinations until you find what works best.
When you are satisfied with the changes, you should be able to export to a new tga file (make sure to merge layers on the exported file if that is an option, so your layers are all used. You could get only the active layer otherwise). Make sure you don't accidentally merge layers on the native file or if you do be sure to undo that after exporting.
Then it's just a matter of adding the new tga file in place of the old one in the asset.
Good Luck
Cheers
Walter
Hi Max
I have done the fans and other parts before. I am no expert with graphics but have some experience (mostly in trainz projects lol)
I believe what you want is layers...
Basically you want to do the following;
1) Open the original fan art.tga file then save it as a new native file in your graphics program. (You will need something that can do layers. I use an older program named paint shop pro, but I believe gimp also does layers)
2) Copy the original background layer in the new file and paste it as a new layer. Hide the original layer as a backup.
3) Using the copied layer change the colors to grayscale
4) Set the grayscale layer properties blend mode to overlay
5) Add a second new layer positioned below the grayscale one. Name it 'colored' or whatever you want the colored layer named.
6) Select the color you want the fans to be and use the bucket tool to dump that color on the colored layer. You will need to adjust how light or dark the color is to get the final color you want as the grayscale layer will blend with the colored layer (the colored layer just tints the detailed grayscale layer)
As for the weathering you can add one or more layers on top of the colored layer with different transparency effects to get the grime you want. May also need to put the grime layers above the grayscale one. Just try out different combinations until you find what works best.
When you are satisfied with the changes, you should be able to export to a new tga file (make sure to merge layers on the exported file if that is an option, so your layers are all used. You could get only the active layer otherwise). Make sure you don't accidentally merge layers on the native file or if you do be sure to undo that after exporting.
Then it's just a matter of adding the new tga file in place of the old one in the asset.
Good Luck
Cheers
Walter
Thank you, Walter. That did the trick. Also, I had the bit depth in Paint.net set to 24-bit; when I changed it to Auto-detect, everything that was supposed to be transparent was again.
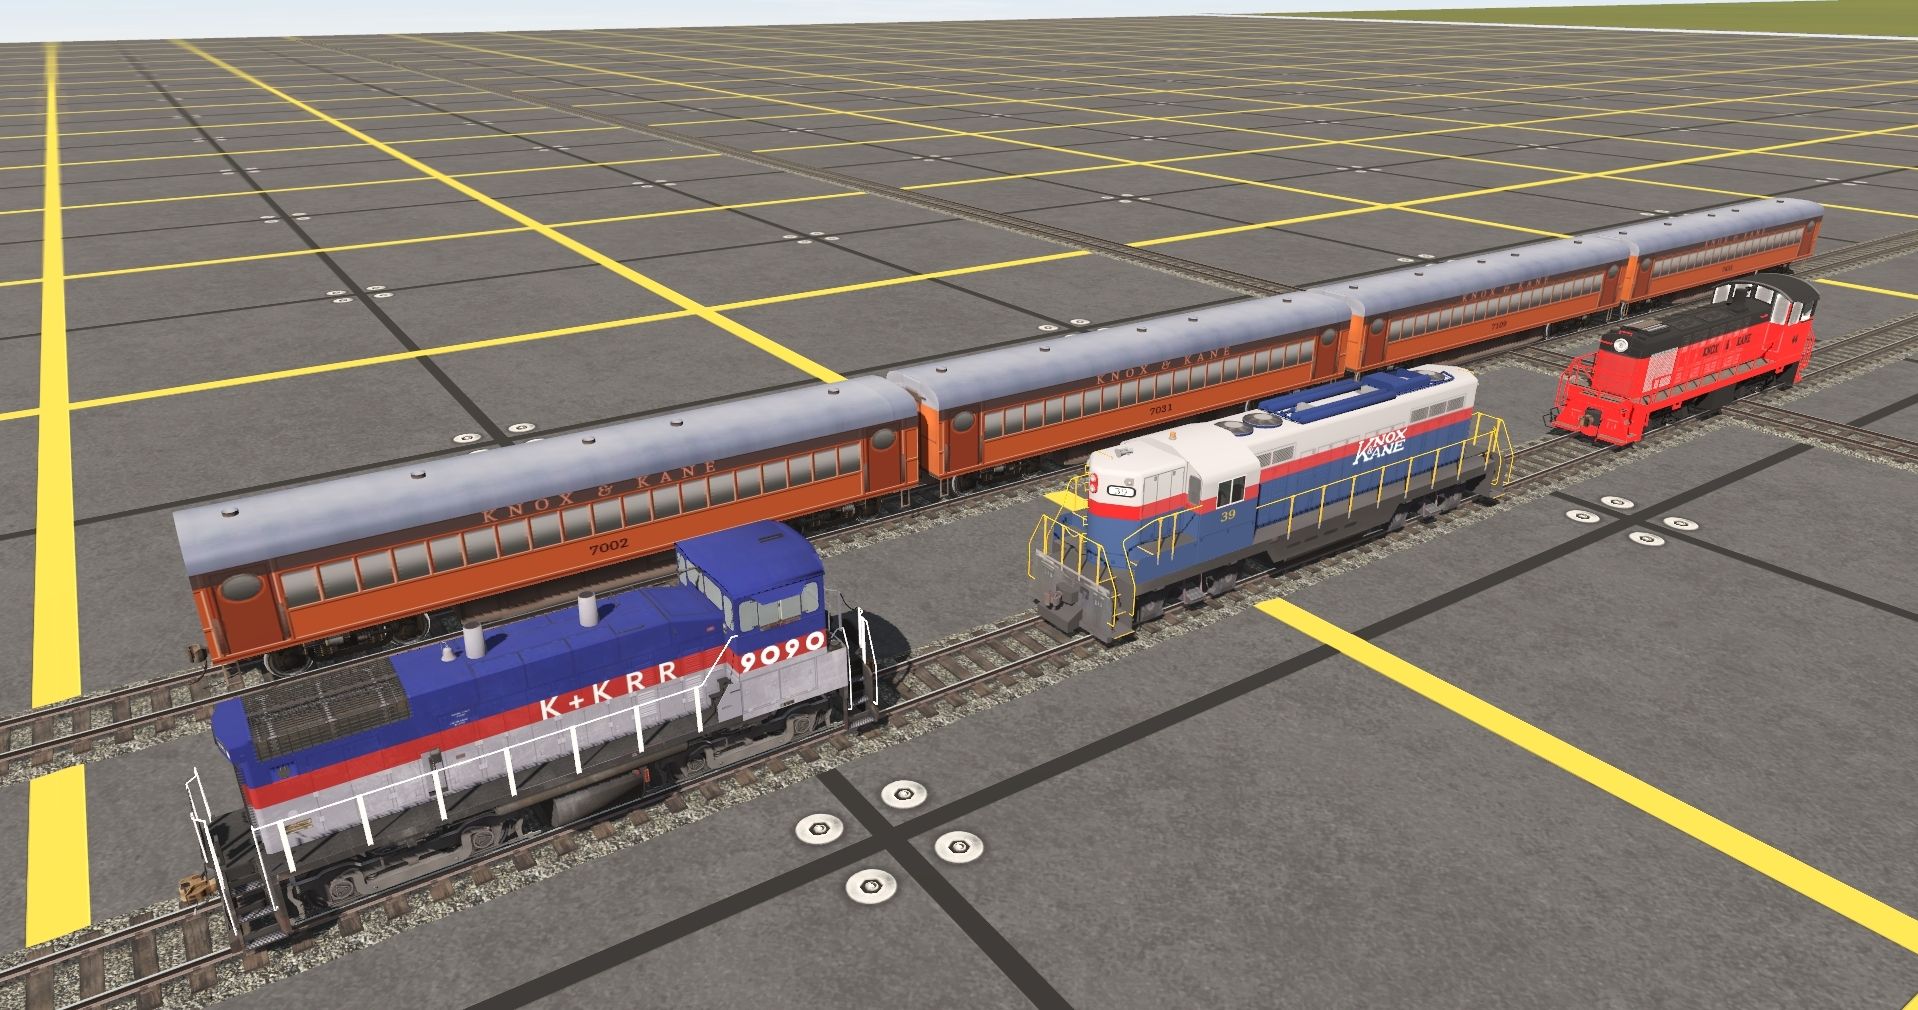
I've still got a few tweaks to make, but since it's a screenshot forum, here are a couple of pics of my reskin-in-progress:


I've still got a few tweaks to make, but since it's a screenshot forum, here are a couple of pics of my reskin-in-progress:
You're very welcome. Glad it worked out. I see you added stripes. Looks good. I know sometimes lining those up is a little difficult due to the mapping. I usually spend forever getting them right.Thank you, Walter. That did the trick. Also, I had the bit depth in Paint.net set to 24-bit; when I changed it to Auto-detect, everything that was supposed to be transparent was again.
I've still got a few tweaks to make, but since it's a screenshot forum, here are a couple of pics of my reskin-in-progress:
Cheers
Walter


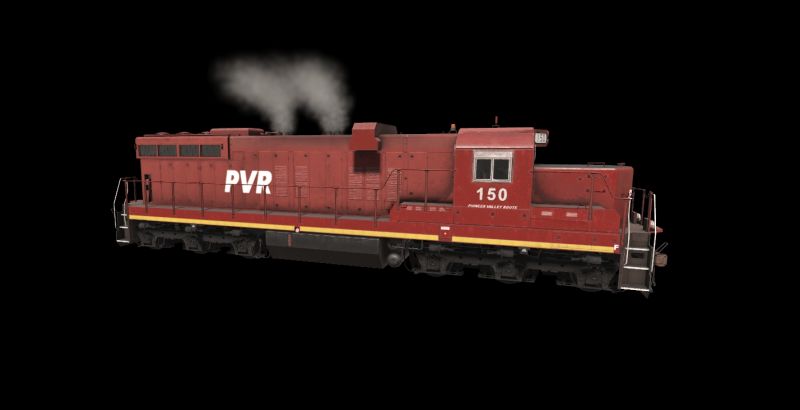
After being out of Trainz for over a decade.....trying this again.
Probably bit off more than I can chew right out of the gate, but working on some California Northern SD9s, since I can't seem to get the older models working.
Apparently I cant figure out how to just post the pic from imgur either. LOL
Probably bit off more than I can chew right out of the gate, but working on some California Northern SD9s, since I can't seem to get the older models working.
Apparently I cant figure out how to just post the pic from imgur either. LOL
Southern425
CMF
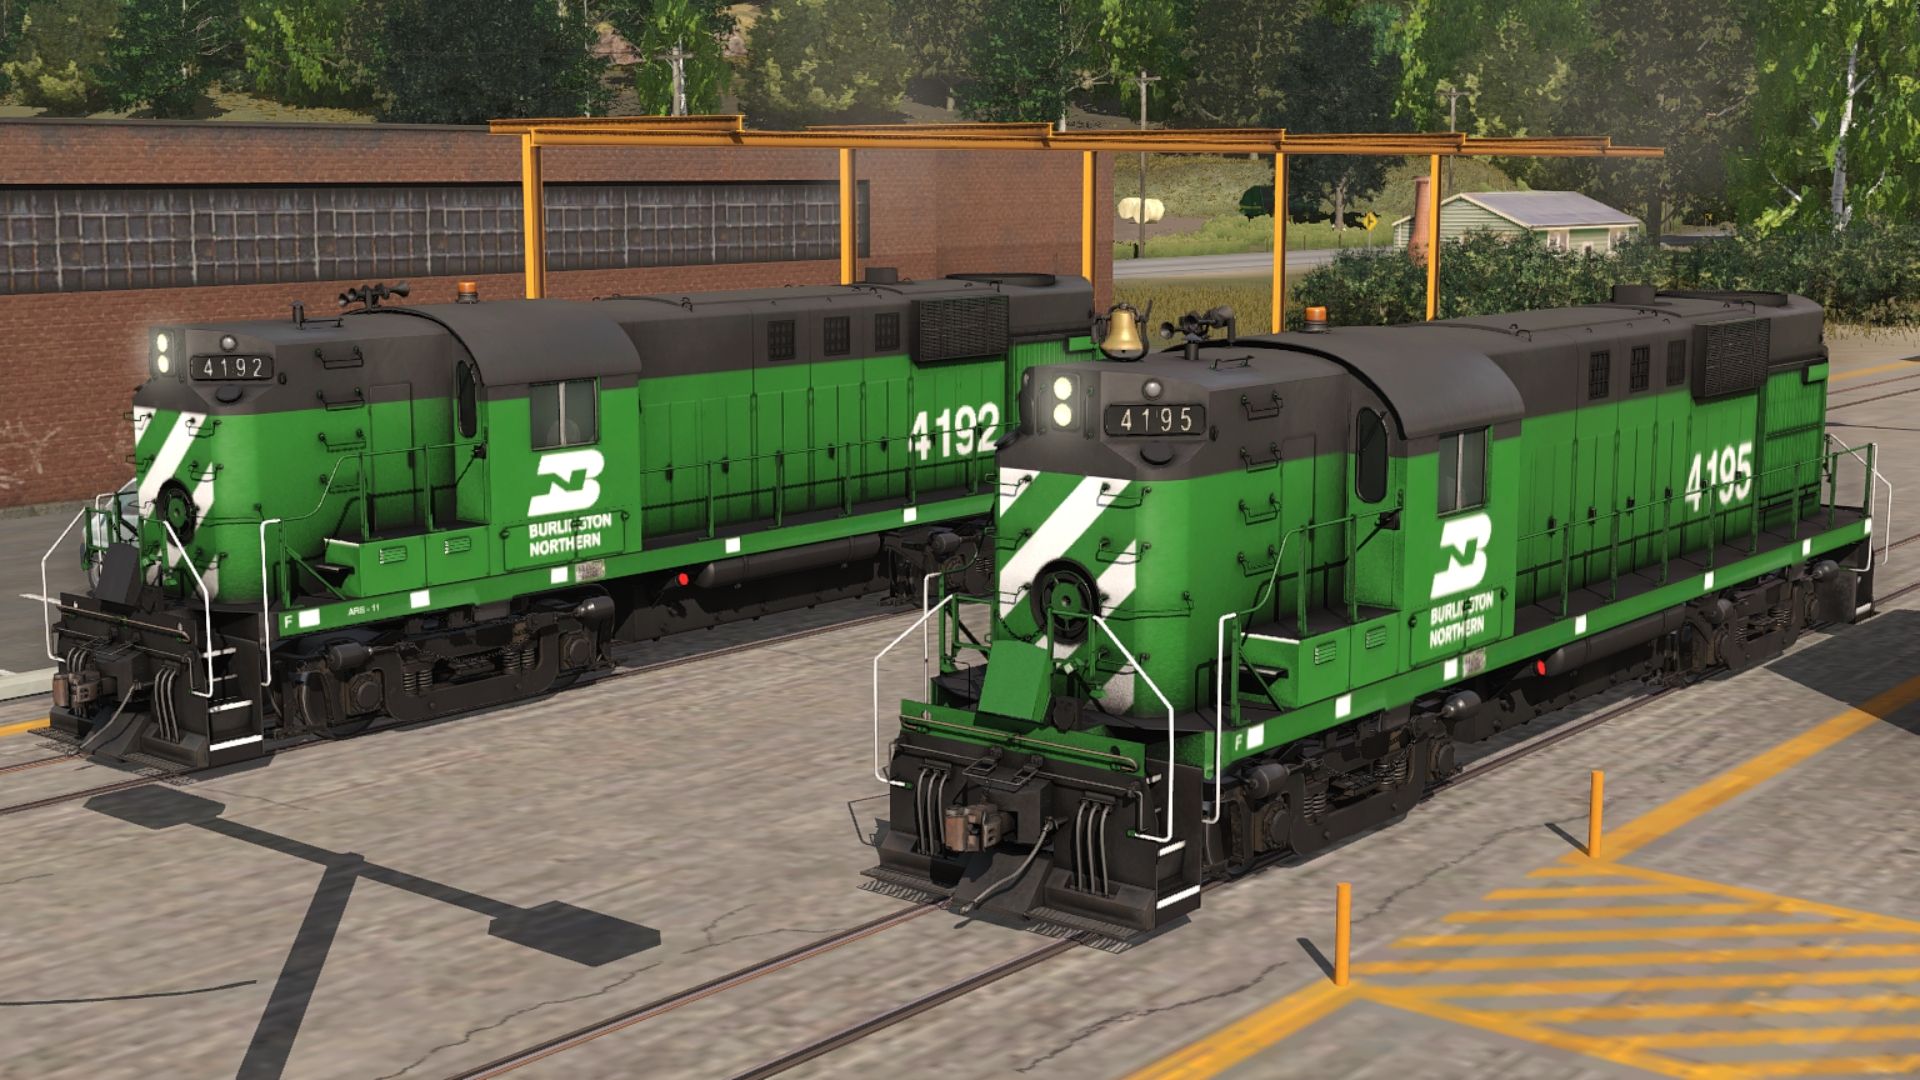
BN RS-11 (4192 &4195)

Last edited:
Dallas Terminal B40-8s. The Dallas Terminal Railway was a REAL terminal railroad operating within Dallas Union Station and the surrounding areas, which was originally intended to connect with the Cotton Belt into Dallas. It is not to be confused with the Union Terminal Company of Dallas. The Cotton Belt was later allowed to manage the Dallas Terminal it in 1953, and merged the DALT into the Cotton Belt in 1994, which was then merged into Union Pacific.
The locomotives depicted here represent what the DALT could've been had it continued operation under the Cotton Belt, operating with five GE B40-8s tacked onto the original Cotton Belt order of fifty-five, built to SSW specifications. Numbers 8095, 8096 and 8099 were painted into a paint scheme resembling an old Dallas Streetcar livery, while 8097 and 8098 kept their bloody nose scheme.

The locomotives depicted here represent what the DALT could've been had it continued operation under the Cotton Belt, operating with five GE B40-8s tacked onto the original Cotton Belt order of fifty-five, built to SSW specifications. Numbers 8095, 8096 and 8099 were painted into a paint scheme resembling an old Dallas Streetcar livery, while 8097 and 8098 kept their bloody nose scheme.
The final revision of the DALT B40-8s. From left to right; the as-delivered B40-8s in Southern Pacific's Bloody Nose, the 1989 revision "Dallas" scheme, and the 1990 Gyralite-equipped revision, known as "Dallas II" in-house. All would be merged into the Cotton Belt/Southern Pacific in 1994, have their Gyralites and roof beacons (which were deactivated) removed, ditch lights added, and be repainted into Southern Pacific's Bloody Nose for two more years until 1996, when the SP and the Cotton Belt were merged into the Union Pacific system.


Southern425
CMF
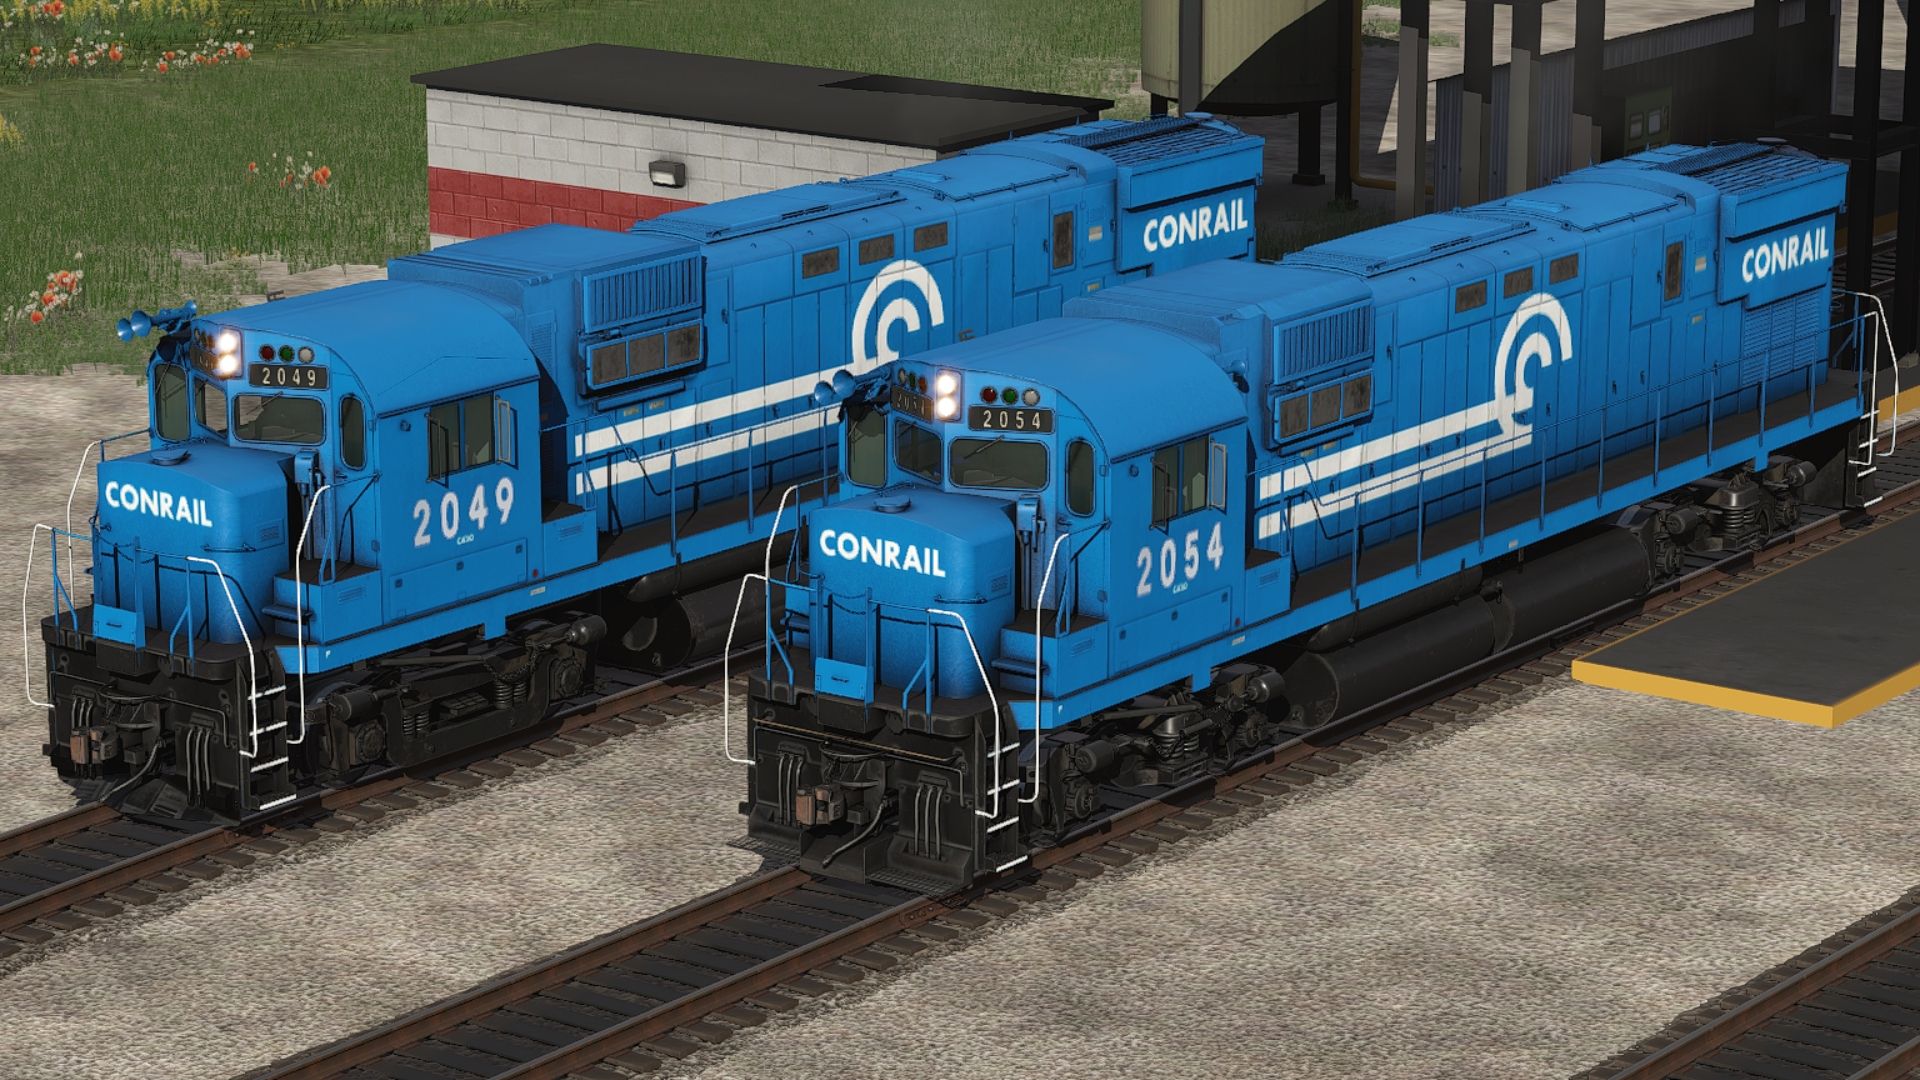
CR C430
joebernard
Member
wow good jobCR C430
Similar threads
- Replies
- 6
- Views
- 271
- Replies
- 3
- Views
- 749