Making Bodies of Water Techniques

dricketts

Trainz Luvr since 2004
I thought it might be interesting to start a thread where to discuss various techniques related to making any bodies of water.

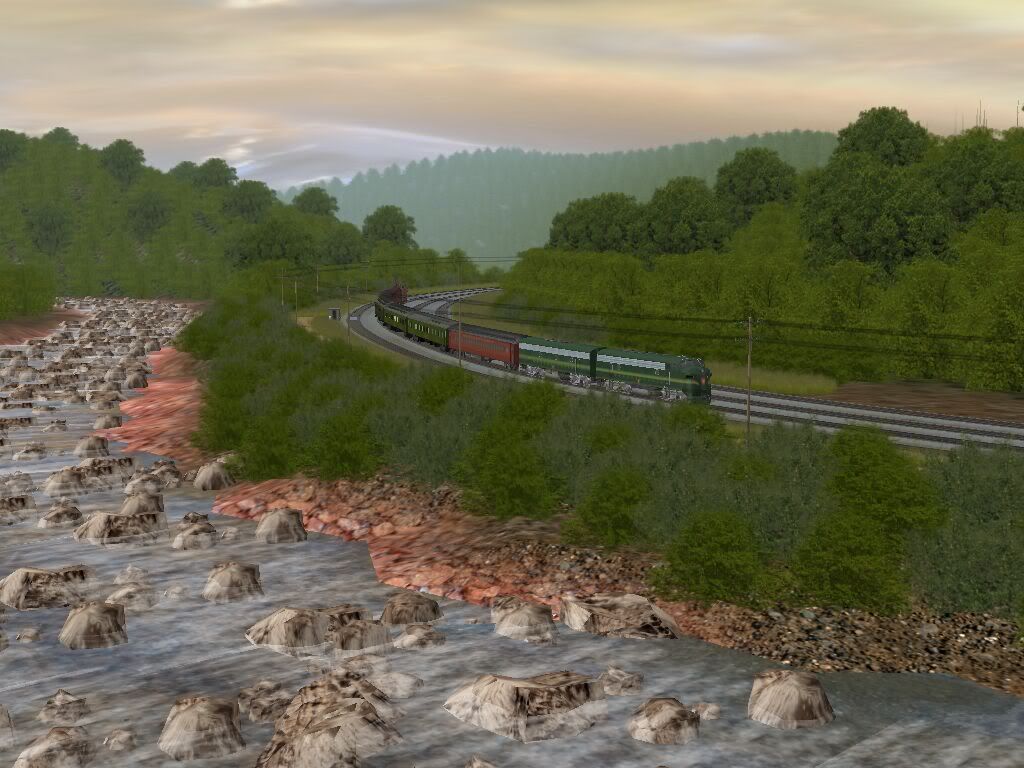
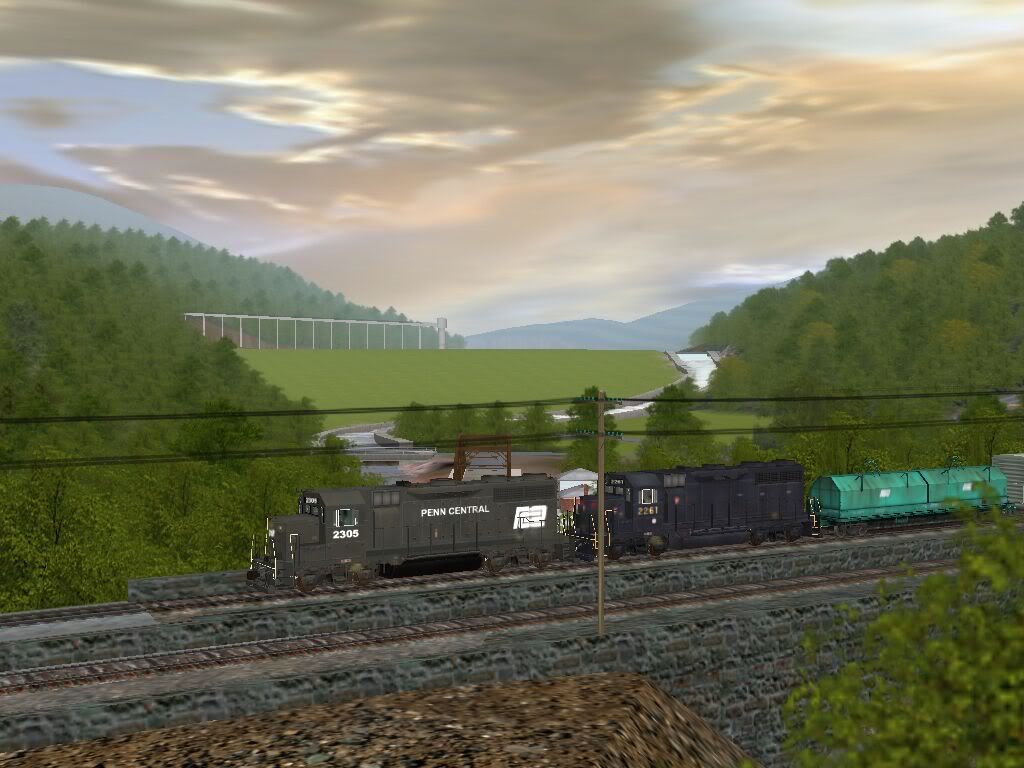
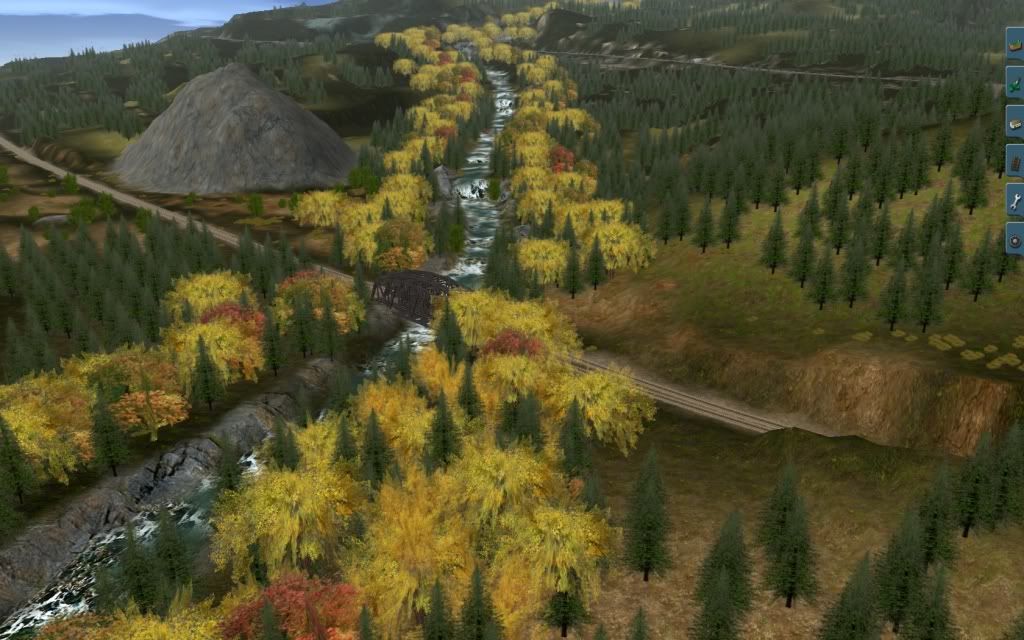
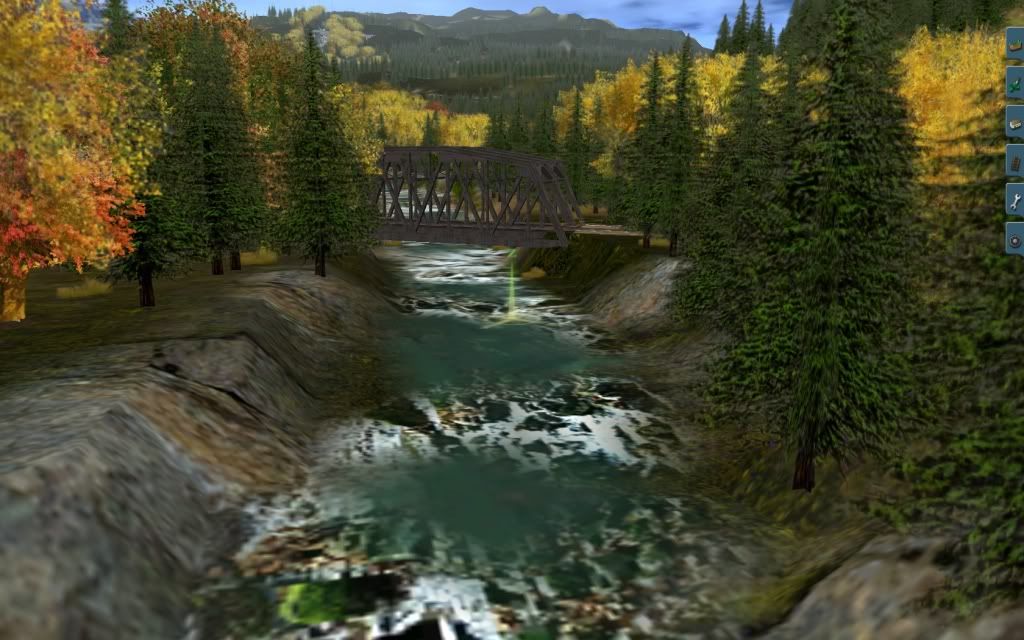
I recently started experimenting using textures and small elevation changes to make small creeks and streams. With the right pallet of textures one could make some really realistic looking waterways. I defiantly think this method is quicker and you don't have the elevation problem to deal with compared the built in water tool. I've been using "coldwater" by smooz with a combination of some really nice high-res textures by motorbreath. I've been really happy with results so far.

Please post your preferences, techniques, pics, favorite content, etc.
 
Last edited:
I think Joosten does a really fine job with the rivers and streams, and as you said the default water in game does not compare to what can be wrought with textures.
 
I often thought of building a gradually increasing in depth: stream, to a river, to a lake, joining to a bay, then on to a deep sea ... with whales, fish's, ships ... driving in Cab View, on BNSF50 Invisatrack, rising and sinking like a underwater rollercoaster, twisting and turning ... viewing all the objects ... Brings back memories of the Beatles: "Yellow Submarine" movie.:hehe:

If you take track, and lower it by 5m ... hit the track: "Cut" level button, to cut stream bed, or river channel ... you can place tracks every other grid (20m apart) to cut larger areas, increasing in depth.
 
Last edited:
You'll also help your FPS by using textures instead of water.

I'm wondering how I would do this with enormous expanses of open sea on one of my current routes? Ideally I need to keep the water by the shore but I'm wondering if I could maybe blend it with textures around 3 or 4 thousand metres out without causing an obvious 'break' in continuity? Could be a great help to me.
 
For large bodies of water the copy and paste function is your friend. If you set up an initial area with correct elevation, base texture and water added then copy this with terrain and ground texture added, paste will then recreate all of that including the water at the correct height. Real time saver! Obviously you still need to hand sculpt the edges and shores but a useful if undocumented perk of the Survveyor copy/paste functionality.
 
Thanks Vern, I've used that method before. What I'm trying to do is lose the water and use only an elevated ground texture to avoid the FPS hit involved with water. For example, I have the 'shoreline' with water placed up to the edge and the relevant ground texture added below the water line.

As it is 10 boards from the shoreline to the 'edge of the world' I would like create another shoreline at say 2 or 3 boards distant but this shore should still represent water using only textures instead of water. I hope this makes sense? : )
 
So; You set the water height to be the same at all your coast line and seas. A few days later I see a line in the middle of the water and the height has changed at that point! You go to the reference point and adjust the water line to the correct height, and few days later, again! My reference point is a small boat where you can see exactly the level of the water Is there a trick to prevent this?
 
I prefer textures also great on savin frame rates with large routes I mix between green water and blue and shade darker blue under bridges also for large seens ya can use heighting tool to create
waves and a light shade for caping
 
Used Vern's idea and its a good one, plus another suggestion

My route is on the seacoast so I have about one baseboard offshore of empty ocean along my route. Old way I used to add a baseboard of ocean:
1. Add a baseboard
2. Lower elevation below sealevel
3. Paint texture consistent with that used on other ocean baseboards
4. Add water.

Vern's idea which I have heard on this forum recently as well and used recently:
1. Add baseboard
2. Using the copy and paste with elevation and texture turned on, copy from exisiting ocean.
3. As Vern mentioned, what surprised me is the water is pasted as well, at the correct sea level, so a real time saver

For elevation changes, river or creek splines seem to work (see Avery to Drexel) and I use the "coarse rock" texture with them. Also there is a waterfall built into TS2010 so you could use it for elevation changes to connect 2 levels of water.
 
Last edited:
how come talking about and not one picture

one thing i absolutely not understand:
starting this nice thread very informative under the slogan 1 picture tells more than a thousand words and most of you try to describe how the painting looks to the audience. :o
Oops correct there is no audience but viewers and the eye learn faster from seeing.:cool:
I show many pictures to explain how things could or could not work and not to much talk on it.
No this is no rant just a little bit irritated not seeing one picture.
Yes it takes time most time lots of it to make the right picture.
Come guys give it a try and you will see how this thread will come to live and suit the title!
No I not have to put one just visit my thread Canadian Rocky Mountains 2011 and lots of choices on textures water and others.

y'all have a great day

Roy:eek:
 
Running Water down hill......

Here is an example of running water in Trainz......:hehe:
Southfork11.jpg
 
Necessity is the mother of invention

While working on the Horseshoe Curve route I needed the ability to drop elevation 120 meters in 17 miles. The Little Conemaugh River had to drop with the elevation also so I developed a technique to do that. First I level the terrain at 100 m and add water at 100.5 m. Then level the terrain 95.5 m and add water 100 m and so on. Then I fill the gaps using GF Rocks and then add the rapids effect. :p
 
I like it... I've always that sort of stream in mind, but haven't been able to pull it off. thanks for the ideas!
 
Ames Creek..

Hi All: Here is a example of what I do with textures..I love doing it, for 1 its helps with frame rate water sucks up a lot of energy..:wave:
Bobcass_20110612_0030.jpg
 
Ames Creek..

Hi All: Here is another shot of my creek, notice the little pools of water(texture)..It is done with the "Creek Texture"..Make your bodies of water the same color as the "Creek Texture"..Then when it flows into it they Will match color wise..The Rapids are done with a texture called Miscellaneous 8..
Bobcass_20110612_0029.jpg
 
Lake Heber..

Hi: Her is one more shot I like to show you..Notice how the texture color(Creek) matches the color of the water..
Bobcass_20110520_0021.jpg
 
Back
Top