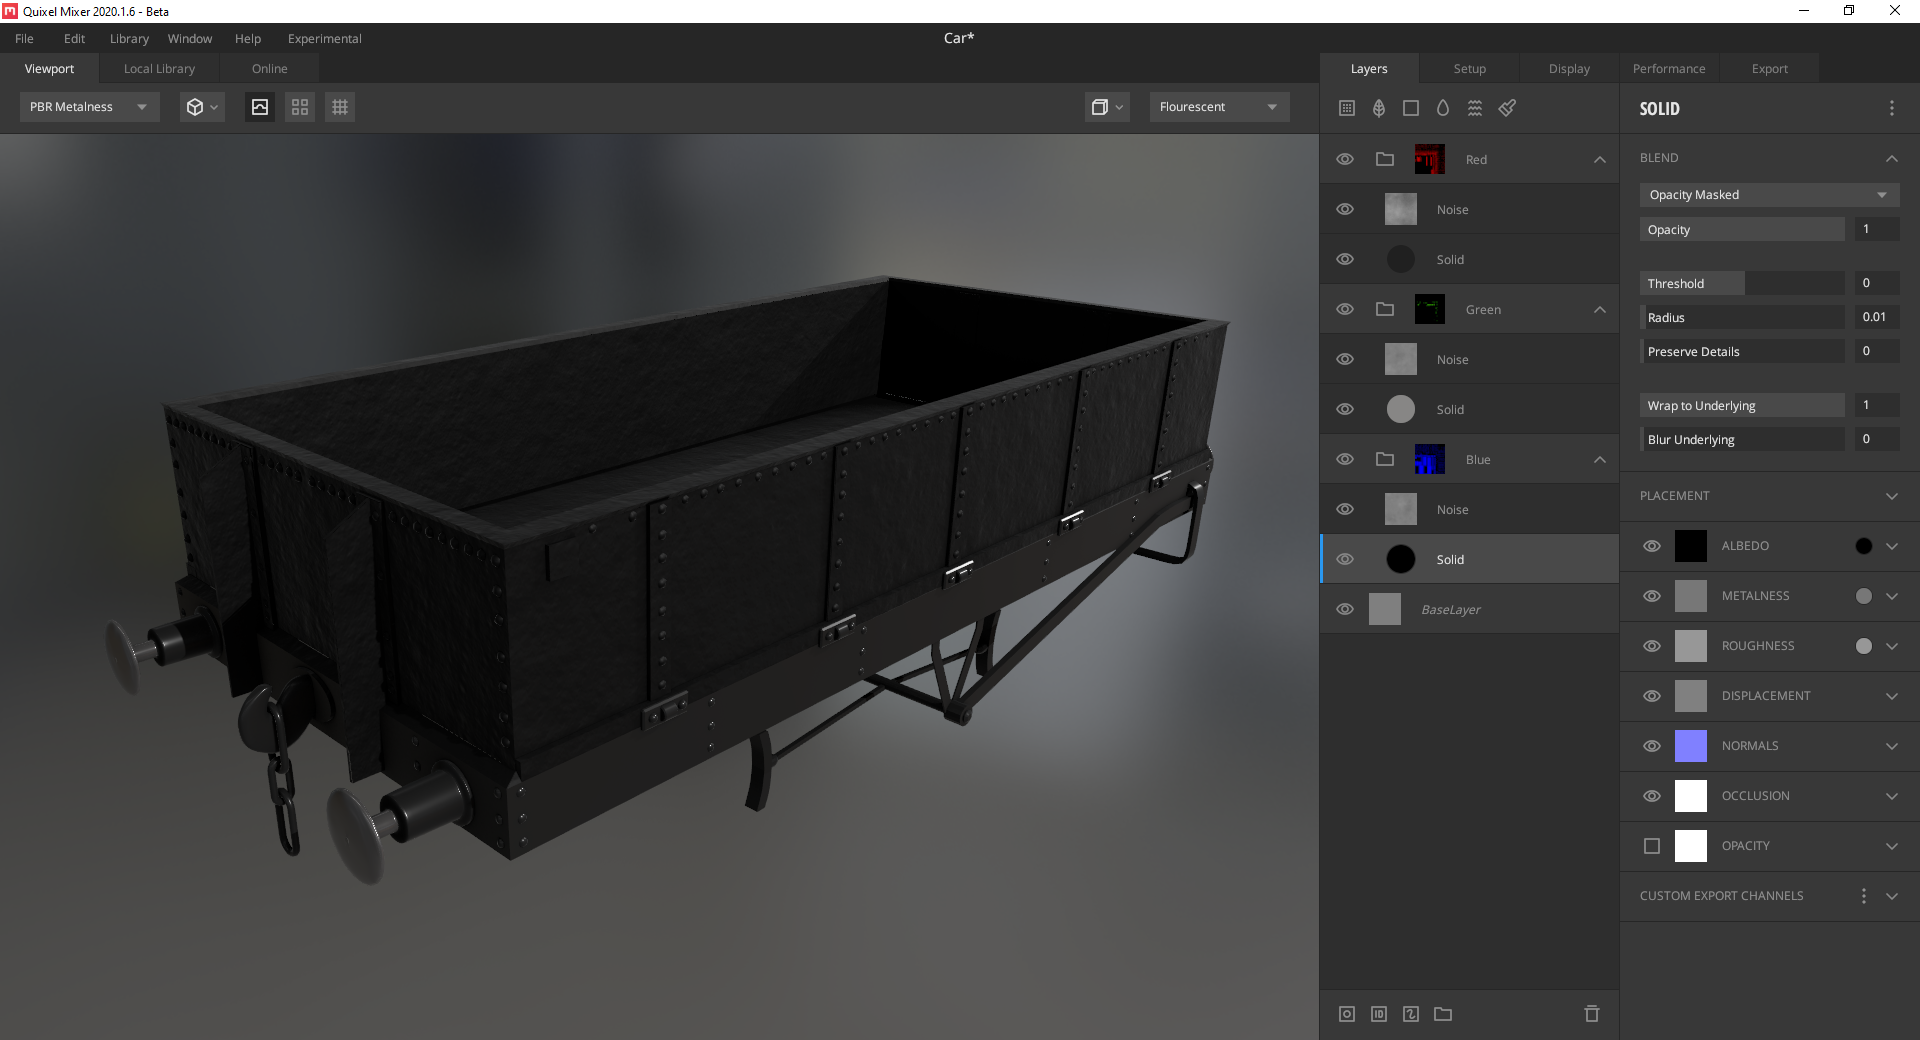
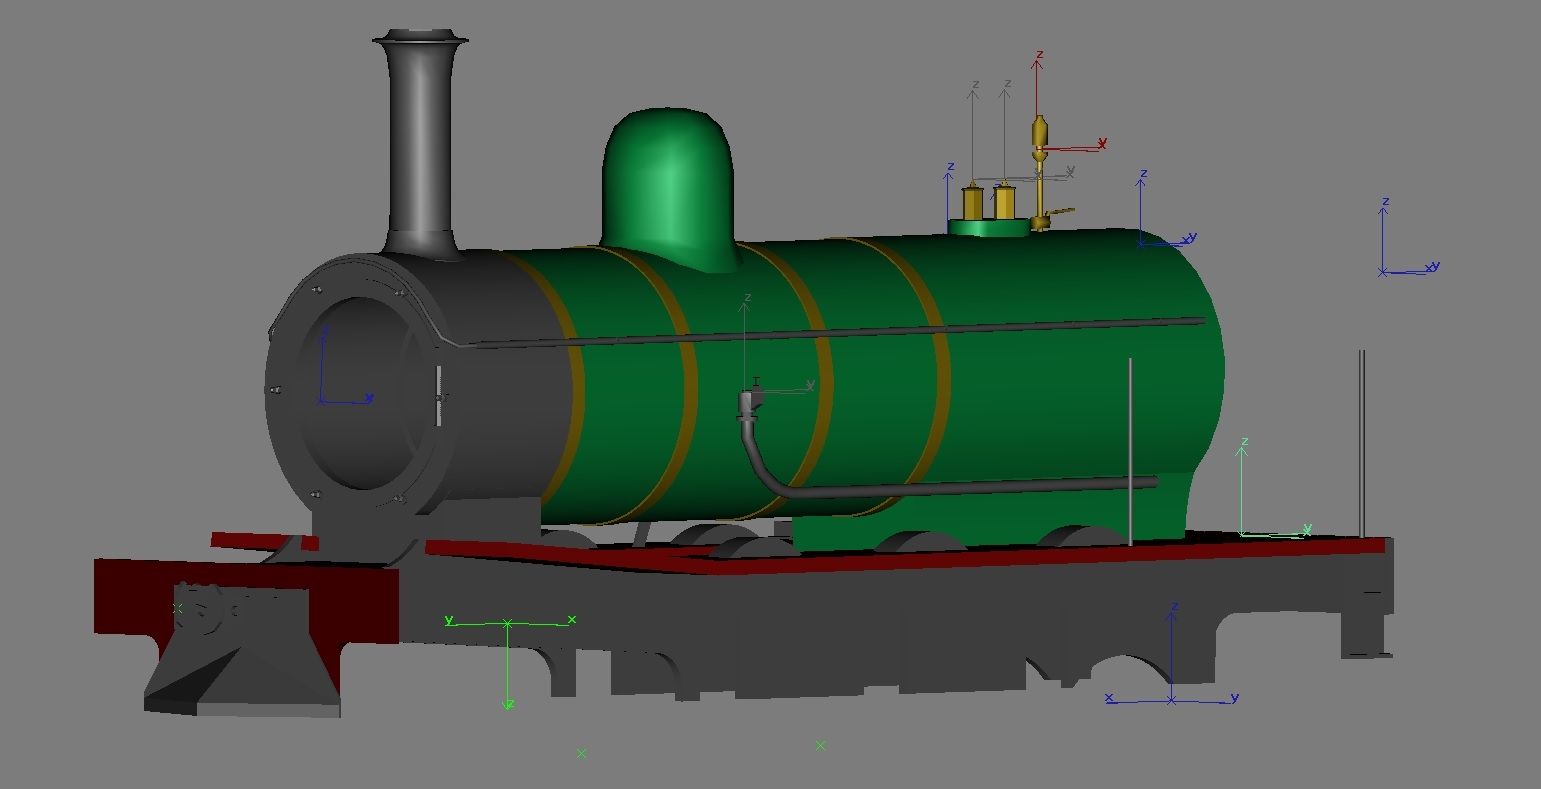
Nice job on the materials there Ajrod!
---
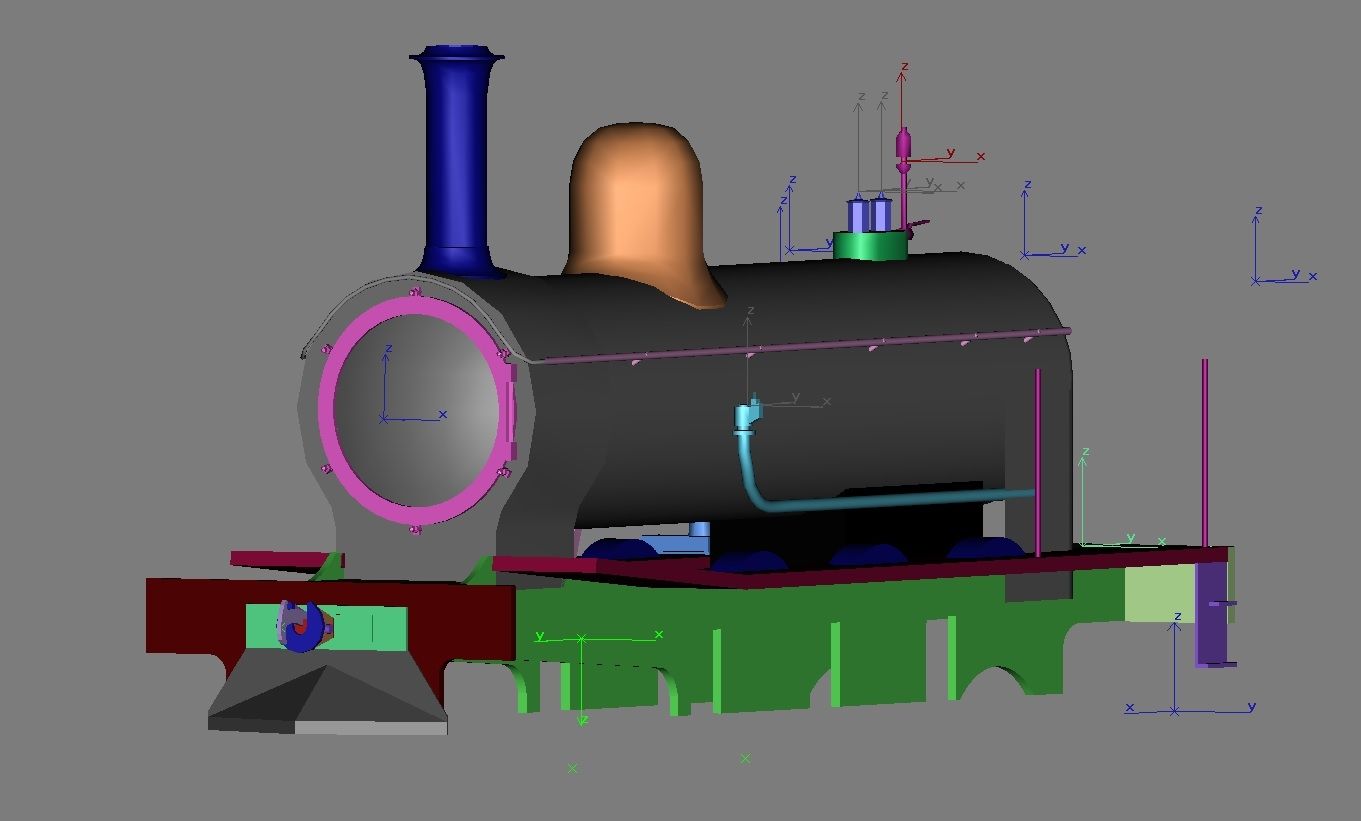
I have been studying how to rig the Walschaerts valve gear in Blender to animate it for my Swedish Railways class Sa project and I have finally found a way to properly rig it. From what I have seen, most people seem to take shortcuts on two certain places:
First people tend to make a simplification by locking the connection point between the radius bar and the combination lever to only allow a horizontal movement. This will make the valve stem move up and down slightly. This is usually solved by locking the horizontal movement of the valve stem, which in turn makes the connection between the stem and the combination lever break.

From left to right:
1. The connection point between the radius bar and the combination lever is locked along the green line (note that the valve stem moves up and down)
2. Same as 1. but with the vertical movement of the valve stem locked to the blue axis (note that the link to the combination lever breaks slightly)
3. Correct behavior (note that the connection point between the radius bar and the combination lever moves slightly up and down as it should)
The other thing that I have seen, is that people assumes that the die has a fixed position in the expansion link for a certain cutoff. This is not true, as the radius bar is forced to move slightly up and down in the expansion link to compensate for the fact that it is connected to a fixed point in the reverse arm via the lifting link. This can be solved by driving the motion from the theoretical center of the expansion link arc.
I have, after a lot of testing and asking on the Blender forums, found a way to properly rig the entire Walschaerts valve gear on my class Sa engine to fix these two issues. In the rig it is also possible to change cutoff by simply rotating the reverse arm just as in real life, which is nice. A shame that it is not currently possible to adjust the cutoff in-game!

Animation for reverse drive with the die in the top of the expansion link (even though the wheels rotate forward..)

Die in the bottom of the expansion link for forward drive. Note how the die moves slightly up and down in the expansion link, as it should.
---
I have been studying how to rig the Walschaerts valve gear in Blender to animate it for my Swedish Railways class Sa project and I have finally found a way to properly rig it. From what I have seen, most people seem to take shortcuts on two certain places:
First people tend to make a simplification by locking the connection point between the radius bar and the combination lever to only allow a horizontal movement. This will make the valve stem move up and down slightly. This is usually solved by locking the horizontal movement of the valve stem, which in turn makes the connection between the stem and the combination lever break.
From left to right:
1. The connection point between the radius bar and the combination lever is locked along the green line (note that the valve stem moves up and down)
2. Same as 1. but with the vertical movement of the valve stem locked to the blue axis (note that the link to the combination lever breaks slightly)
3. Correct behavior (note that the connection point between the radius bar and the combination lever moves slightly up and down as it should)
The other thing that I have seen, is that people assumes that the die has a fixed position in the expansion link for a certain cutoff. This is not true, as the radius bar is forced to move slightly up and down in the expansion link to compensate for the fact that it is connected to a fixed point in the reverse arm via the lifting link. This can be solved by driving the motion from the theoretical center of the expansion link arc.
I have, after a lot of testing and asking on the Blender forums, found a way to properly rig the entire Walschaerts valve gear on my class Sa engine to fix these two issues. In the rig it is also possible to change cutoff by simply rotating the reverse arm just as in real life, which is nice. A shame that it is not currently possible to adjust the cutoff in-game!
Animation for reverse drive with the die in the top of the expansion link (even though the wheels rotate forward..)
Die in the bottom of the expansion link for forward drive. Note how the die moves slightly up and down in the expansion link, as it should.
")
 But I am curious about your solution Zec, have you described in detail somewhere?