Some Artsy Stuff

How many of you have read this tutorial about converting your screenshots in to genuine 3D stereo pictures? It would be great to see a thread in the Screenshots section for these stereos. Better still, I could make a special section in the Trainz Resources Directory where the best ones could be displayed. All the software you need is free. You just have to locate some red blue and/or green celluloid to make the glasses.

I haven't made any stereos myself, but I did make the glasses. I used the celluloid that goes over theatre lighting. You can purchase small squares from theatre lighting hire shops, but hobby or art shops will probably be cheaper.

There are thousands of stereos on the Internet so when you get tired of looking at Trainz pics, you can go surfing.

Like this?

CC45-Setreo.jpg

Eurostar-stereo.jpg


peter

Edit; ok that was my first attempt. maybe I'll get it right the 2nd time...
 
Hi Peter,

Ever since I posted that link I've been searching for red and blue celluloid to make a set of glasses. I've been to every hobby and music store in town except a hire place that may have celluloid for stage lighting. One mob had it, but I had to purchase the entire roll at $20 per colour. I ended up with a couple of sheets of overhead transparency film, but the colours are completely wrong. I cut it into strips but when I got up to three thicknesses it became difficult to see the images.

I eventually went to another site and found this shot of Mars. With three layers it looked normal, but with four it became full 3D. When I went back to your shots it was impossible to define anything with so many layers.

Wow, having got that off my chest, now I need to know what kind of results did you get? Also, what material did you use for the glasses? If we can perfect this, I'll make a special section on my site where people can go for a look. Please let me know whether you were happy, especially after comparing your shots with the NASA one which is genuine 3D.

NASA MARS LINK

Regards,

John
 
I've never been wild about the results or R/C 3D-ness I've found that its never given me great results (its probably my eyes).

That being said; I found my glasses in a travel book to New Zealand; There was an Ad in it that had a pair. Sadly they are not full glasses just the lens part (gonna go out to a dollar store and get a pair of cheap sunglasses and merge the two). You might try looking for the National Geo magazine on mars; it came with a pair & lots of 3D mars pics.

About my pictures compared to NASA's:
I haven't gotten any said pictures to really 'pop' out. There is alot of guess worked involved as far as I can tell when making a 3D image; which Ian's tutorial leaves out. Once you apply the R/C Stereo filter you have to manually adjust it to make the image appear 3D. This basically involves wearing your Glasses and moving the filters around until it 'pops.' And for some unknown reason the saved file never seems to look the same as the one in the program (maybe a bug, maybe me). I'll continue to play with it and see it I can't get better results.

peter
 
I've never seen the book, but I avoid bookshops as much as possible. I noticed Ian's bridge had almost a centimetre shift. My fogged up glasses almost worked on that.

There's another process involving polarised glasses. I must look at that.
 
A Few Suggestions

To Peter and anyone else playing with 3D.

Following up on Peter's suggestion, I tried to purchase National Geo's Book on Mars, which I found out, was printed in 1998. Nothing available in Cairns, but the cost was $38 plus postage.

A bright young girl in another bookshop directed me to the kids books where we found two different ones with glasses. The cheapest was $4.95 with two pairs of hand held glasses, so I grabbed it.

I found this interesting: One book had green and red colour shifts with blue and red glasses. The one I purchased had blue and red colour shifts with green and red glasses. They work fine on Peter's pics although the level of 3D wasn't brilliant. The bridge on vulcan's site was a little better but still not terrific.

On other Internet sites, I found the quality really varied from reasonable to poor. The closer the photos are to monotone (B&W) or a drawing, the better the depth. I strongly suggest you convert some pictures to Black and White and try them. There reason is this: All coloured photos contain massive amounts of red and blue. TV pictures are made up of Red Blue and Green). The red lens will offset any red in a photo and turn it to near white. Blue and green will do the same, but by using a green lens on photos with a blue offset isn't so bad. What you must do, is stop the red lens from washing out your photo, so by converting everything to monochrome, you'll solve the problem.

Finally, Taking two photos from a slightly different angle or aspect isn't the answer. You're trying to imitate the eyes or two cameras taking in the same scene. Hold a pencil vertically in front of you at arms length. Stand about 10 feet from a smallish object. Your computer monitor will do. Close your left eye and watch the pencil move to the right of your monitor. Now repeat with the other eye and the pencil will move to the left. The monitor won't move at all.

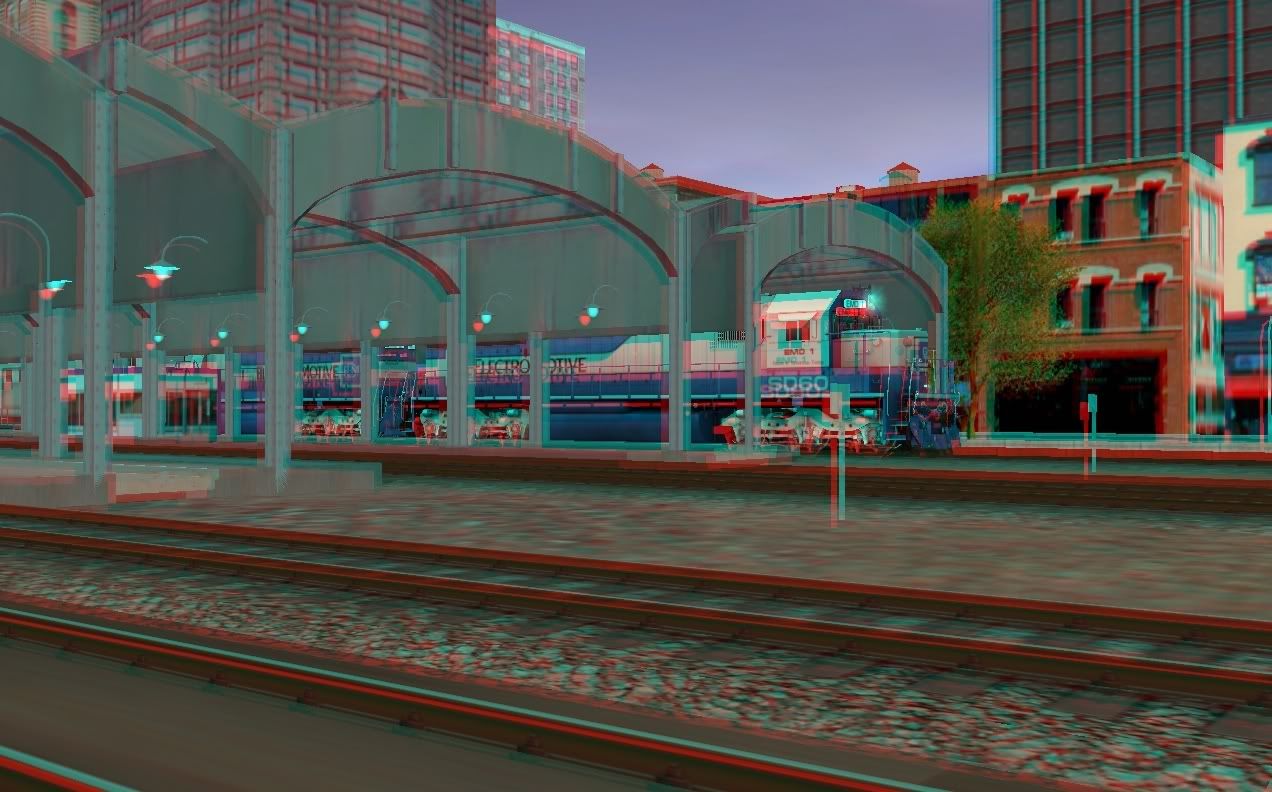
What we need to do, is manipulate a photo so that the vanishing point stays the same, but the extremes shift slightly in all directions sideways. If you photograph a train coming towards you at a 45% angle, the vanishing point will be on the edge closest to the rear of the train. If the train is coming directly at you, the vanishing point will be behind it.

I think Photoshop and Gimp both allow you to stretch photos from a given point to correct parralax issues. This feature should do the trick. When I get a few moments, I'll look into it. It's not easy to explain, so maybe this will help:
3d_example.jpg
 
Last edited:
Back
Top