Hello ASFalcon13,
I am not an expert, but I have a good grasp of creating eye pleasing scenery in Trainz.
Intro
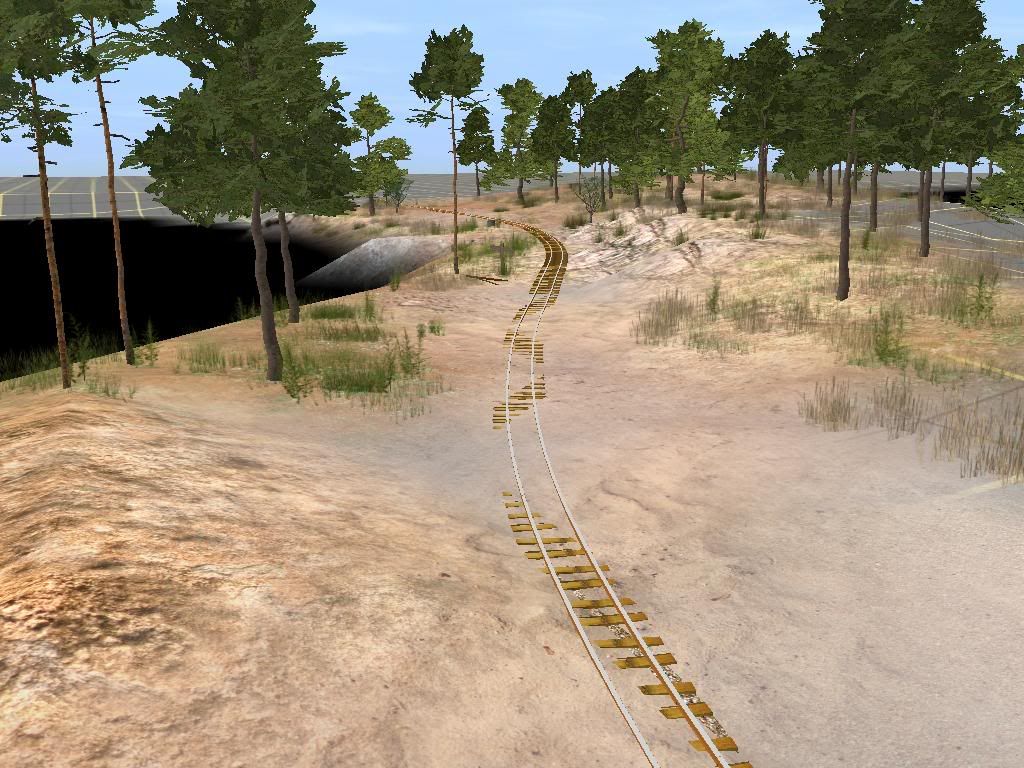
One of the most important parts to remember is that the world is not a clean and perfect place. You have rocks that stick up in lushes green grass. Trees that grow in odd patterns. You have flowers next to the barn and a small dirt road with a dead weed in the middle of the tire tracks.
Looking Around You
Have you ever watched how a artist paints a picture of landscape on location of the landscape. You think "Wow, I could never paint like that". Well you actually can, but its all about how you look at a object and put it into terms of what you can use to create with it.
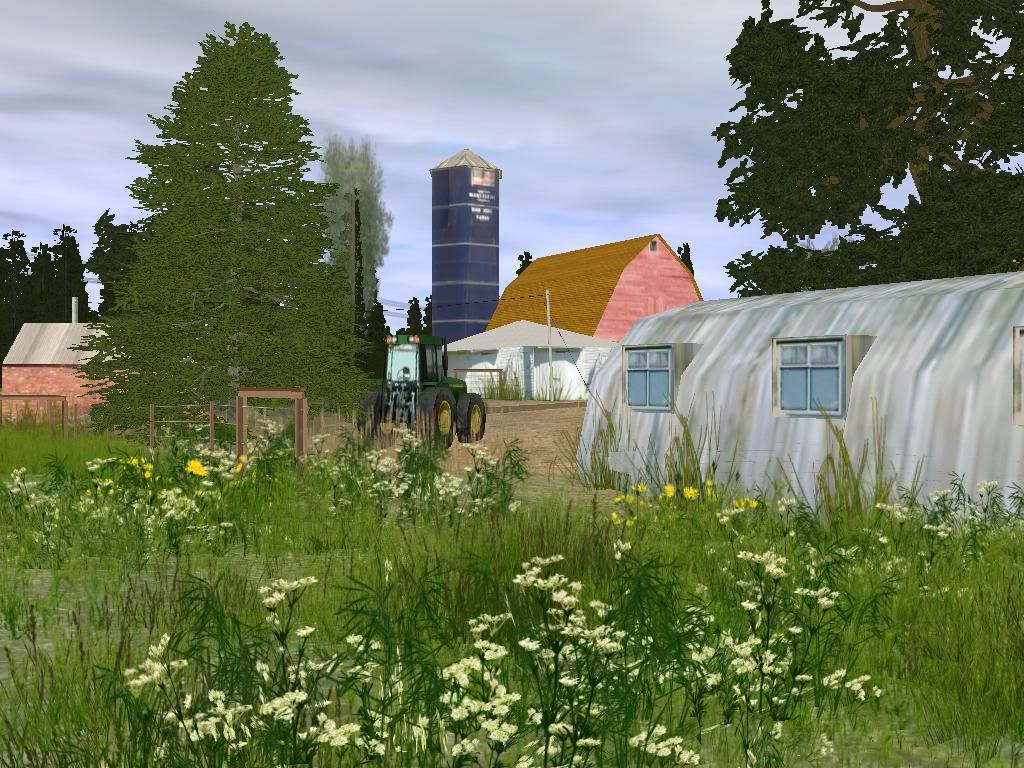
Your driving down the highway and you see on the left side a farm complete with a barn, house, and even a fenced in area for live stock. That evening you fire up Trainz to model this scene. Sense there is no track, we don't have to worry about that. So we will focus on the topology. Think back at how the hills worked with the barn. Was the barn siting high up and how was the hills surrounding the barn built. As you work with to hills and things you also may want to place the main areas of the farm. Such as the barn and farm house. At this time you may also want to continue thinking about how the grass was and how did the textures flow with the objects and topology.
Do NOT Over Look Them
Most of us, get so distracted with trees and the topology we forget that element that adds everything to are landscape. Thees two things are grass and textures. Everyplace you see green, you will find grass. Plants add 3D to a 3D world. With out grass your place looks as your ground is nothing more then paint. Grass can add many things to a place, they can add color or draw the users attention to details. When placing grass, ask your self these questions.
- Does the color of the plants match the textures its on as well as surrounding textures.
- Does it "look good" with the objects around it.
- Does it match growing patterns of the real thing.
- Does it match the trees
As I said above, you want your grass to match the textures. Well, you want your textures to match with the objects and the topology. You may have to go back and redo textures many times. If you have a cliff you don't want some green texture with leaves on the cliff. You would want a rock face for it. Well, then why would you put green on an area were cars drive on. Match your surroundings with each other.
Notes
What Ever Feels Right To You
There is no right or wrong way to create Trainz routes. Imagine you are creating a Trainz route right now as you read the word read. What is the first thing you imagine your self doing. Is it laying track, or to do topology (landscape) first.
Personally I always do both at the same time. Do some landscape, lay some track. Do more landscape, do more track.
Tips
- Never under estimate how important your textures are.
- All ways use textures so they "agree" or match with tracks, building, and trees/grass.
- Before you re-create something in Trainz understand it so you can lay it out the most realistic way.
- When laying track, ask your self. If I worked for ________ railroad company the track would be cheapest to go to or in _________.
- When developing a route, see to it that objects match each other. For example, you don't want a blue house that is totally blue with no other shading, but have a realistic cabin next to it.
----------------------
I hope I was of some help, if you have any questions please do not hesitate.
Cheers,
JRT