
This is part 2 of my ongoing blog series outlining the rebranding process at AMTZ. You can read part 1 here. I have a Q&A thread about the change on AMTZ here.
The Logo
After deciding on a name the next major step was to pick a logo. There were a lot of considerations to think about when designing a logo for AMTZ. The process started with some sketching and word-association/web outlining. We quickly came to the conclusion that we wanted to stay away from the obvious Amtrak relations, and move towards a new distinct look.
Pictured is an annotated version of the word-web used when coming up with a logo. Yellow Circles were some of the ideas from which sketches were formed & then rejected. Green Circles were some of the ideas that led to the final design. Red Circles were ideas rejected immediately.
Sketching is a long process, which uses up many pages of my sketchbook. However after many sketches, refining, sketching, refining steps, we paired it down to just a few different logos. After there were a few sketches which we wanted to explore further the next step was taken in finding a font that would work for each sketch; because I'm not getting paid for this job I choose one font that would work for all the sketches, sometimes harder but usually less time consuming. We ended up with a nice clean sans-serif font that would work well with the website I was starting to design. A major consideration in the font was to ensure that there was a web-font version for use on the site.
Along with the font this was a good phase to pair down some colors to use. Naturally because we're "American Trainz" the colors Red, White & Blue were preferred.

The first sketch is digitized along with swatch-blocks of the colors. It's always best to first make your logo in black & white, then add color later.
In every step of the sketching process logos are rejected. Other ones seem really good until you start implementing them and then they fall apart. Below are a selection of the sketches in the 'final' form.
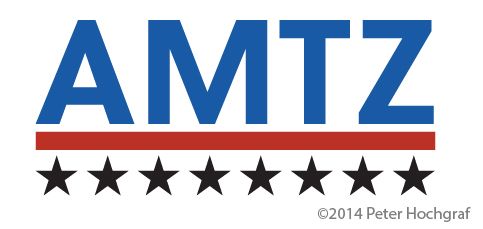
The simple stars & stripes icon stayed around for a while & was incorporated into a couple different logos before being dropped.

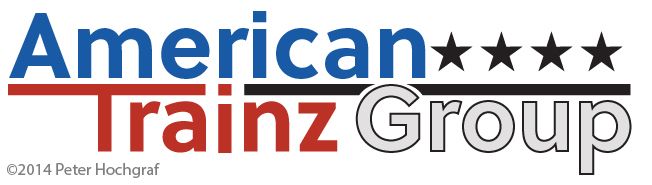
This sequence of logos came together nicely but fell apart in the implementation of the logo into the website & materials. It also lacked other features needed for the rebrand.
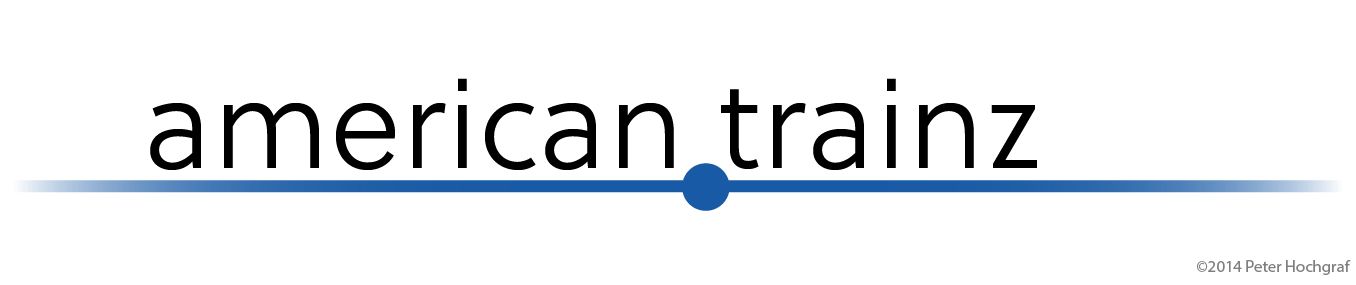
As variations progress the blue dot & line design became favored; so variations of that theme were explored.
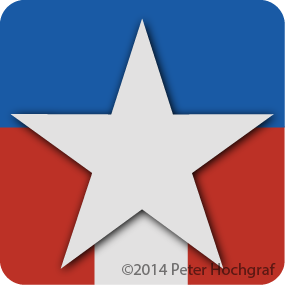
The final logo was picked along with accompanying icon variation.
Once the final logo was chosen, the process of implementing it into existing designs & creating new designs for it began. In most cases, just a simple resize is all that is needed, but in some situations more tweaking is required. After a bit of tweaking and adjusting is performed, a document is written up explaining the logo, the rules for using the logo, the colors, fonts, etc.
Almost all logos come with branding guidelines. These rules include things such as:
- Max & Min size of the logo
- How much space must be given around the logo
- What backgrounds the logo can be placed on (and often which logo should be used for each background)
- Corporate fonts, and basic font style guides
- Corporate colors in RGB, CMYK, and often Spot colors
- Some include information about other branded items, a train company might include paint schemes, etc.
")