I wouldn't say that I'm particularly comfortable, although I have played around with editing stuff a bit.
Hmm.
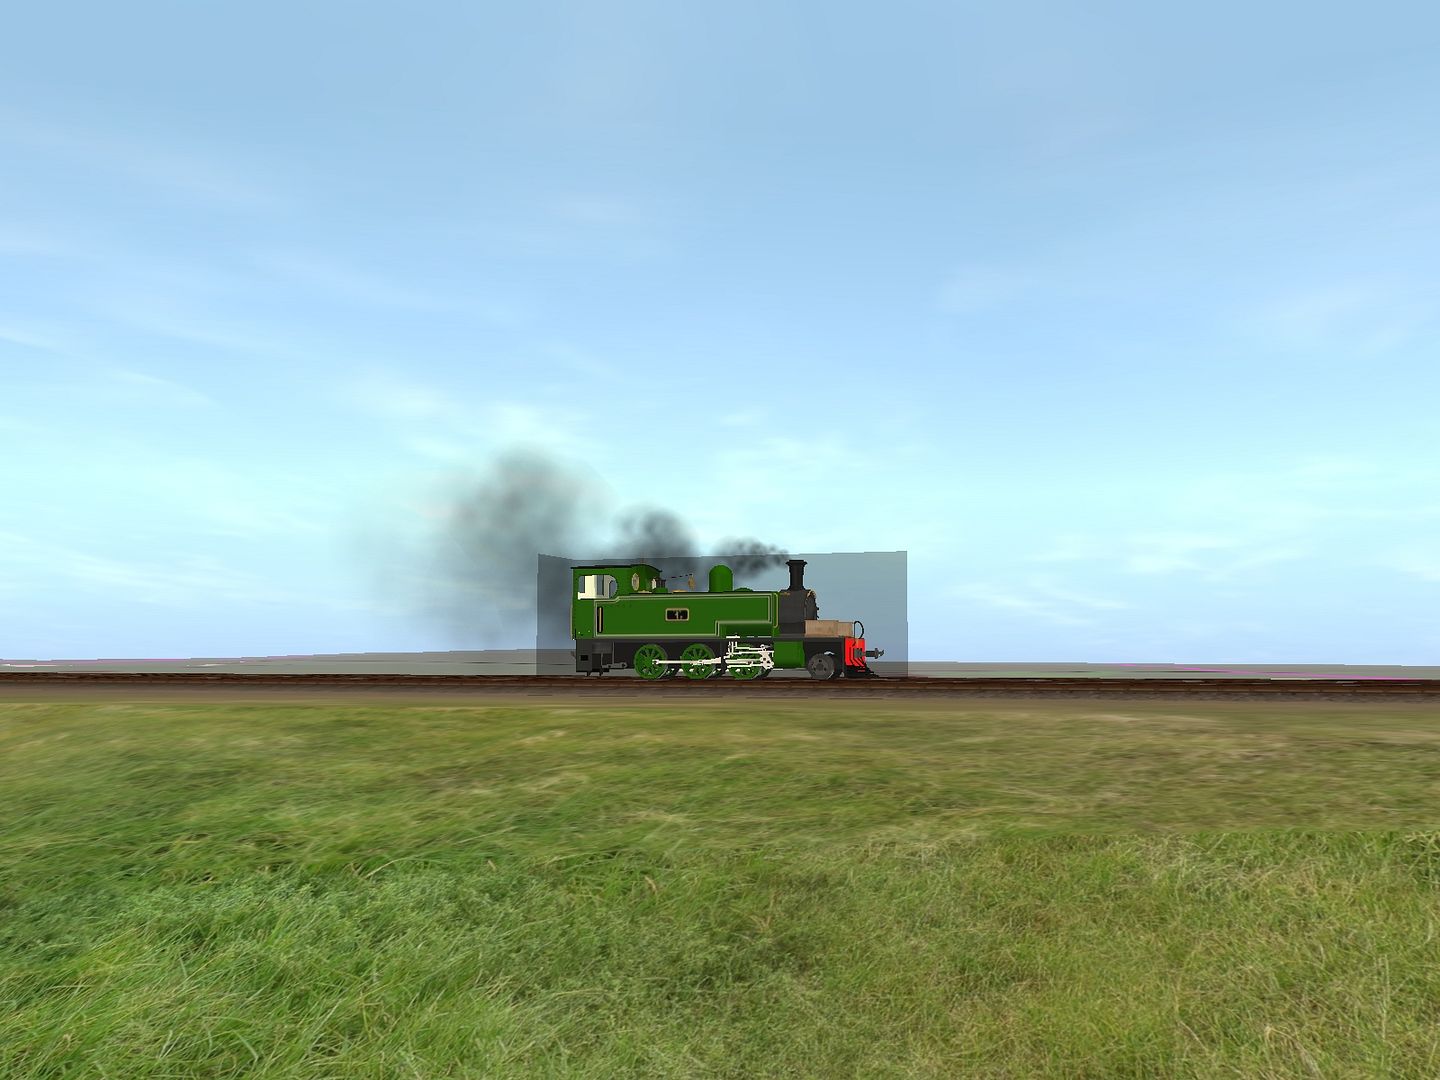
So I replace the shadow texture with a shadow made from PEV's Quick Shadows using the engine's .im file and POOF! no more box? That better not be, because that didn't fix it. Am I missing something?
P.S. I should also go look up how to use Quick Shadows. It could probably help.

You need to run PEV's PM2IM first to create the IM meshes from PM meshes if there are only PM meshes for the model.
Open the asset up for edit. Run the application and browse to the userdata/editing folder/asset name is. Click on the PM file and click Convert to IM.
Once this step is done, close this application and
Open up PEV's Quick Shadow Maker.
Browse to where the Userdata\Editing\assetname folder is, and select the IM file. This will create a file called shadow.im.
Now open for edit in Windows Explorer and edit the Config.txt file.
Put in the following text shown below:
Note: The arrows <------ are my notes explaining what the parts are.
I usually place mesh-table shown, below the Obsolete-table {} section. If it is there. It can go anywhere except for where there are quotes such as in the license or description.
mesh-table
{
default
{
mesh "x.im" <-------- The Asset Name. Replace the X with the IM file name.
auto-create 1
}
shadow
{
Mesh "x.im" <------- Replace with Shadow.im
}
}
Sometimes the Shadow and mesh are located in a body folder. You need to edit the path between the quotes to something like this:
mesh "This is the body folder name/This is the mesh name.im"
.
.
.
Shadow section....
Mesh "This is the body folder name (or shadow folder name if used)/Shadow.im"
When done, check for errors to ensure that things are spelled correctly (Use View errors and warnings). Fix any errors there may be if any.
Commit the asset, and you should be good to go.