Install the app
How to install the app on iOS
Follow along with the video below to see how to install our site as a web app on your home screen.
Note: This feature may not be available in some browsers.
You are using an out of date browser. It may not display this or other websites correctly.
You should upgrade or use an alternative browser.
You should upgrade or use an alternative browser.
USA Pics
- Thread starter Dermmy
- Start date


applegathc
NoT tHe StAtUeS!
Holy crap! I can do that on the computer huh? Pray tell more?")
cam
cam
skidmark22
Retired MX Mis.Test Pilot
2/3 of the image is out of focus? Is it a depth of field problem?
Epoche3bis4
absolute TRS22 Fan
More Clovis Sub, Session: Meet me at Vaughn


@Dermmy, for Screens I pose Traffic on the Roads. For playing my own American Routes I have created two new Regions, American Cars Vintage and American Cars AtTime.
And now i will play Clovis Sub 2
Cheers Epo
@Dermmy, for Screens I pose Traffic on the Roads. For playing my own American Routes I have created two new Regions, American Cars Vintage and American Cars AtTime.
And now i will play Clovis Sub 2
Cheers Epo
Hi all. Glad you liked the pictures.
It's a very simple process, and I was inspired to dabble into a bit of this "tilt-shift esque" effect after reading this thread.
Basically, to make real photographs look like models, we need three factors:
1. Most importantly, photographs of miniatures taken in macro have a shallow depth of field, which results in only a portion of the entire picture being in focus.
2. Miniature models often have harder, darker shadows than in real life.
3. Miniature models are often of more vivid, striking and solid colors than their real life counterparts.
Process:
1. Choose a photograph that preferably has the subject somewhere in the center. Large areas of a solid color or extremely complex pictures won't produce the best results.
2. Open it in an editor, then select all (or equivalent function).
3. Remove from selection (or equivalent function) the horizontal section which contains the subject. Remember to apply maximum feathered edges (100px should suffice).
3. Gaussian blur the remainder about 7px.
4. Repeat steps 2 and 3 again, but this time, remove from selection an larger area than before. Work outwards until the ends of the picture. If necessary, blur an area multiple times.
5. Edit contrast to around 60% and brightness to 45%. You really need to play around at this stage, undoing and reapplying. Remember, what you want is a vivid, colorful picture.
6. Edit saturation to around 80%. Again, play around until it looks toy-ish.
At this point you've about done. For night shots, it will be useful to apply a little bit of RGB noise (or equivalent function) to the dark areas. Another variation would be a slanted focus area if the subject cuts diagonally across the photograph. Again, blur the outside a little, then work outwards.
Go try it now, it's lots of fun. I've tricked my dad into believing all four above were models! :hehe:
Cheerio,
Nicholas.


Those are some nice GP38-2's. What are they, atlas, kato, life like? Well, really if you know, you don't have to tell me, I'll probably find out anyway.
strench707
TCR Content Creator
They look too good to be life like but u never know.
Davis
Davis
Those are some nice GP38-2's. What are they, atlas, kato, life like? Well, really if you know, you don't have to tell me, I'll probably find out anyway.
ELS is an Atlas and the WC is an Athearn
Someone ought to tilt-shift a Trainz screenshot, just to see what it would look like.


illinoiscentral
SARM Volunteer
"Conductor to 3771, let's highball north."
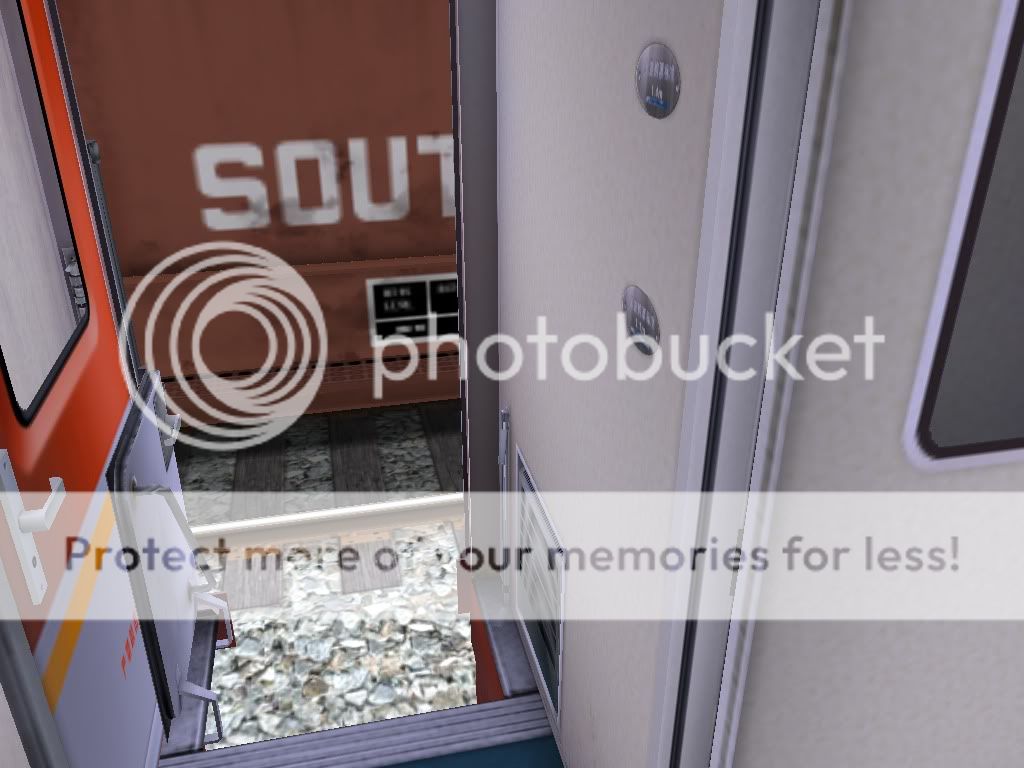
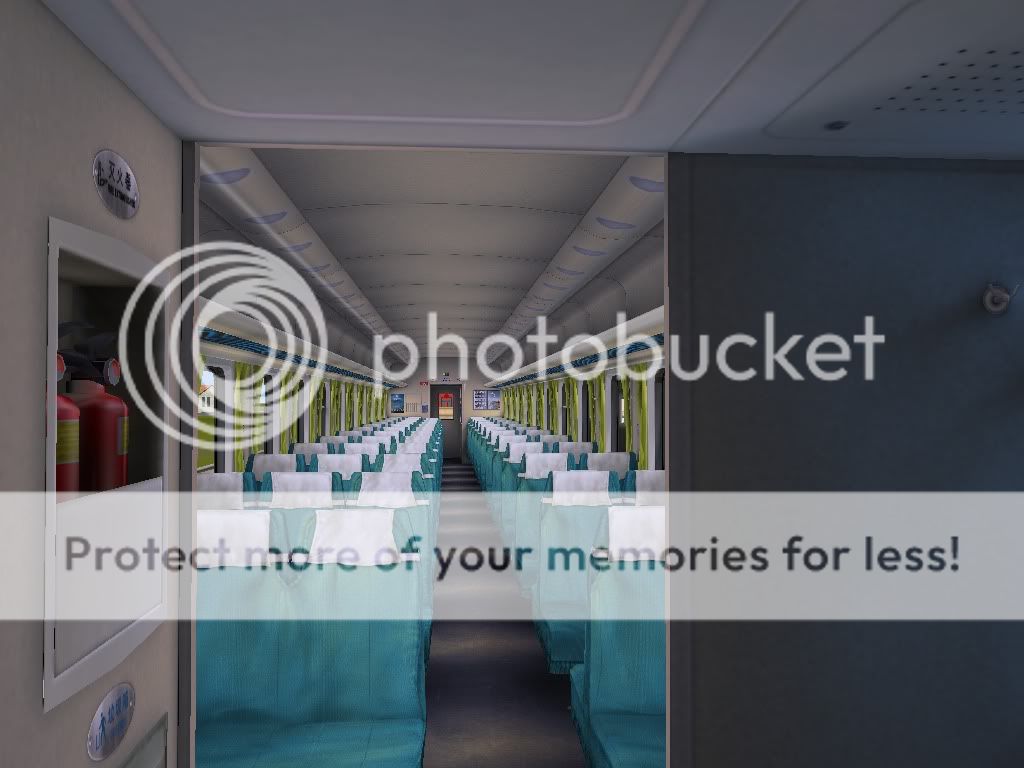
Back in the car as we leave the yard towards the St. Timothy depot.
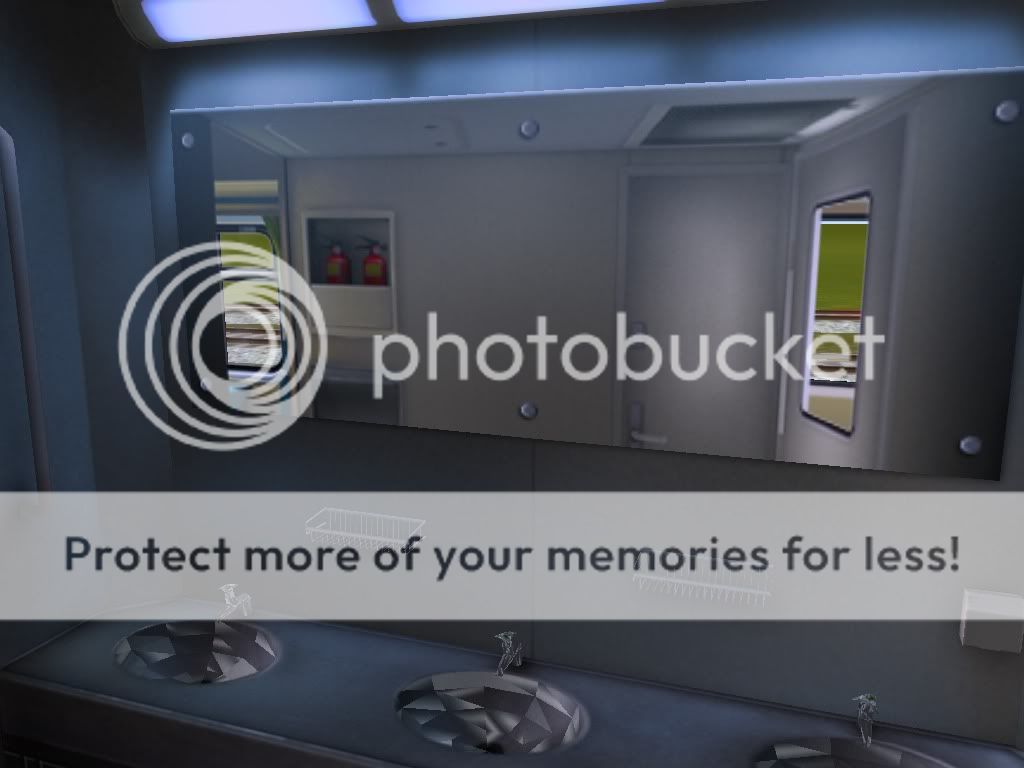
The train is now leaving the yard, here we look at the unique washing station in this car.
Back in the conductor's office, it's time to get the tickets ready for the day.

Back in the car as we leave the yard towards the St. Timothy depot.
The train is now leaving the yard, here we look at the unique washing station in this car.
Back in the conductor's office, it's time to get the tickets ready for the day.
illinoiscentral
SARM Volunteer
I'll get the outside up tomorrow.
It's by Ocemy...must be an MJ fan.
Woody
It's by Ocemy...must be an MJ fan.
Woody
illinoiscentral
SARM Volunteer
Yes, Micheal was odd, but extremely gifted and talented.
Similar threads
- Replies
- 7
- Views
- 356
- Replies
- 3
- Views
- 664