After a bit of a hiatus, I started to get the route building itch again so I started to scratch and next thing you know, I've started a couple of new routes. When I get tired of one, I can jump to another and keep going.
The first and so far the largest is
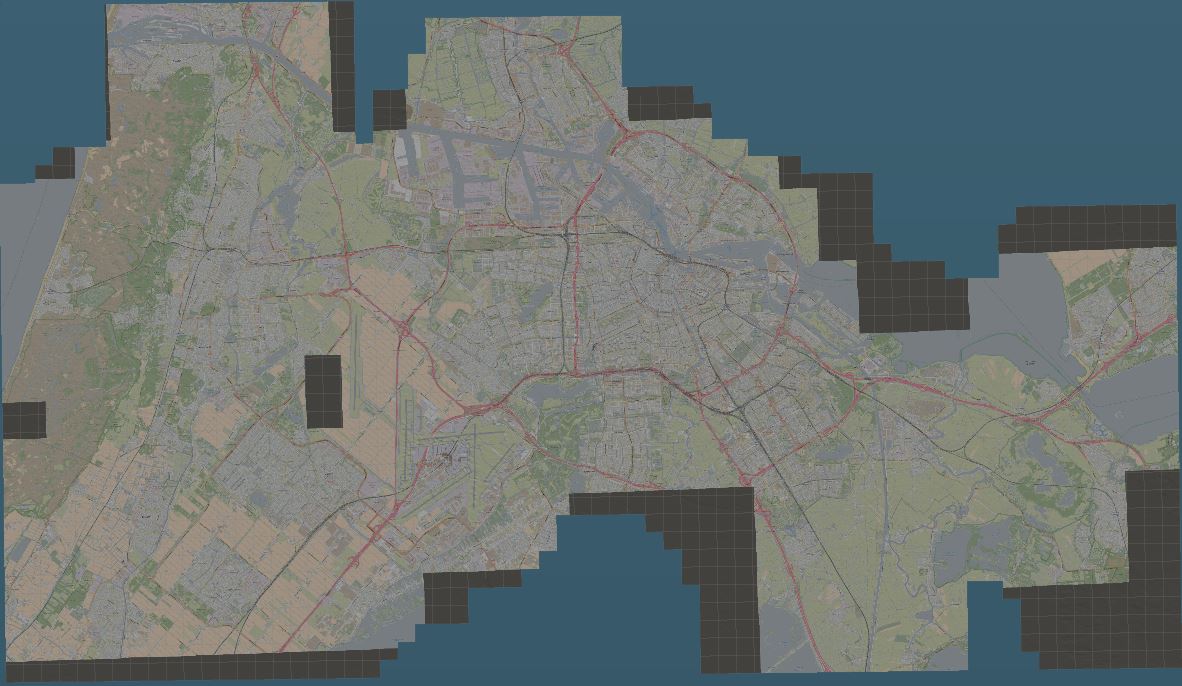
From Zandvoort aan Zee in the west to Almere Muziekwijk in the east, it captures the general area around Amsterdam
A quick side trip to TransDem created the baseboards and painted them with the scenery. Great for locating large features.
It was originally going to be mostly mainline with only those tramlines that crossed it being shown.
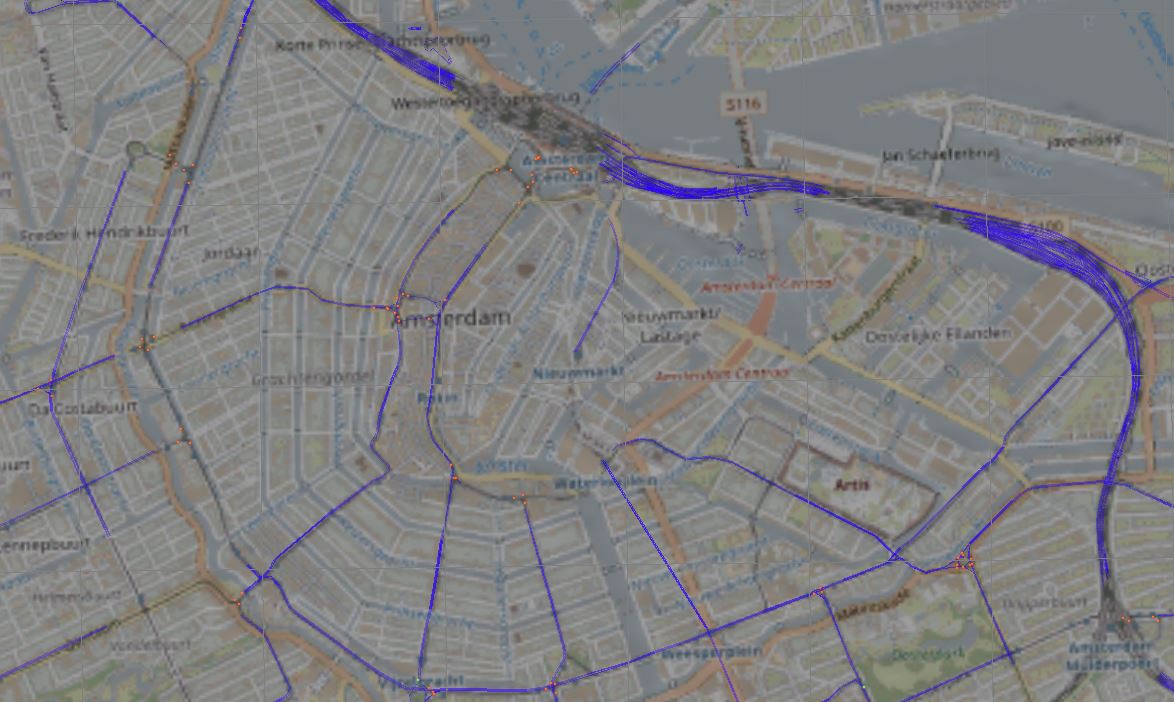
Thanks to TransDEM, I also have the tramlines shown. Then one thing lead to another and soon I have most of them added. Now I spend more time refining the tram system and ignoring the mainline. Well, that's what tomorrow is for.
While Amsterdam doesn't have mountains, it is not totally flat. My original track guides worked fine on pool table maps but made vertical alignment difficult. So back to the drawing board and a new version that can be pitch up and down.
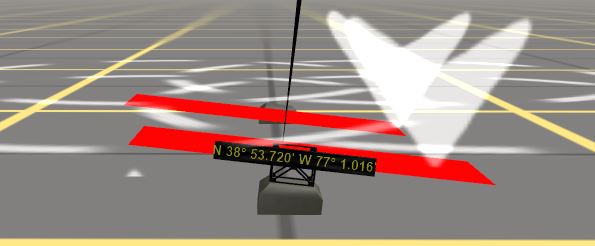
It's still a WIP beta but looks promising. I have to set the pitch before adding the track because they detach when the pitch angle changes.
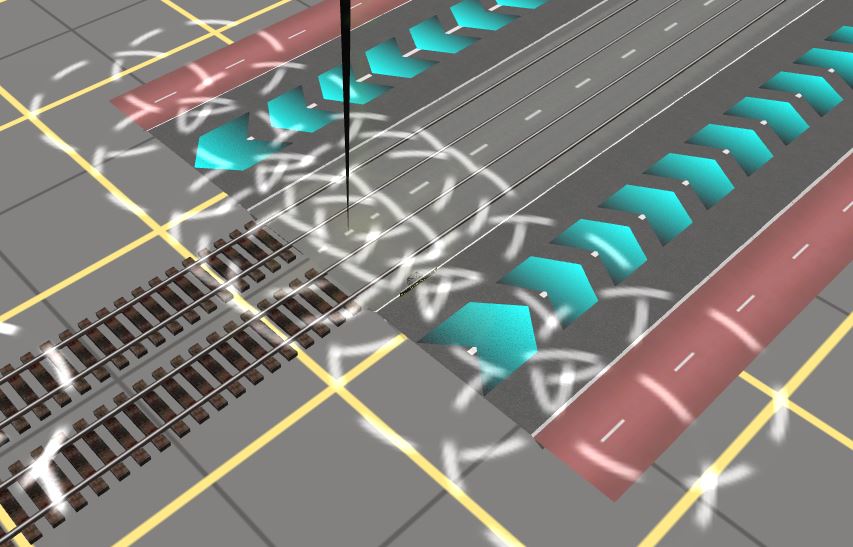
All those tramlines running down the middle of the streets also required a new type of guide to keep things organized.
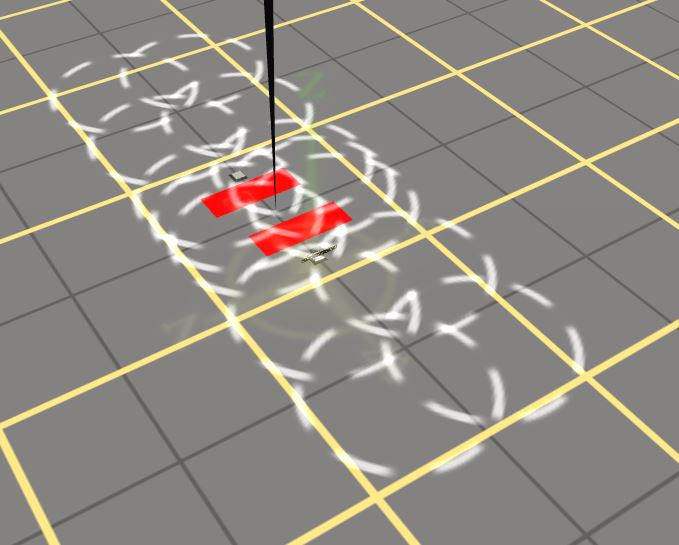
Here we see what it looks like without any attachments. In the center is a road attachment point. On either side are attachments for the tram rails. Then two more attachment points for one-way roads and finally attachment point for bike lanes.
Here is what is looks like with the attachments
All nicely spaced and they move as a unit so location adjustments are easy.
Finally, just because. I wanted to have a way to indicate the tram stop name as well as the destination on one sign.

Probably not very prototypical but I like it.
Now I remember why most of my previous routes always took so long to build. Every time I needed a new object I would stop and make it. I've learned to try the DLS more often but most times, the exact object I need it not available so DIY is the way.
I would say that taking the time to learn how to build the base in TransDEM is worth effort. It opens a whole new dimension in route construction. Having large scale objects painted on the grid makes it so easy to place those objects. And by also using TransDEM to place the tracks, roads, etc. it saves a lot of time getting started. You still have to fine tune the tracks and redo many junctions but at least you have something to edit. And then there is Google Earth when you need to see where and how the real things are actually located and placed. At least if you're doing contemporary routes. Not so much for historical if the physical evidence it long gone.Then it's more research or your best guess.
The first and so far the largest is
From Zandvoort aan Zee in the west to Almere Muziekwijk in the east, it captures the general area around Amsterdam
A quick side trip to TransDem created the baseboards and painted them with the scenery. Great for locating large features.
It was originally going to be mostly mainline with only those tramlines that crossed it being shown.
Thanks to TransDEM, I also have the tramlines shown. Then one thing lead to another and soon I have most of them added. Now I spend more time refining the tram system and ignoring the mainline. Well, that's what tomorrow is for.
While Amsterdam doesn't have mountains, it is not totally flat. My original track guides worked fine on pool table maps but made vertical alignment difficult. So back to the drawing board and a new version that can be pitch up and down.
It's still a WIP beta but looks promising. I have to set the pitch before adding the track because they detach when the pitch angle changes.
All those tramlines running down the middle of the streets also required a new type of guide to keep things organized.
Here we see what it looks like without any attachments. In the center is a road attachment point. On either side are attachments for the tram rails. Then two more attachment points for one-way roads and finally attachment point for bike lanes.
Here is what is looks like with the attachments
All nicely spaced and they move as a unit so location adjustments are easy.
Finally, just because. I wanted to have a way to indicate the tram stop name as well as the destination on one sign.
Probably not very prototypical but I like it.
Now I remember why most of my previous routes always took so long to build. Every time I needed a new object I would stop and make it. I've learned to try the DLS more often but most times, the exact object I need it not available so DIY is the way.
I would say that taking the time to learn how to build the base in TransDEM is worth effort. It opens a whole new dimension in route construction. Having large scale objects painted on the grid makes it so easy to place those objects. And by also using TransDEM to place the tracks, roads, etc. it saves a lot of time getting started. You still have to fine tune the tracks and redo many junctions but at least you have something to edit. And then there is Google Earth when you need to see where and how the real things are actually located and placed. At least if you're doing contemporary routes. Not so much for historical if the physical evidence it long gone.Then it's more research or your best guess.