Hello dan,
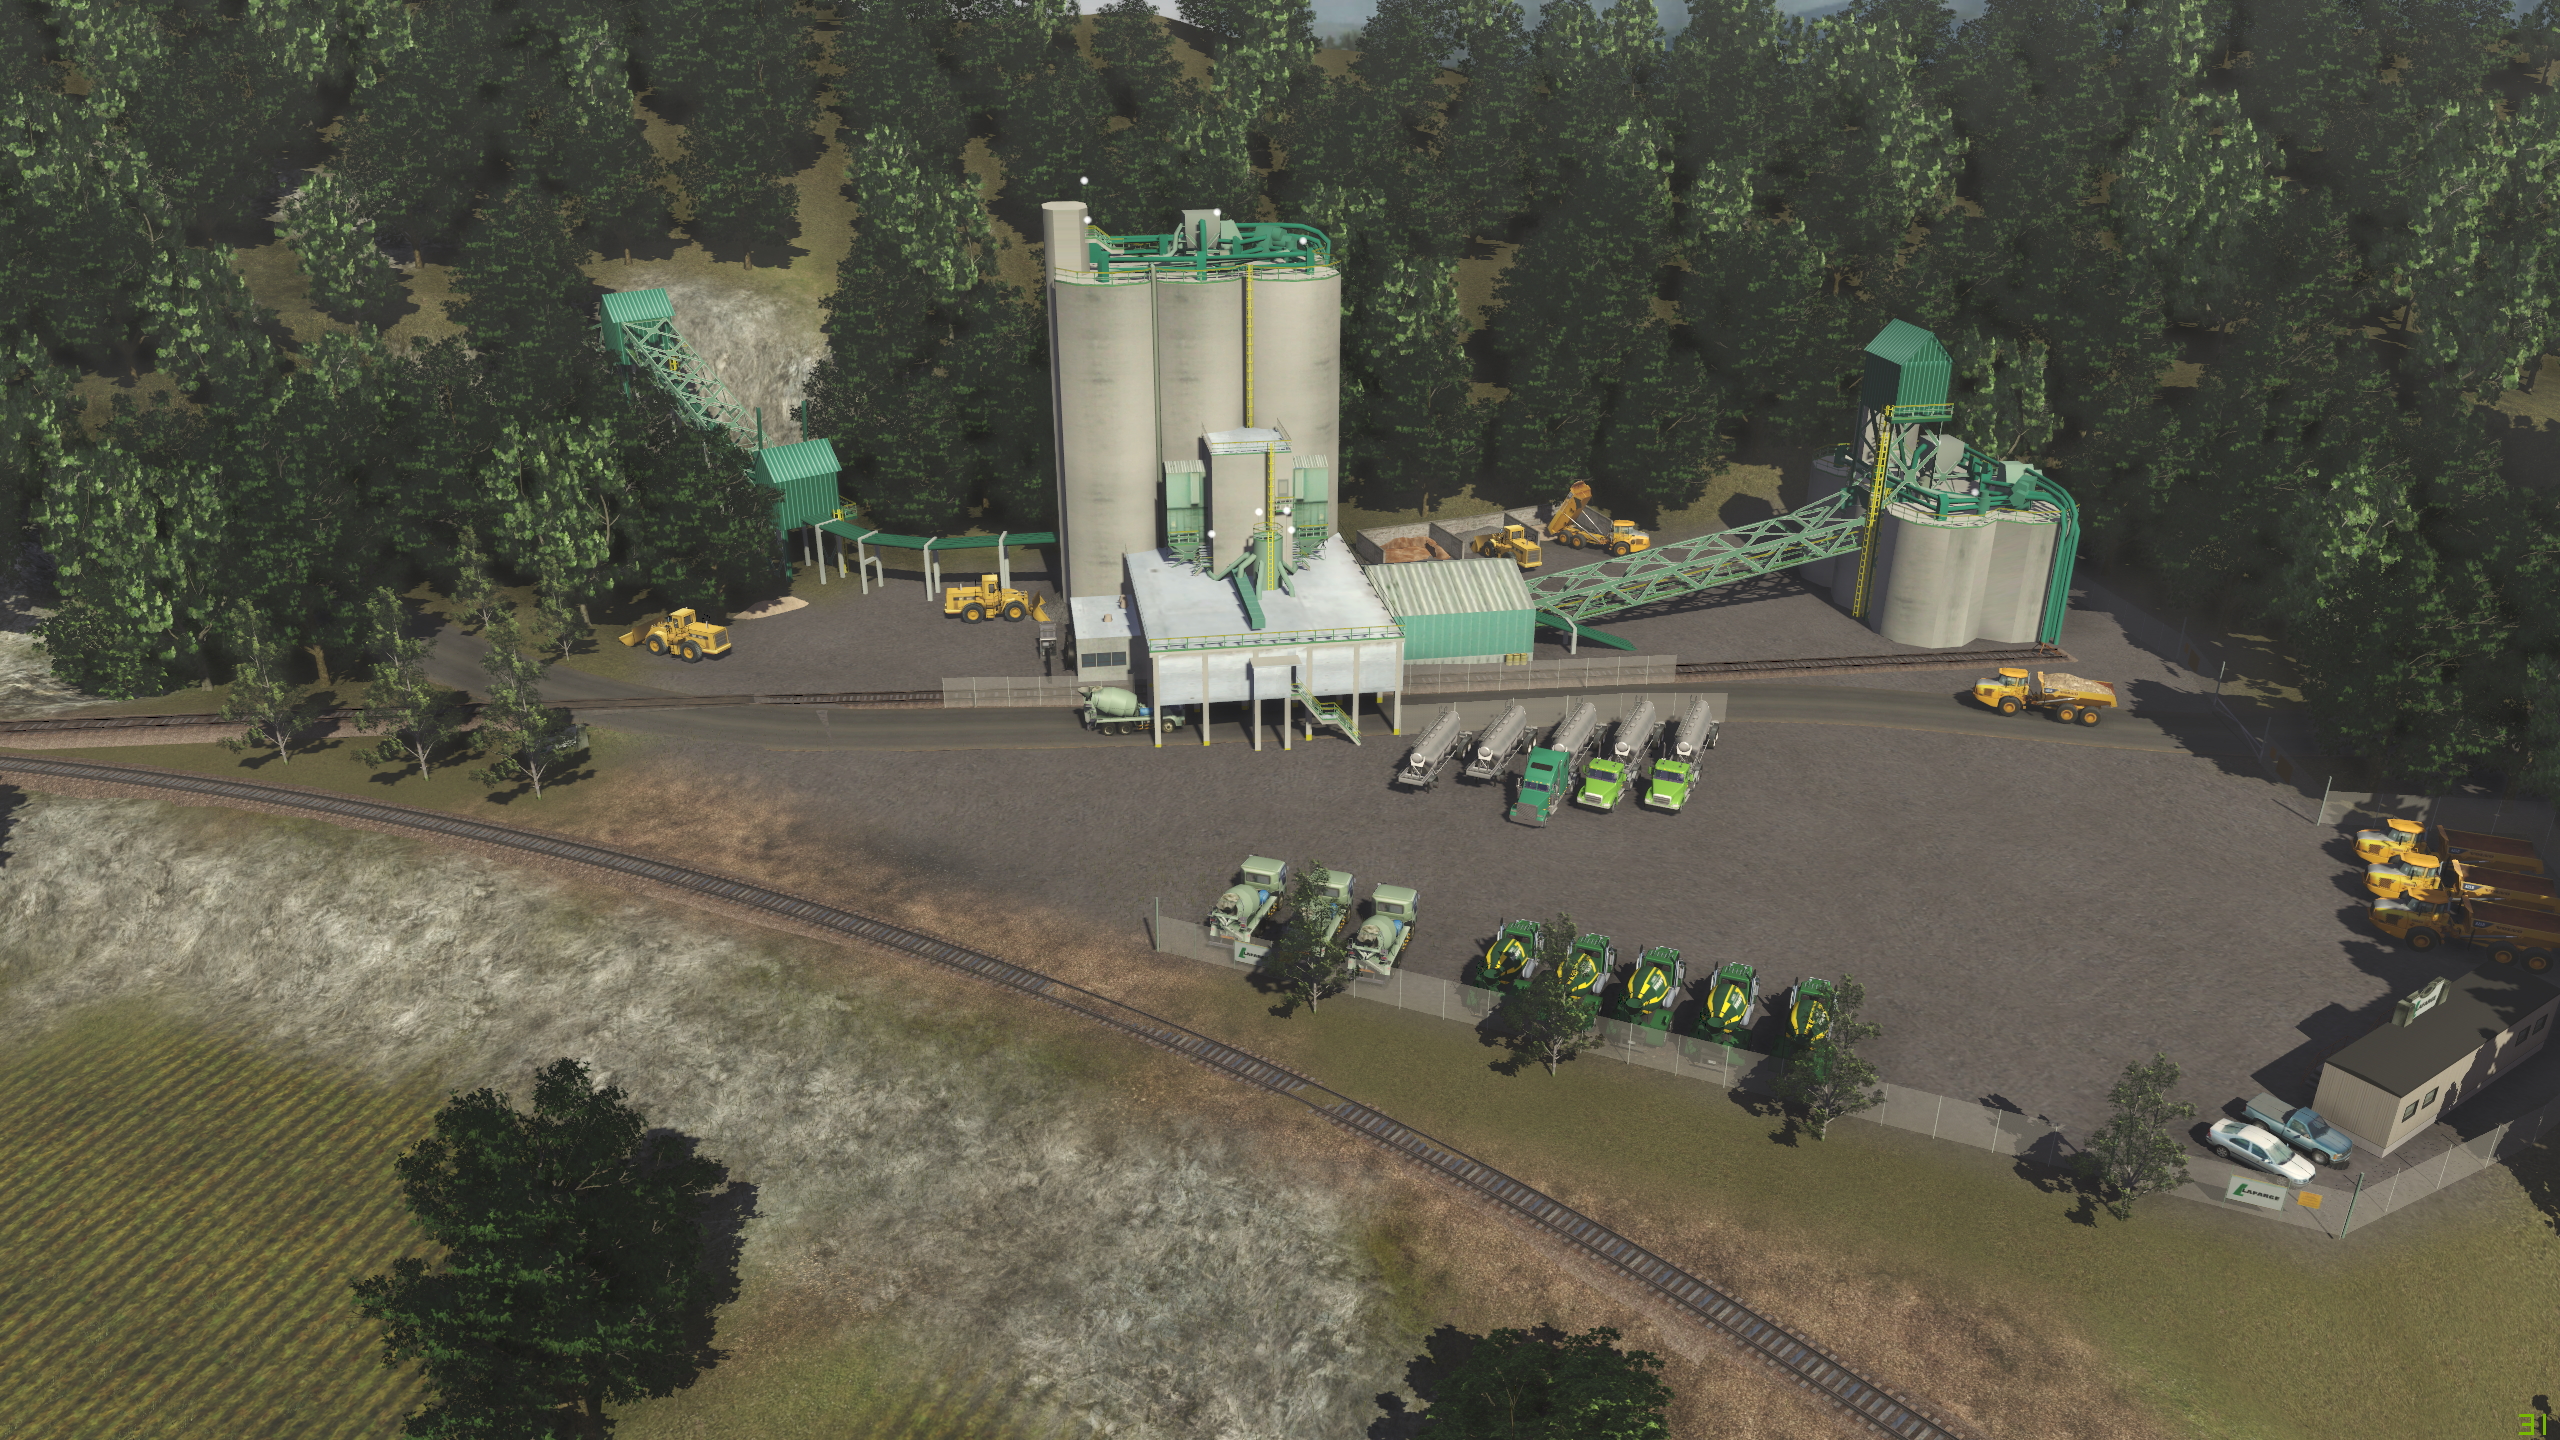
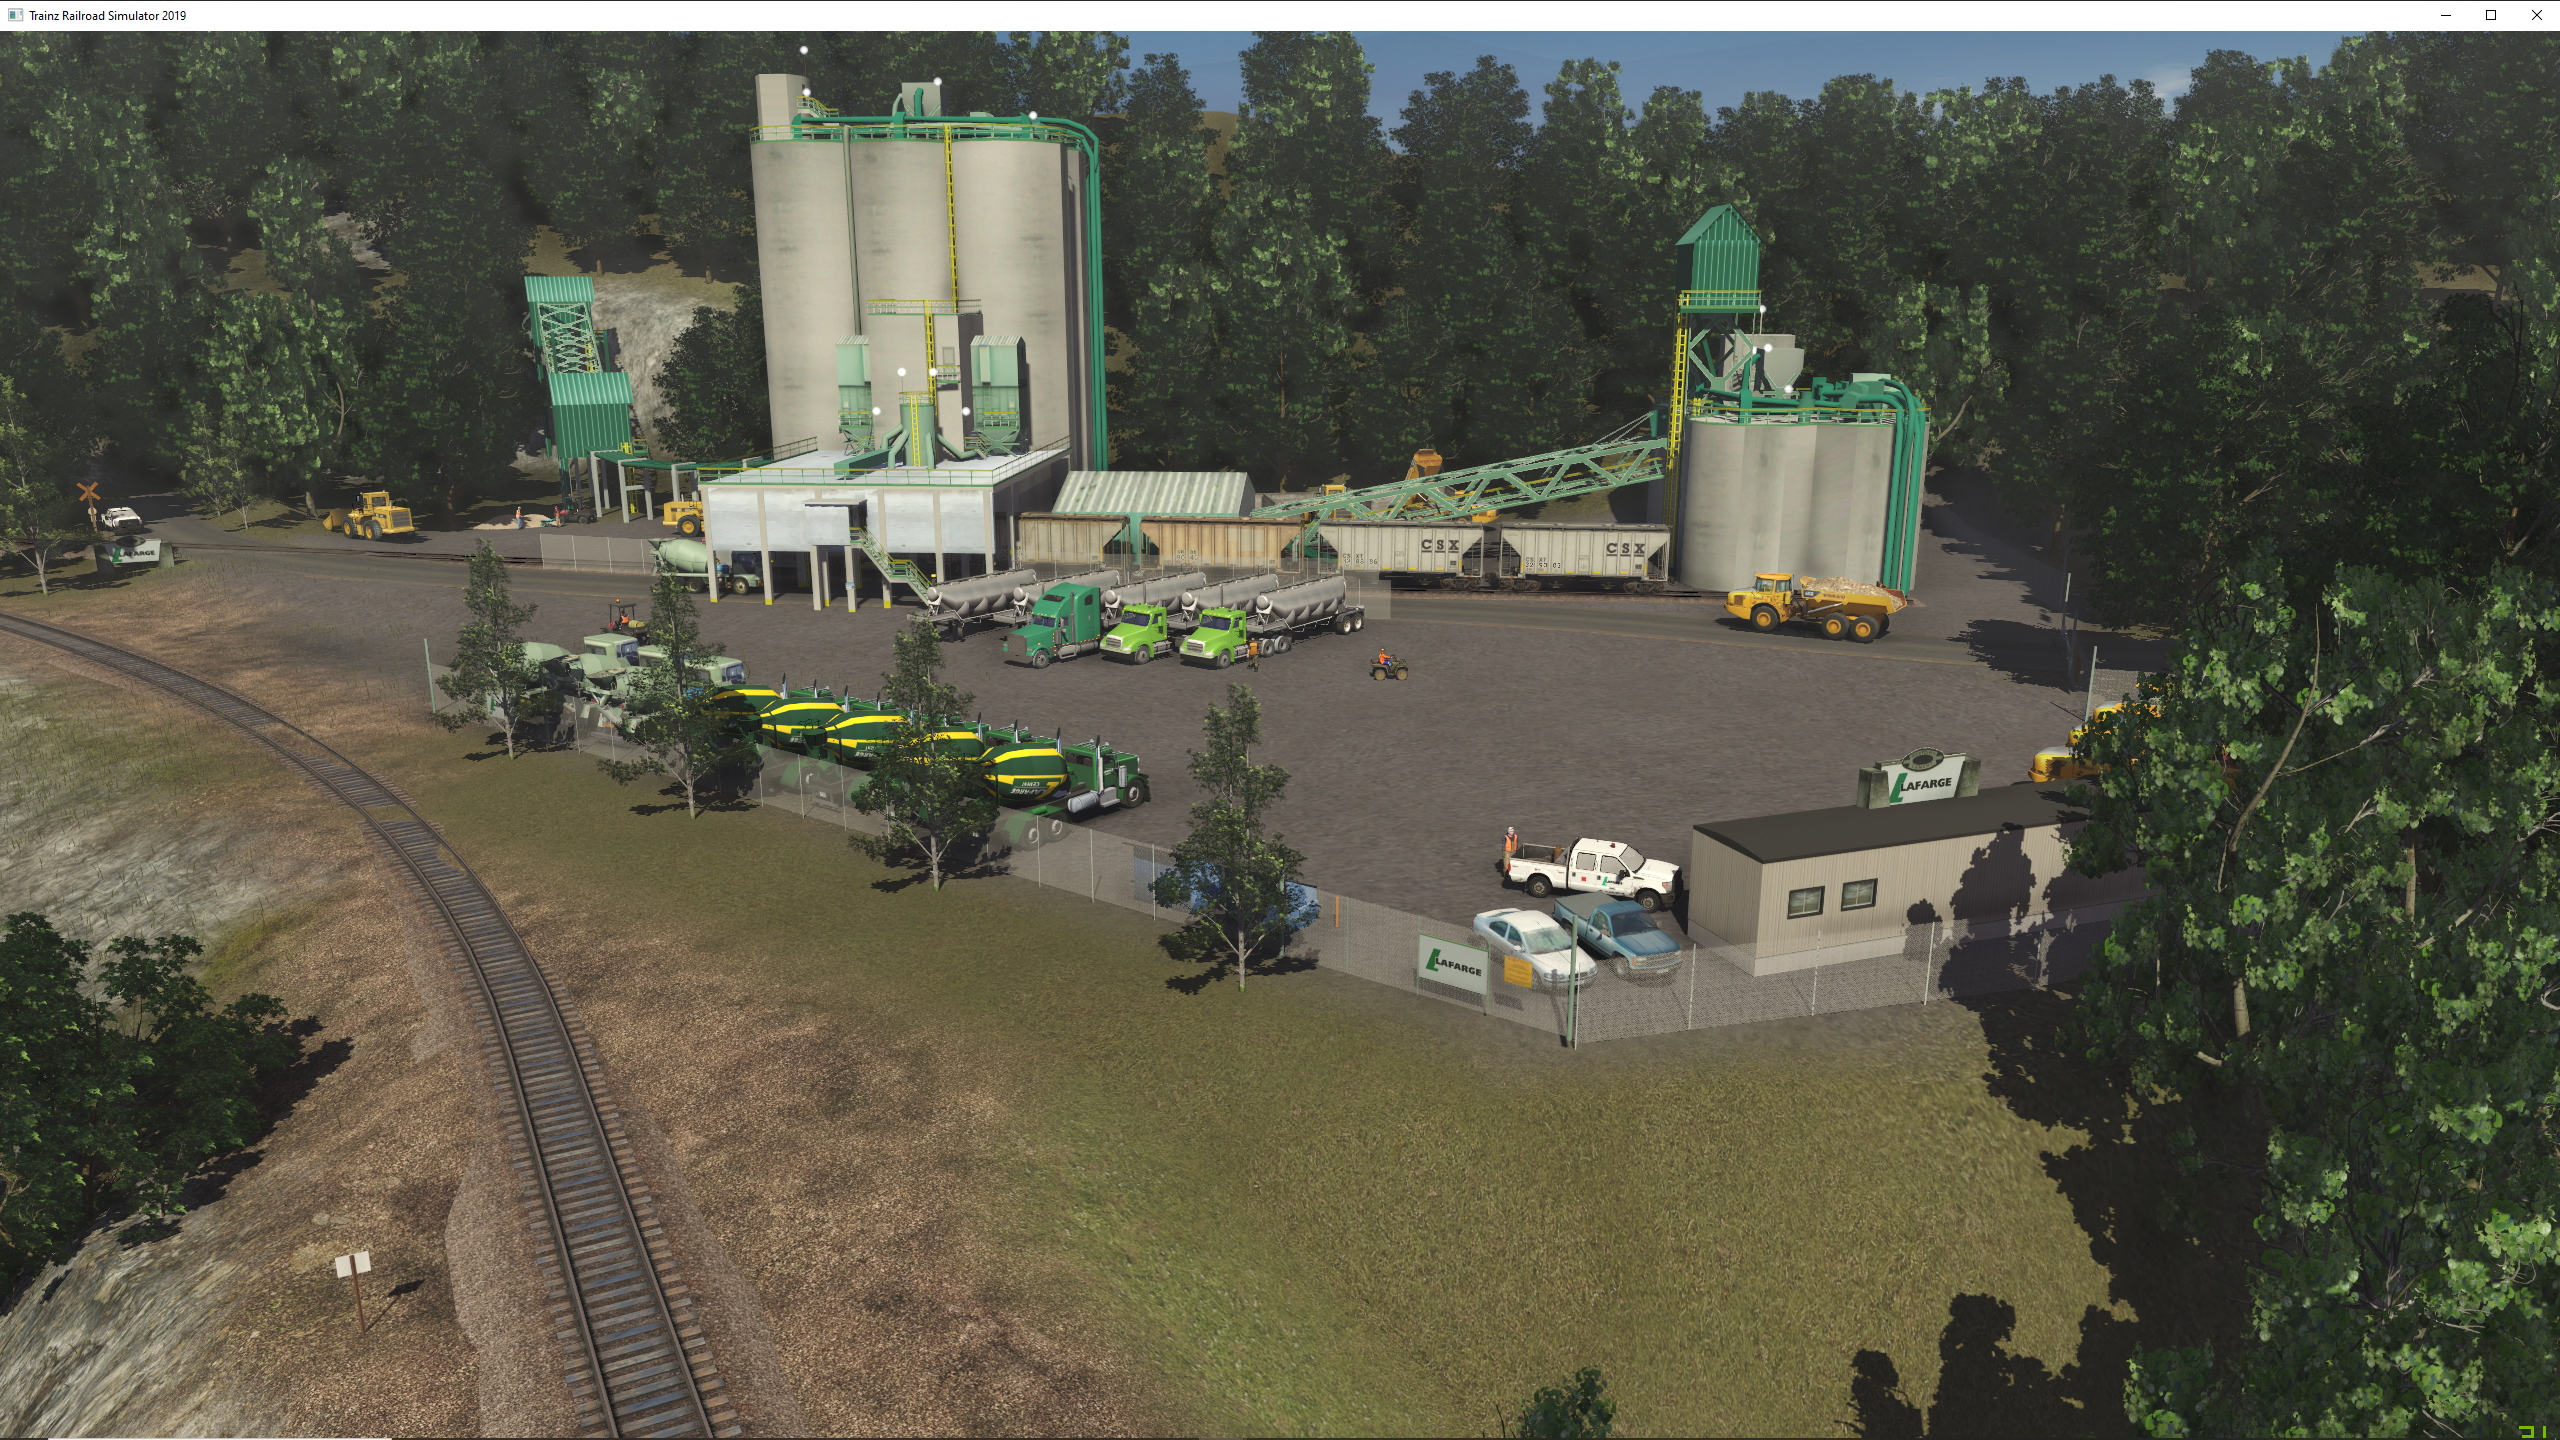
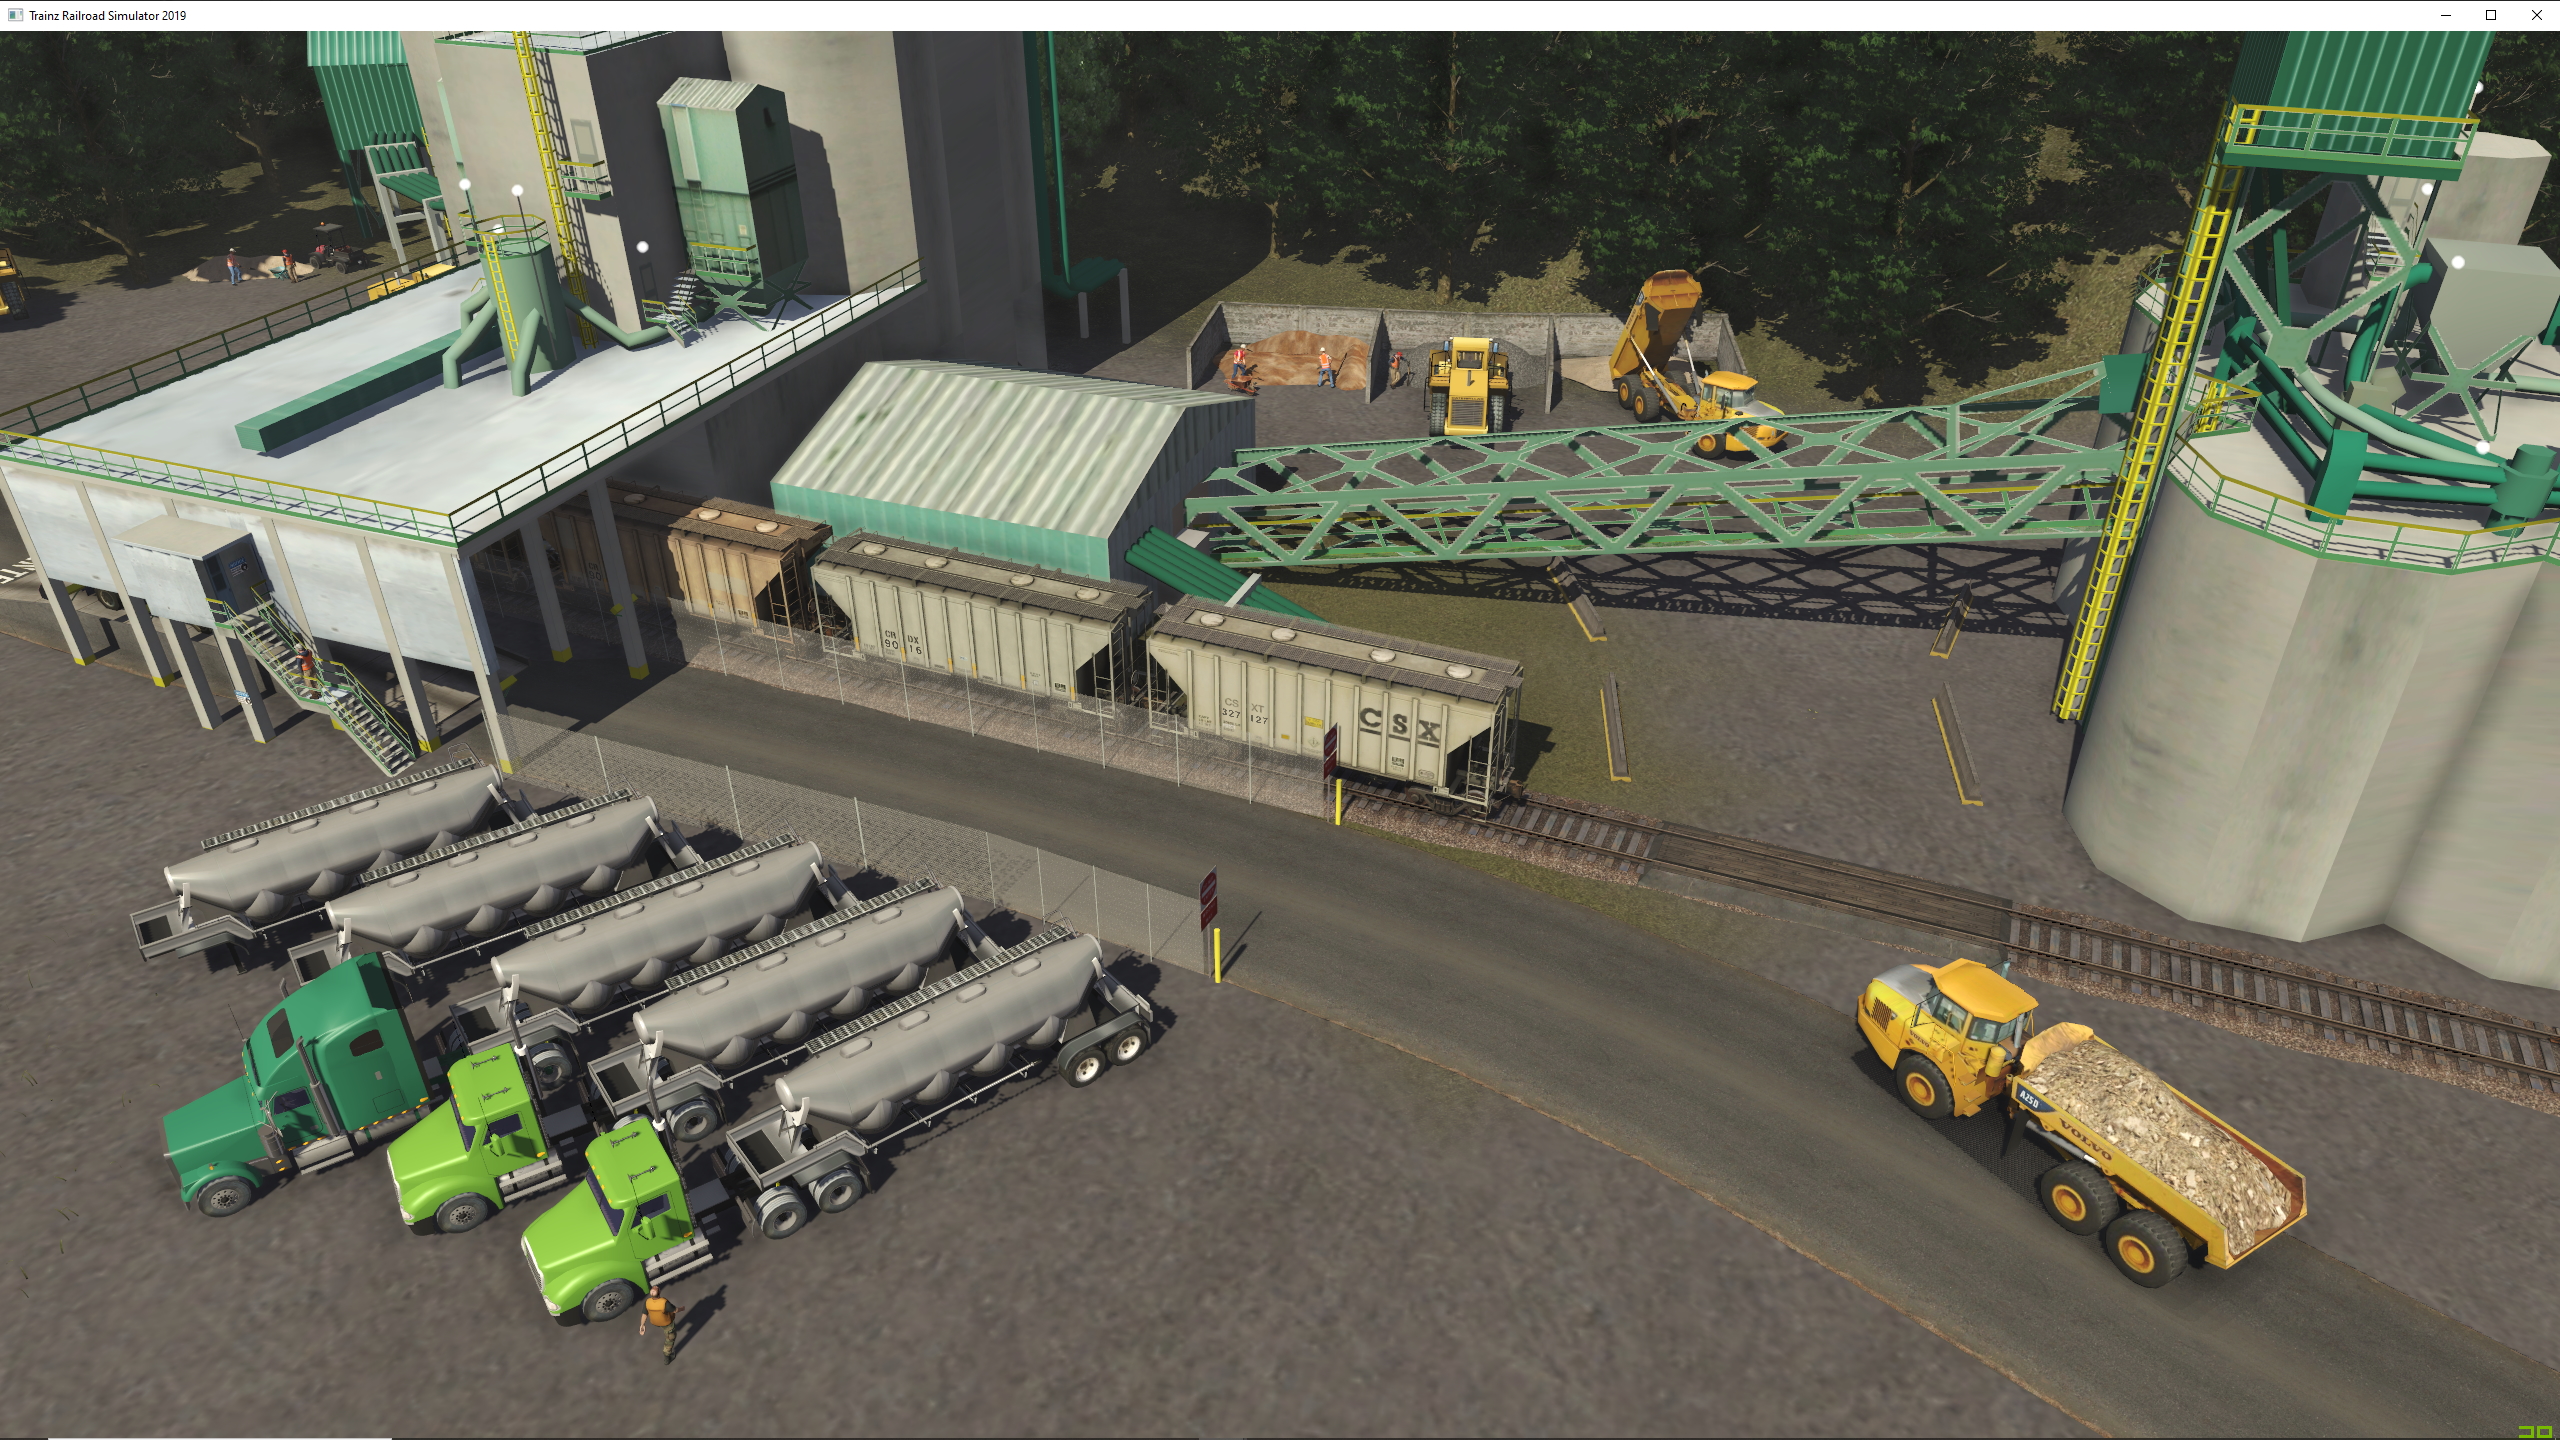
What an amazing job you have done on the transformation of Coal country, absolutely brilliant mate great work.
Just out of curiosity the assets that you have reskinned the cat pick ups and the workers in green uniforms are they going to be uploaded to the dls or are they for private use only?
Thank you again for your awesome up date on coal country.
Cheers Joe.
Thanks for the positive feedback......I would need to look at the config files to see if reskins are allowed to be made available, the trucks might since I believe they are RR Mods. the people are from the DLS.
And actually they are very easy to create, I mainly use a great freeware program called "Paint.net" to make the reskins.
All you really need to do is always make a duplicate file of the item you want to change in content manger (control-d) and then open it's config file by choosing "open in explorer", find the line for "username" in the config file and change what it shows to what you want your new model to be called,
see picture #1. Next save the config file. Then close the config file. (only the config file)
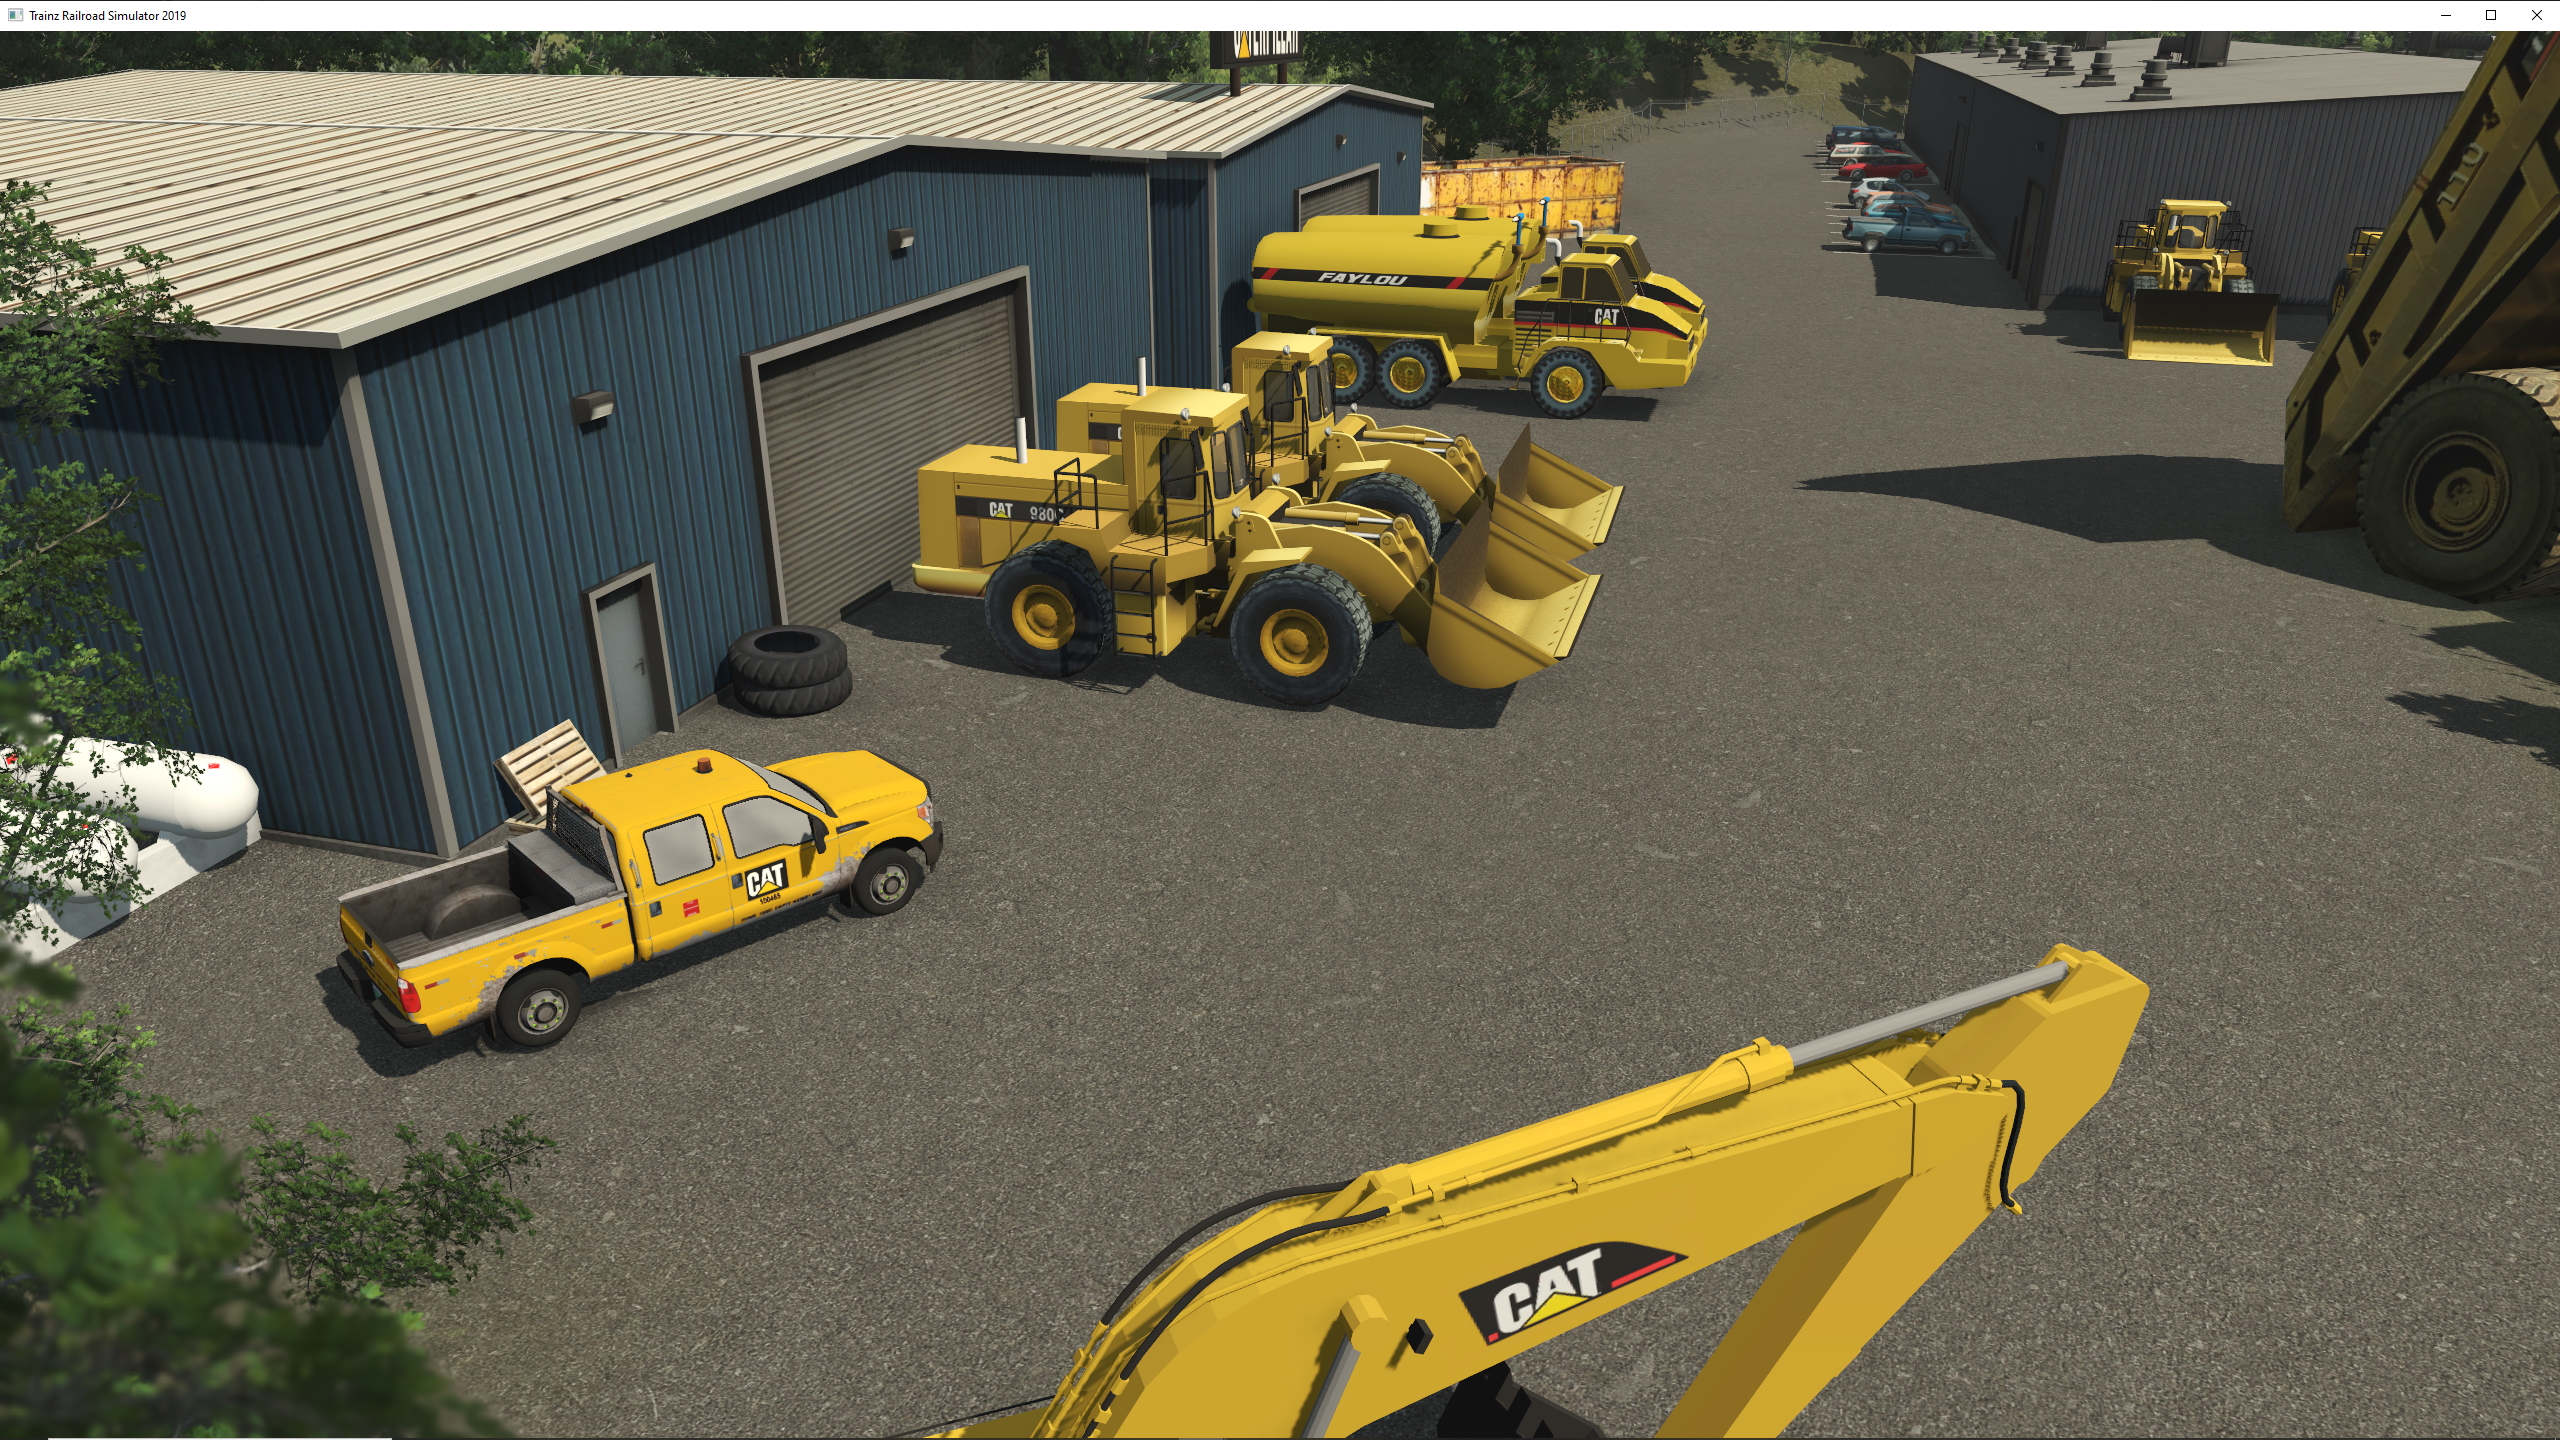
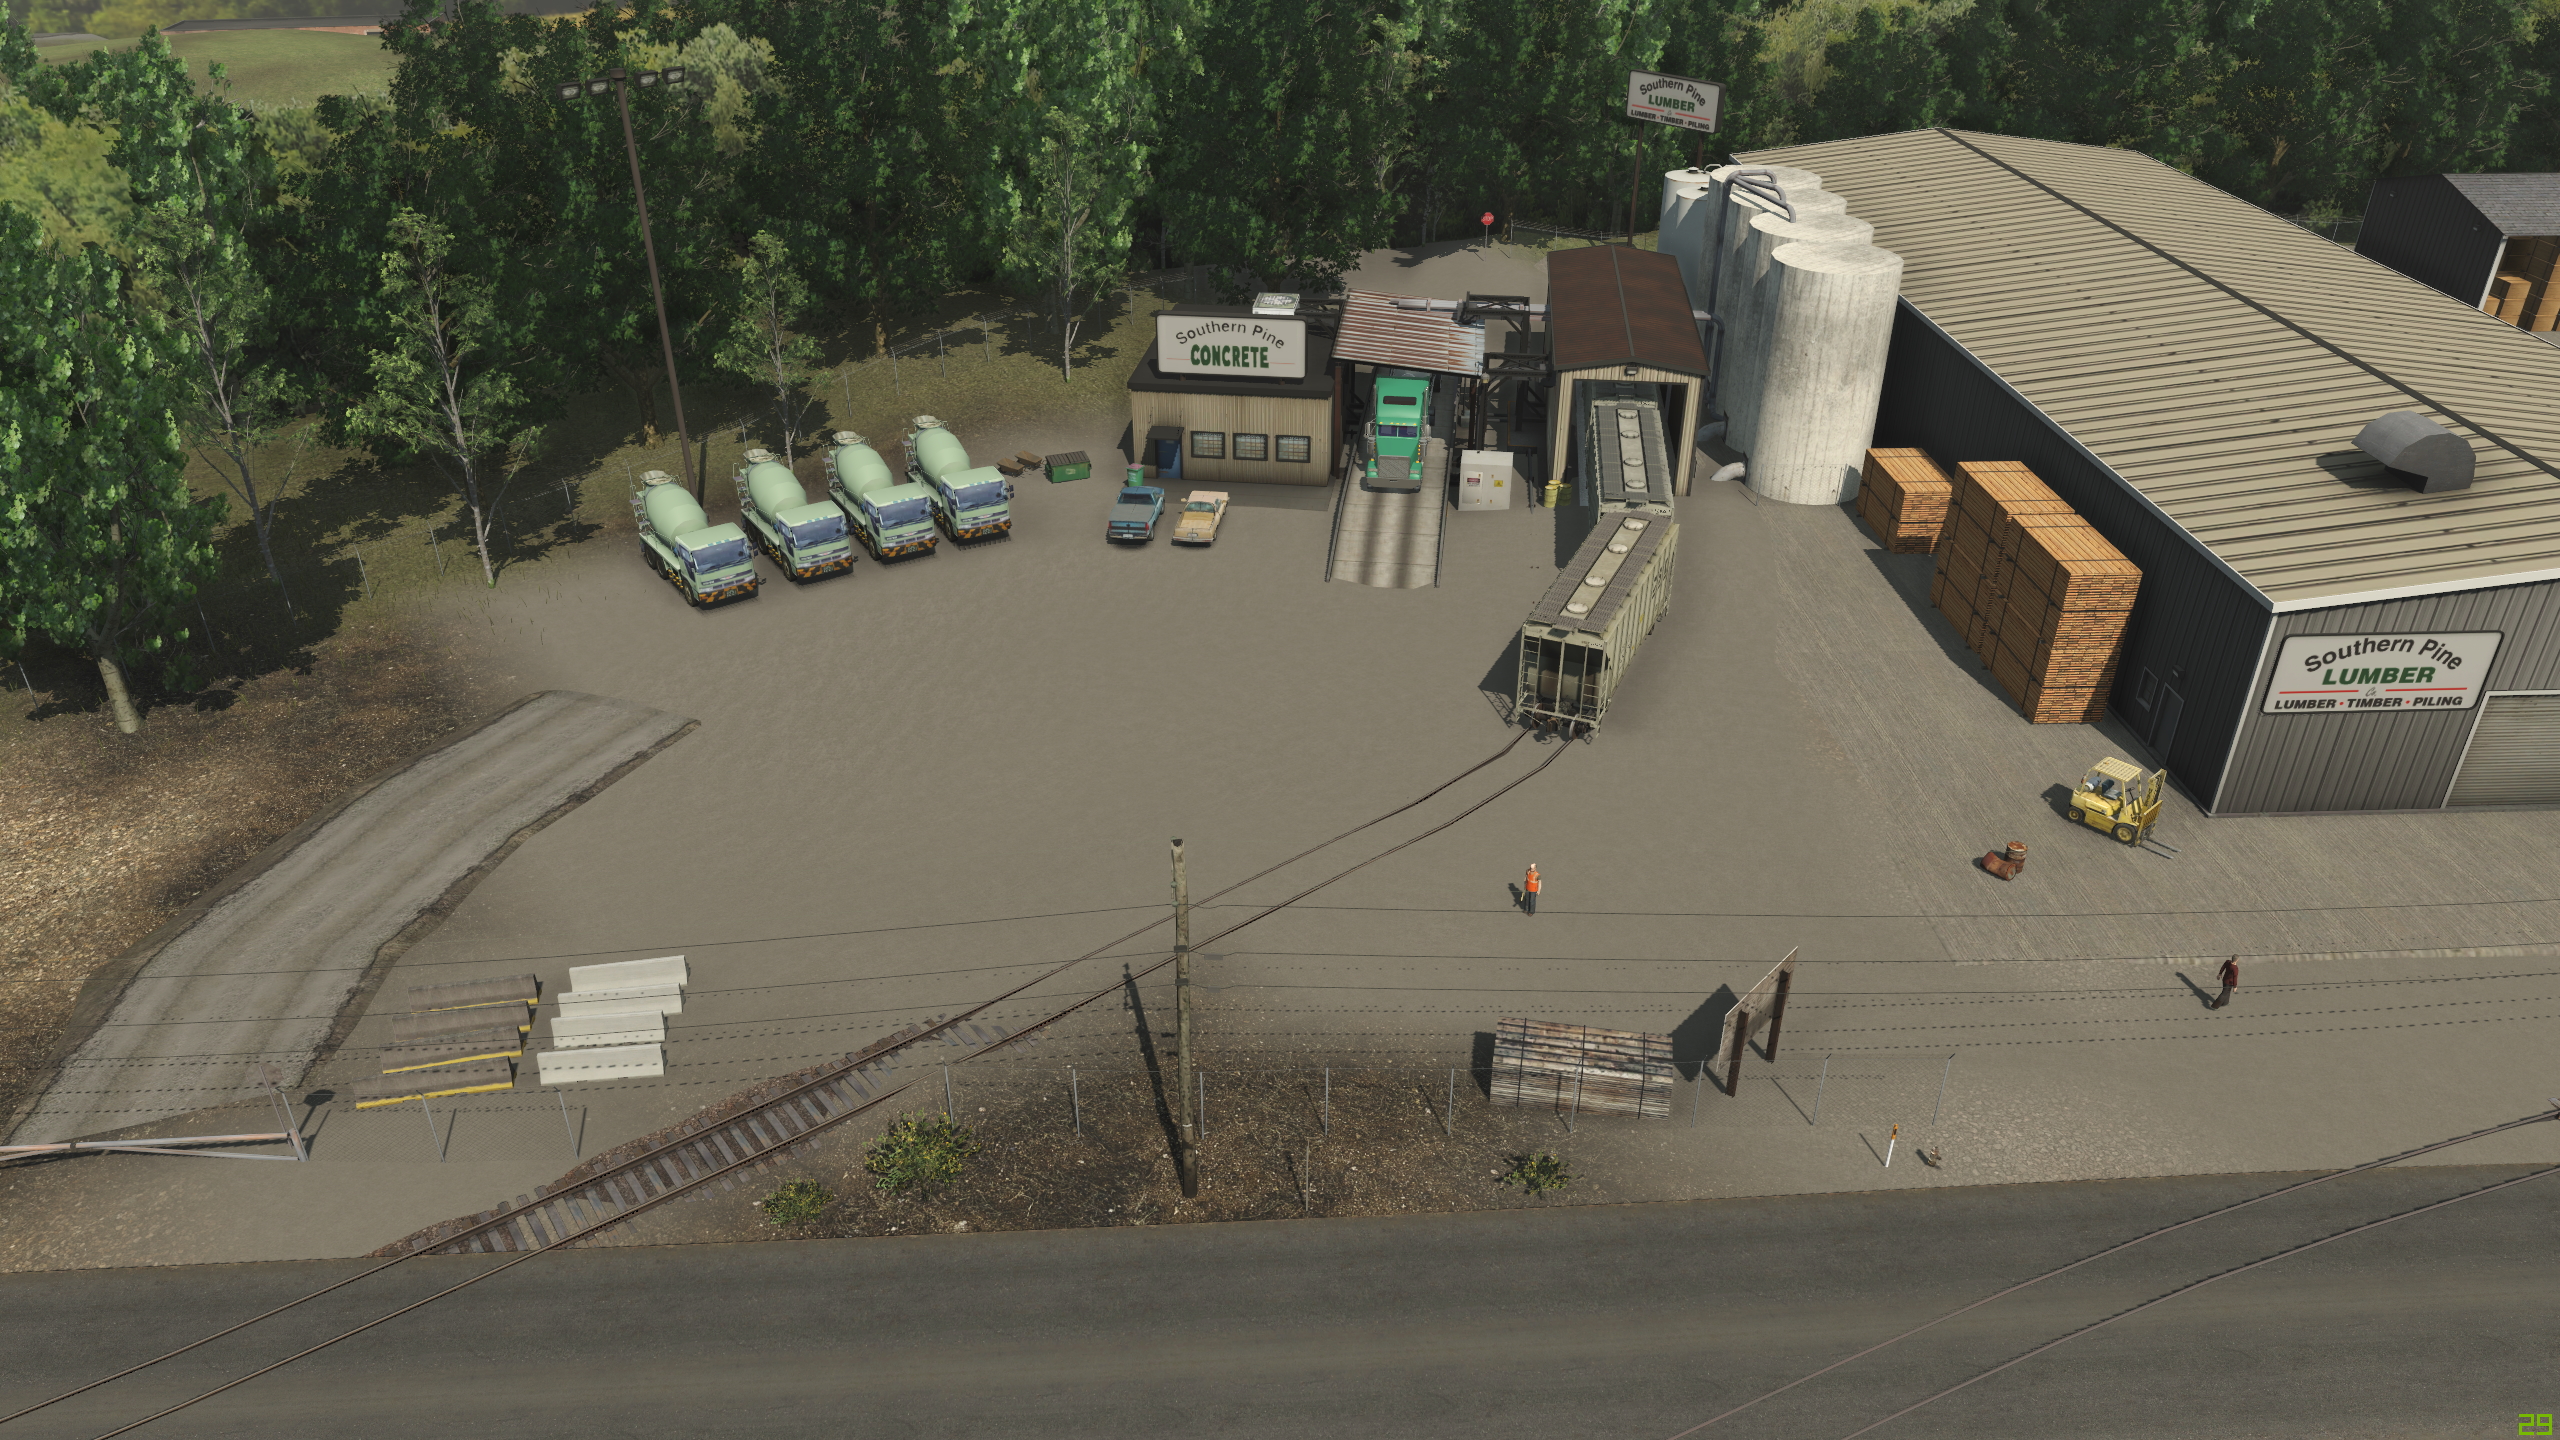
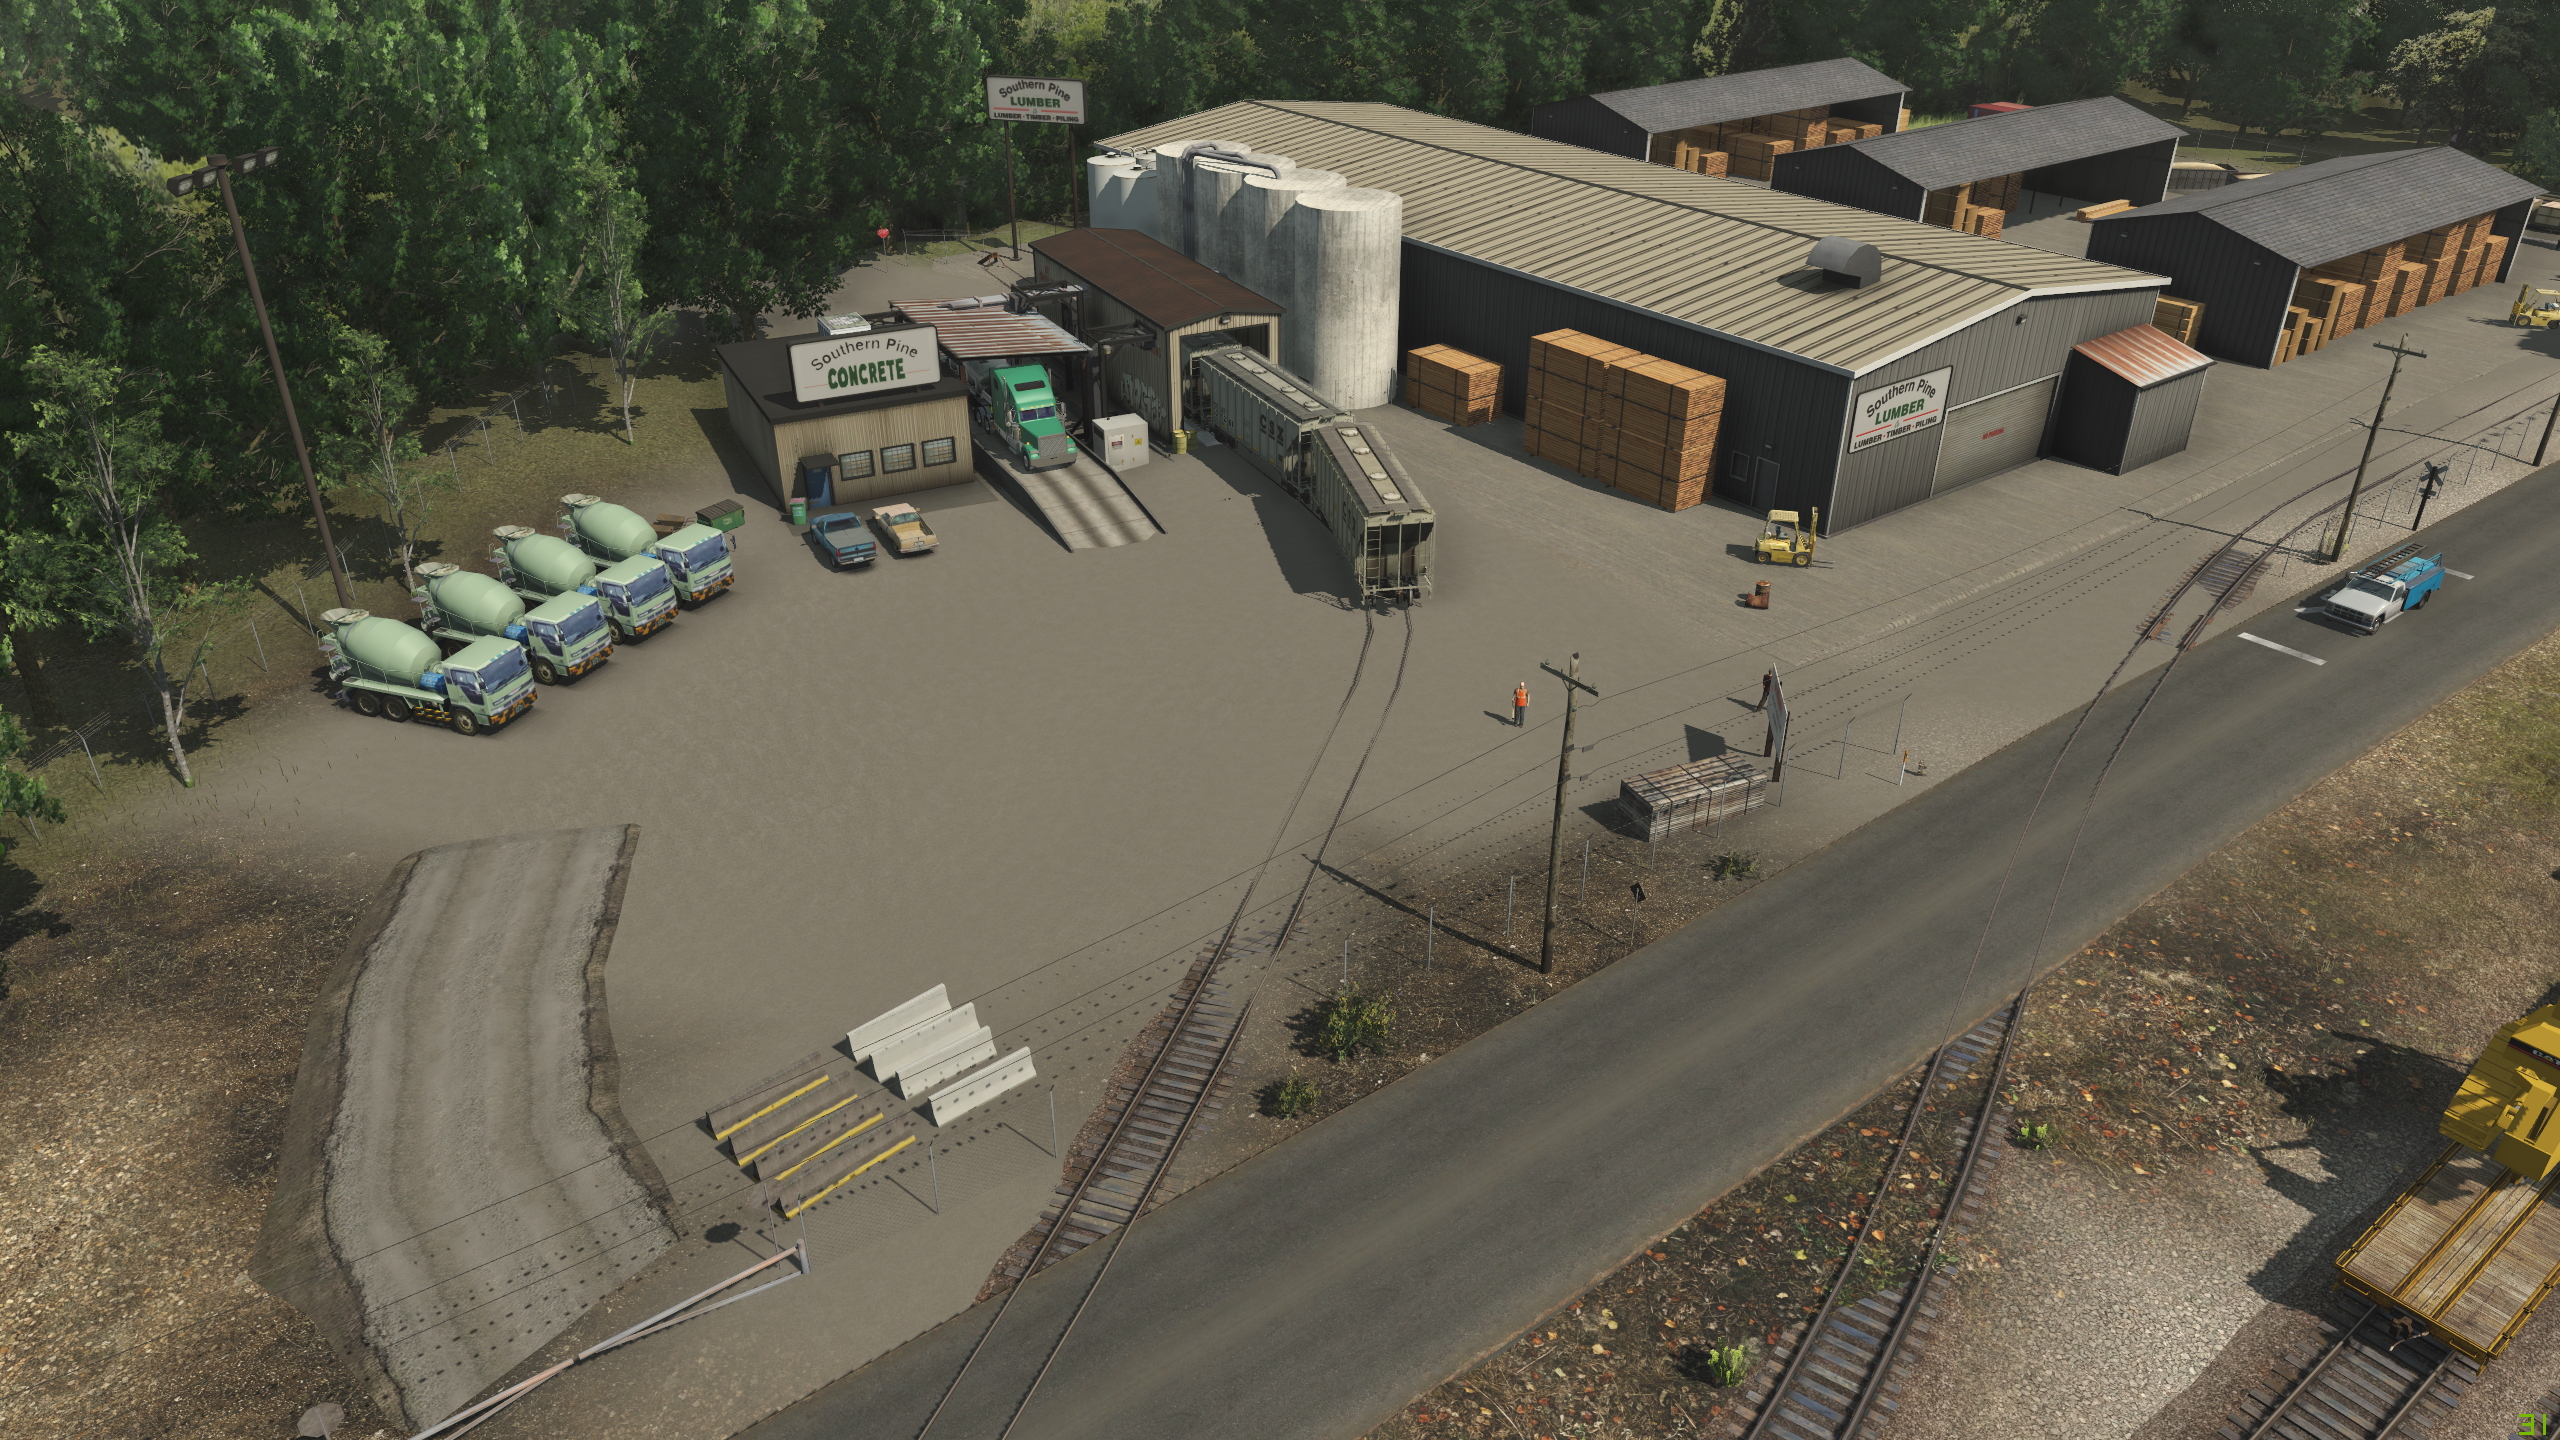
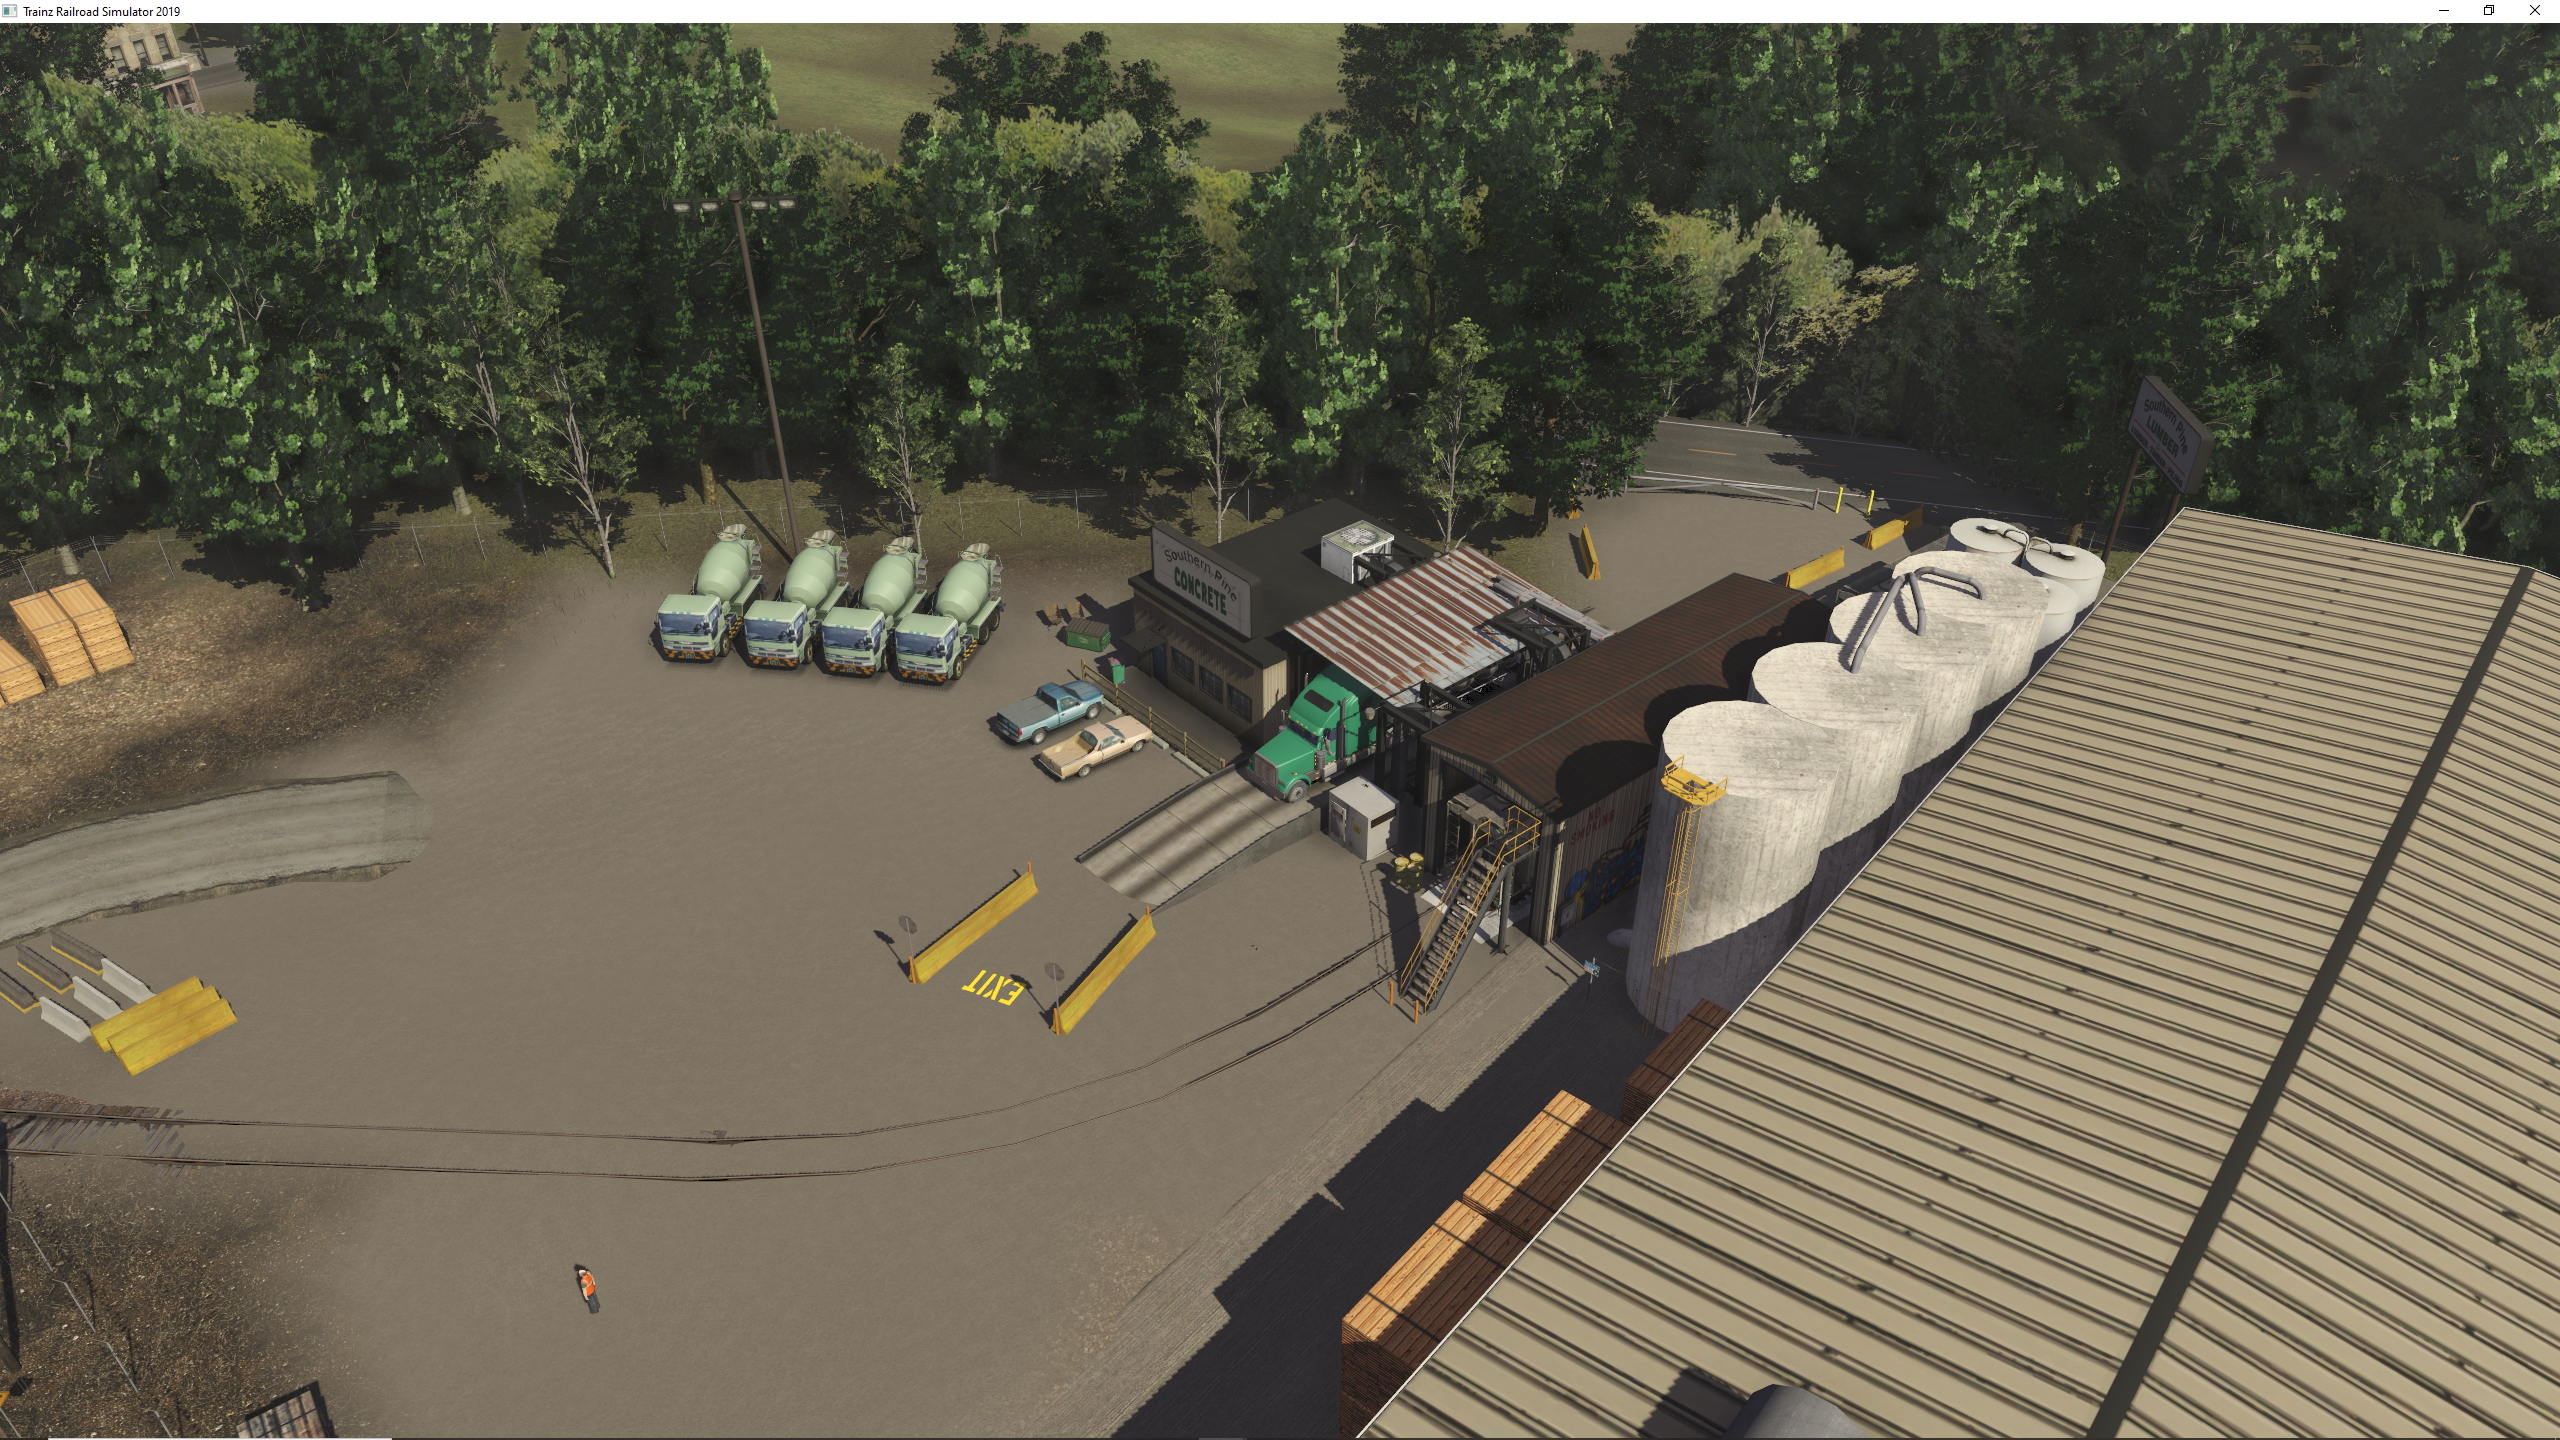
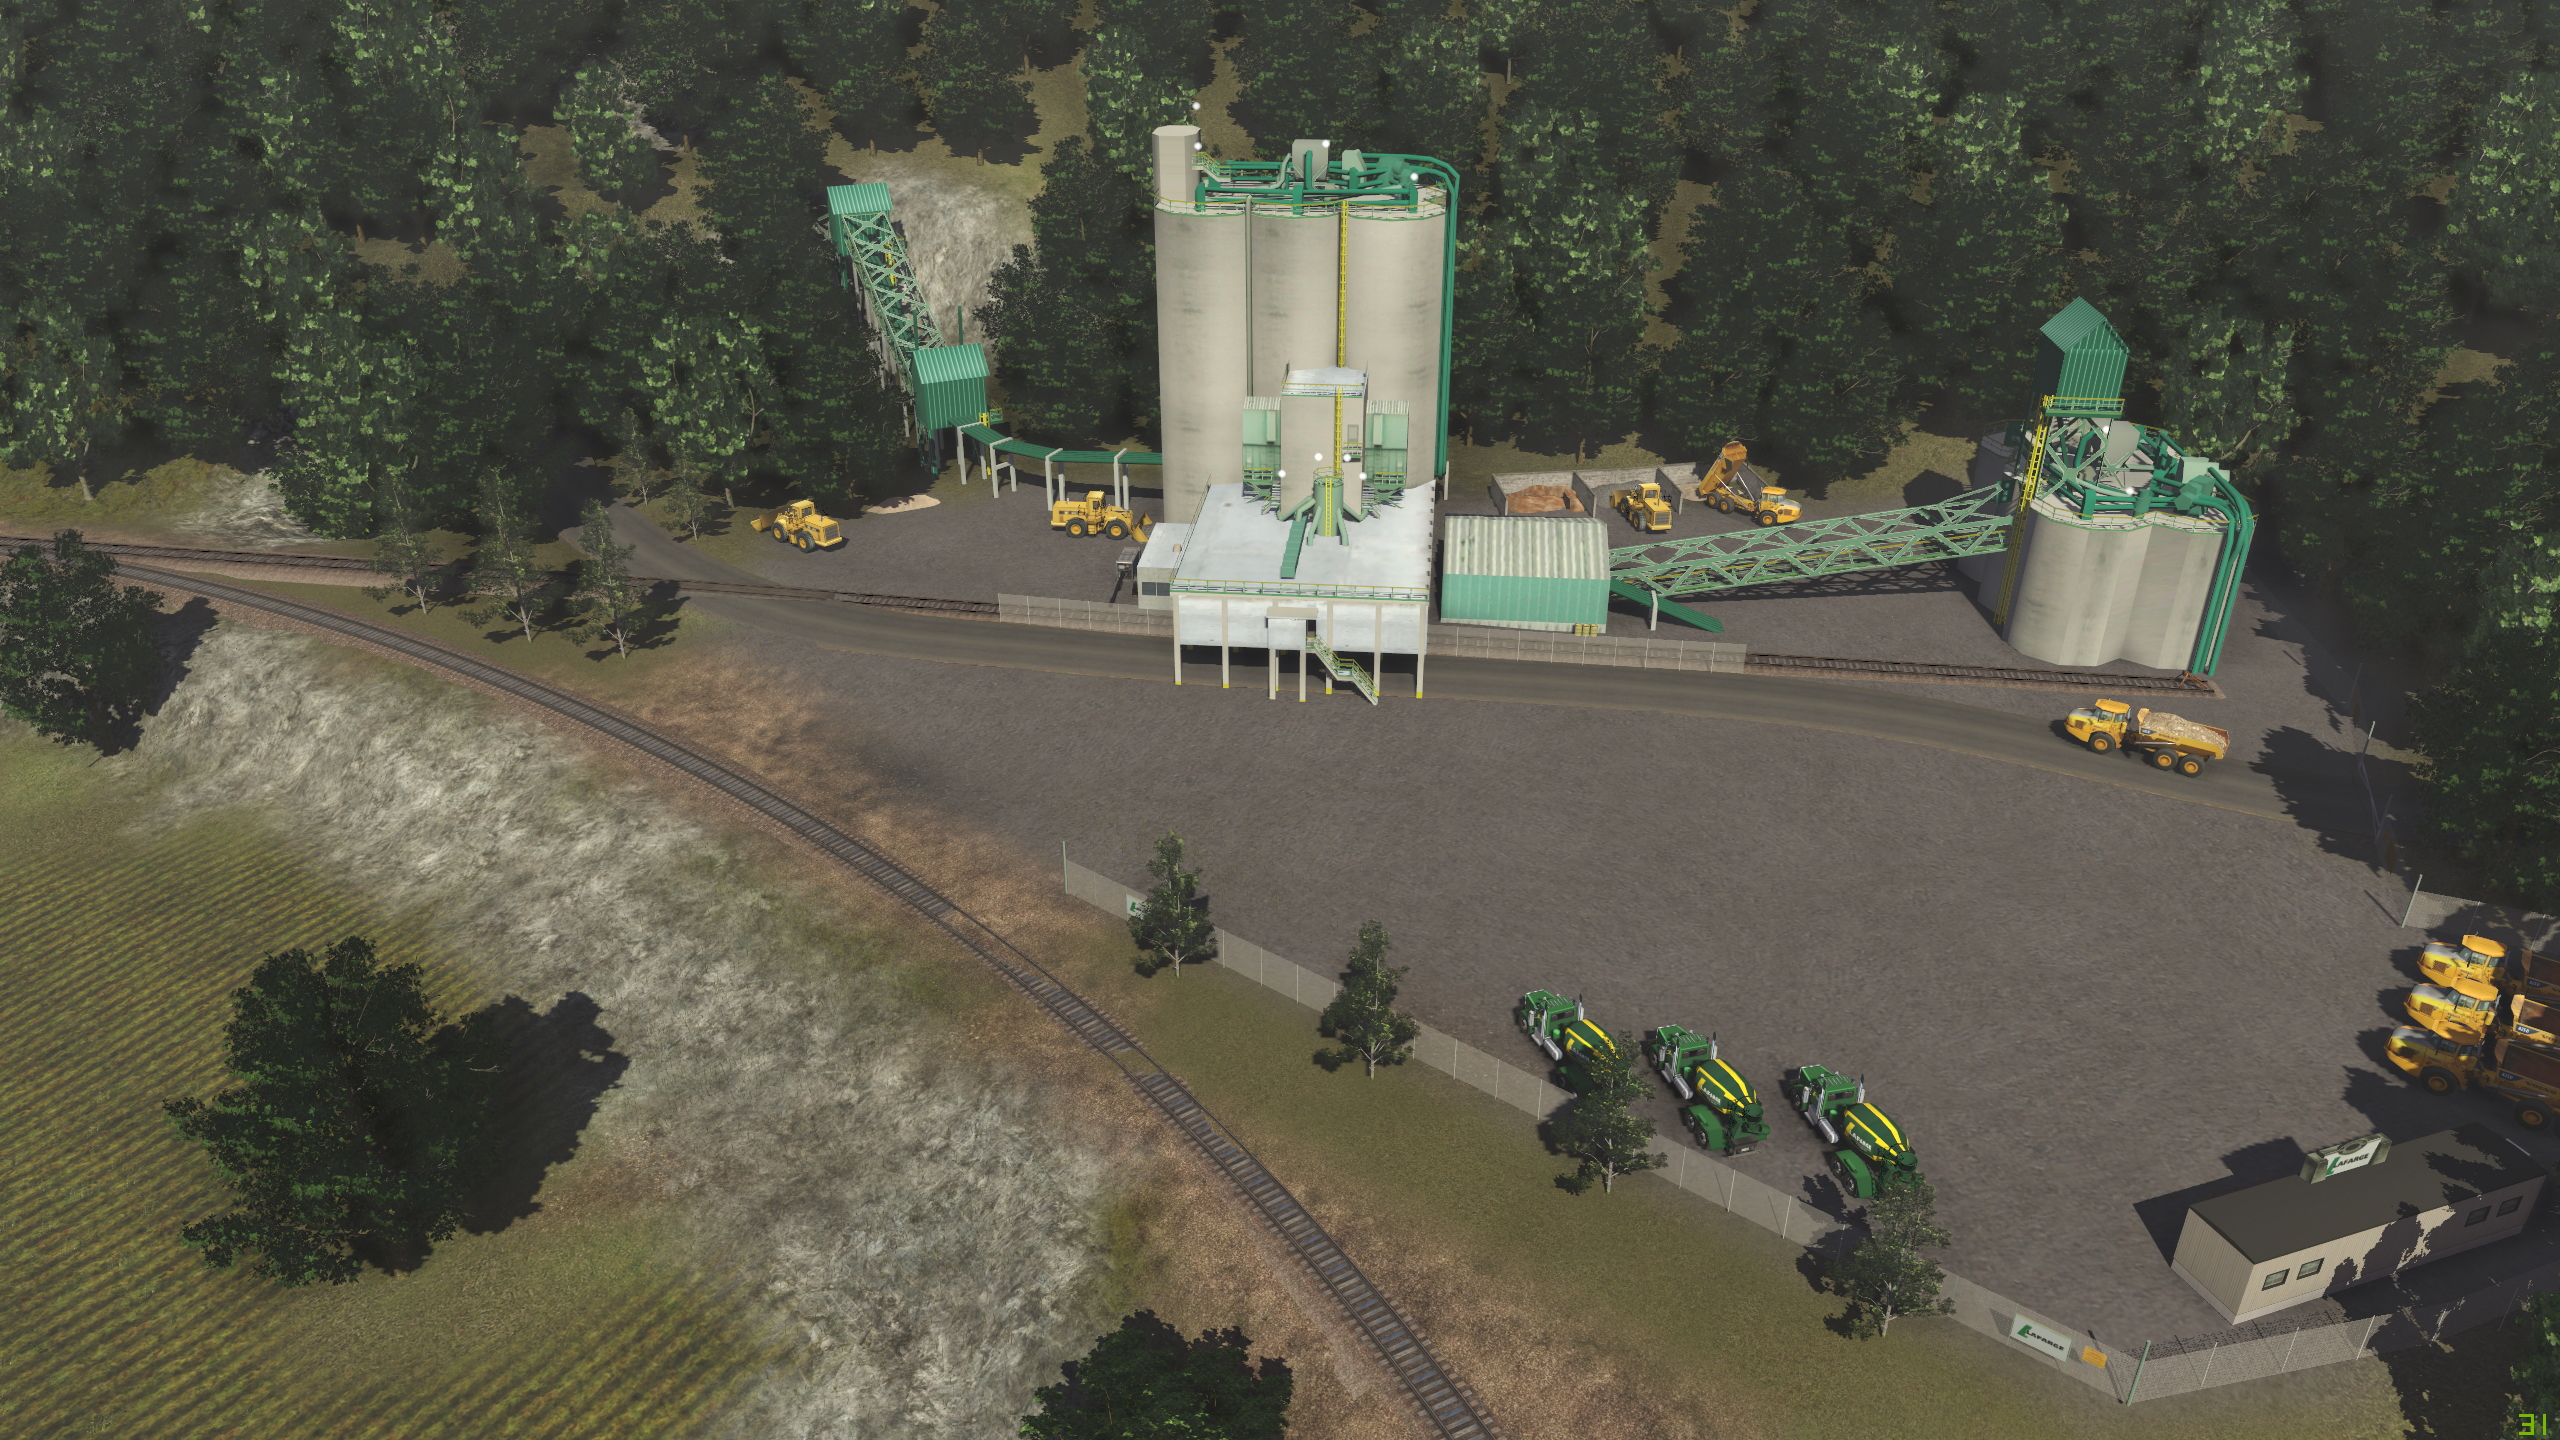
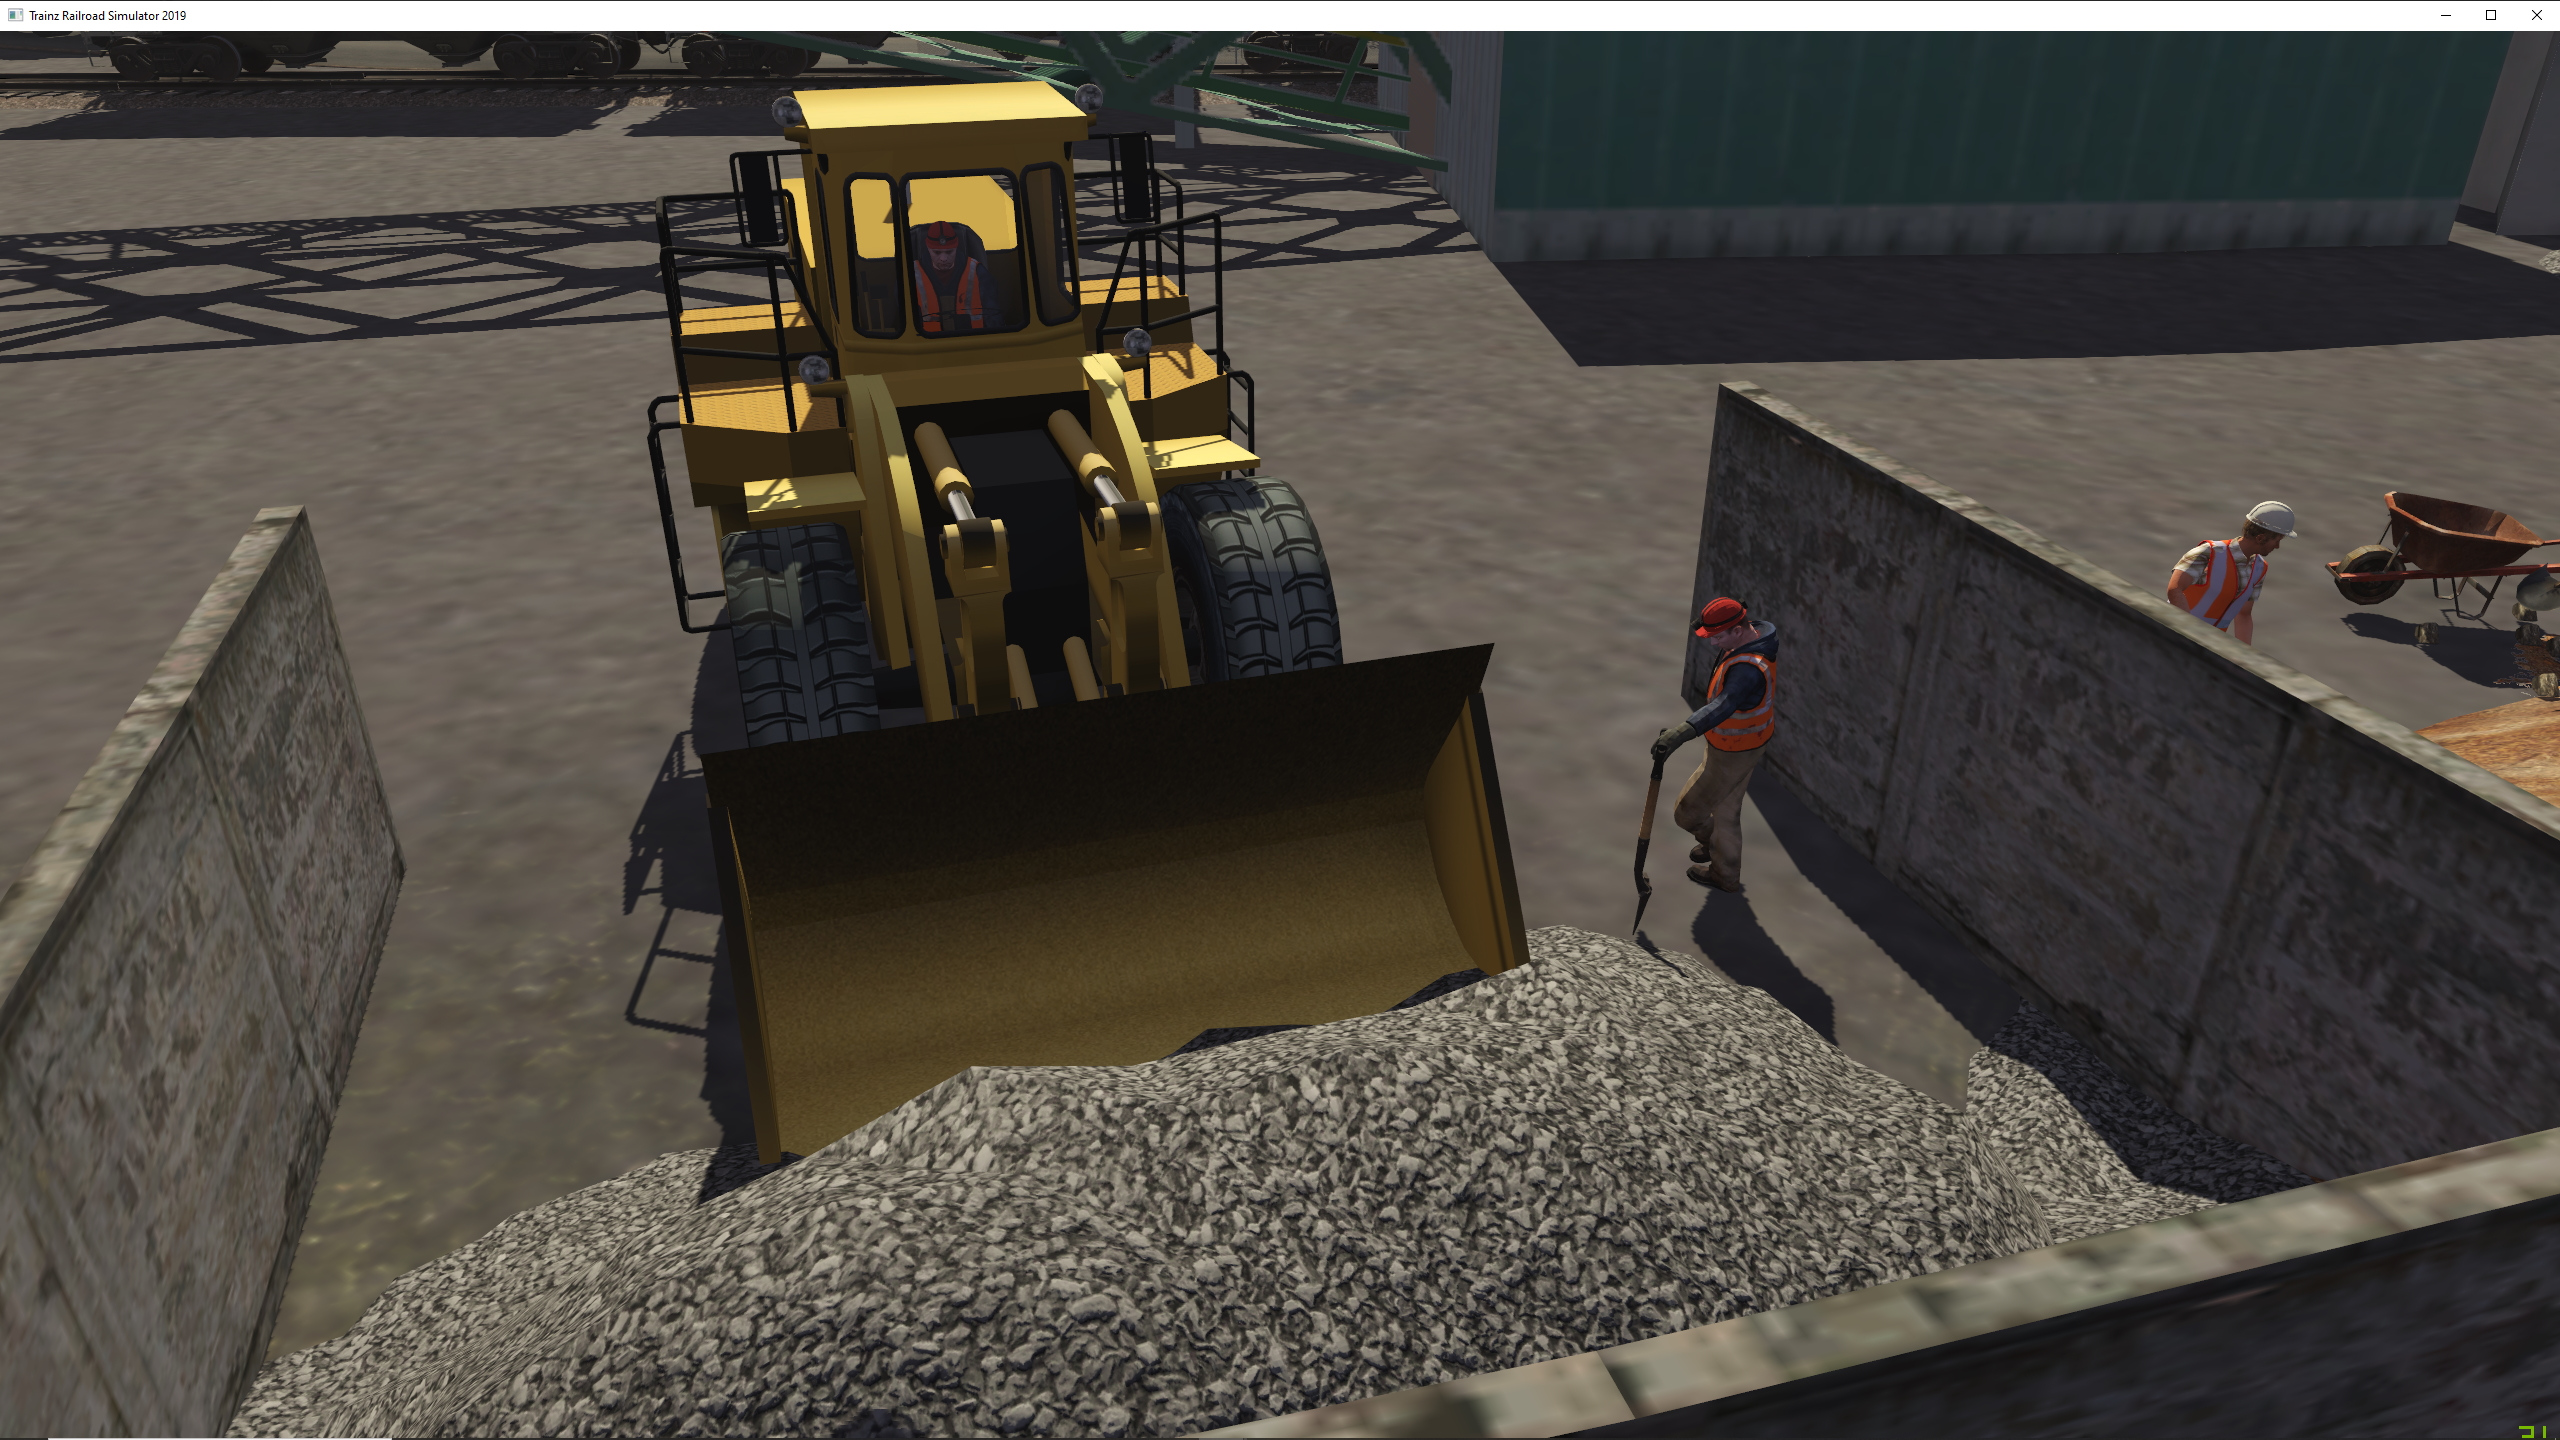
For the uniform men I use "<kuid:93112:3035559> Cuk-Workman-1" series
Then in the case of making the uniform green, open the .TGA file that shows the uniform and magnify it so you can see it good (you may need to open different tga files to find the correct one you wanto f the uniform itself, just make sure you close them before choosing the next .tga file to open)
see picture #2, next you can either choose a color from the color wheel or what I do is open another picture that I have saved on my desktop that has the color I want to use, either in .jpg or .tga format.
This will open a window next to the original picture (the uniform TGA) next choose the ""color picker" icon and click on the color you want and then switch to the original picture where the uniform is.
Next I switch to the "fill" icon and touch the area and "fill it in" with the new color, the only thing you want to watch is the "Hardness" percentage showing above the graphics, the higher the percentage the more it will flood the picture, a lower percentage will you allow to click several areas inside the section you want to fill with the new color. Just repeat this until all sections of the uniform are completed. You will need to experiment but it is fairly easy after a couple of trys to see what Hardness level to work with (usually 15-25 for smaller areas)
Once you are happy with what you have again choose "Save" from the upper left and next find the previously created file (
see picture #3) and choose "resubmit" from the "file" drop down menu, this will finish creating a custom kuid for your model.
This may seem a bit challenging but it is extremely easy to do, my custom signs are made by just saving a picture of the logo or actual sign I find on Google. I open that file in Paint.net and save it as a .tga file first. Then instead of using the coloring tools I use the cut tool and just cut out the part I want and paste it into the .tga file of the model I want to change (make sure you are using the duplicate with the new name like I mentioned above) and adjust the size of the sign or logo it to fit over the original sign. I can then keep as it is or change the color of the frame or support poles by then using the color tools likei first mentioned, sometimes you get an error that file you pasting is to big, for this you just need to resize under the "Image" drop down, I usually try cutting it in half so if it was 900x500 I make it 450x250.
Then complete it like above by resubmitting it.
Practice makes it easy and you can experiment, it becomes a quick process overtime only thing is be aware if the different windows open so you dn't accidentally close the model you are making before it is resubmitted....
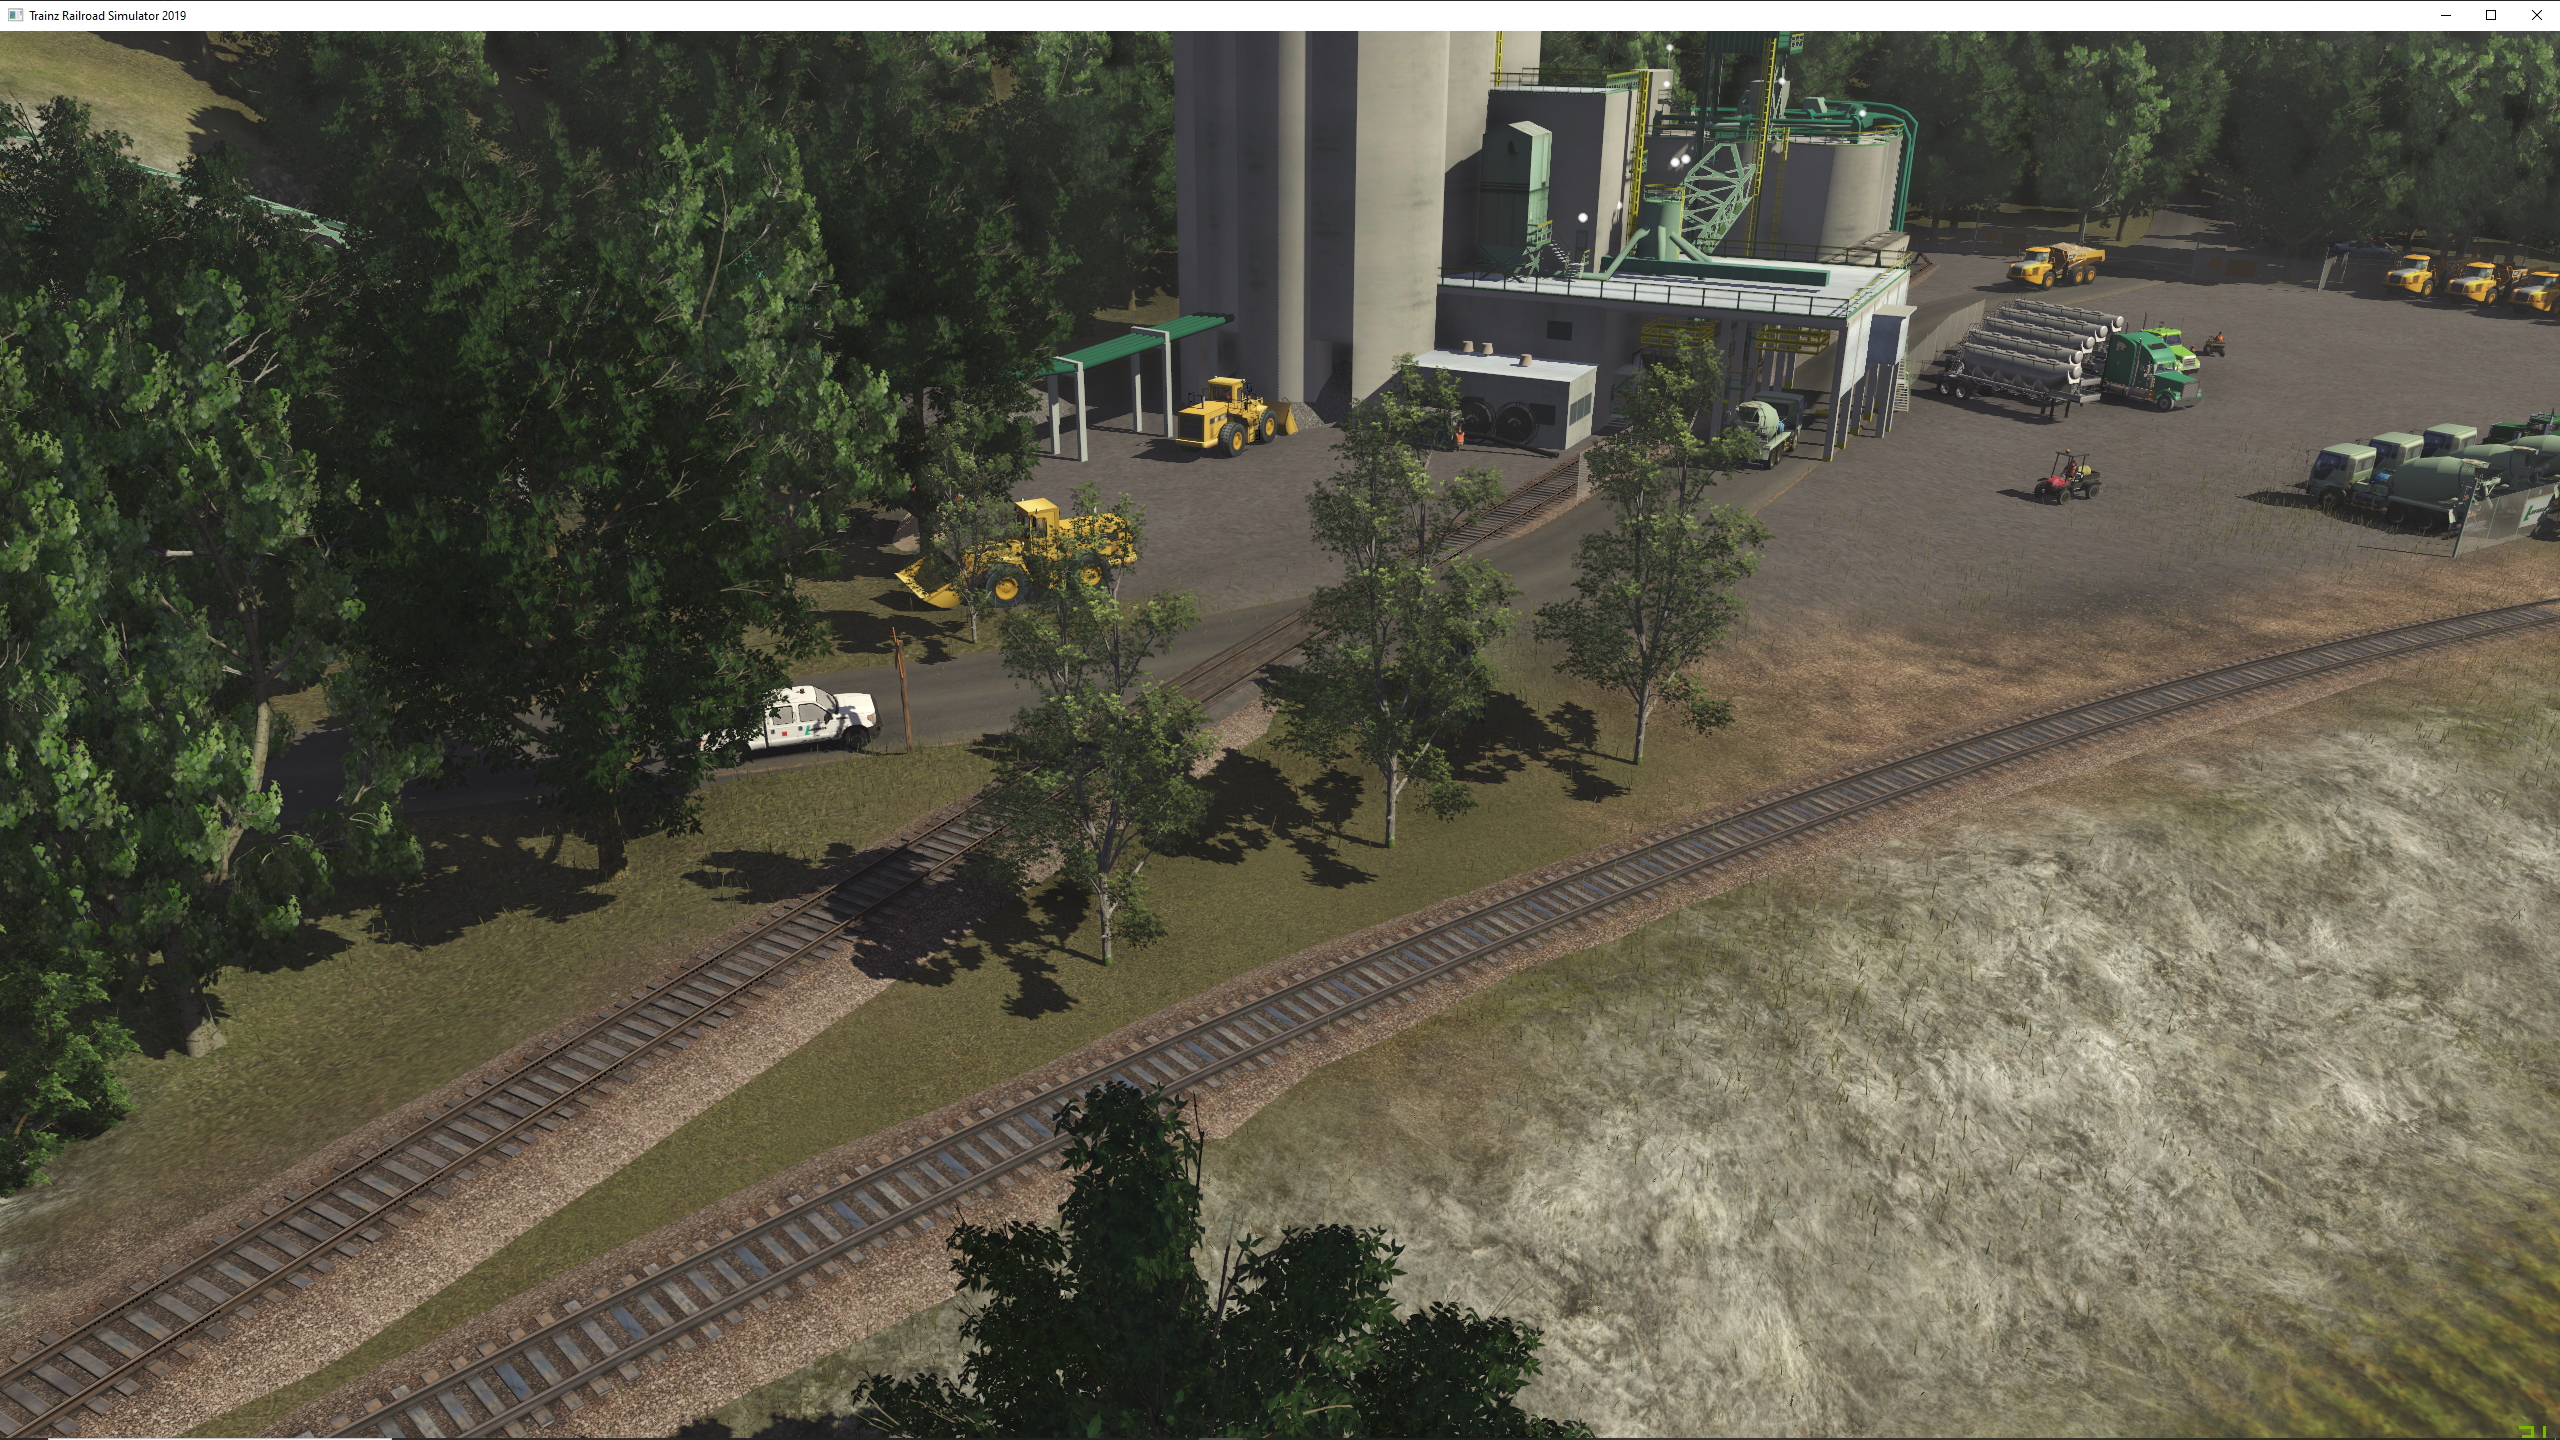
1.
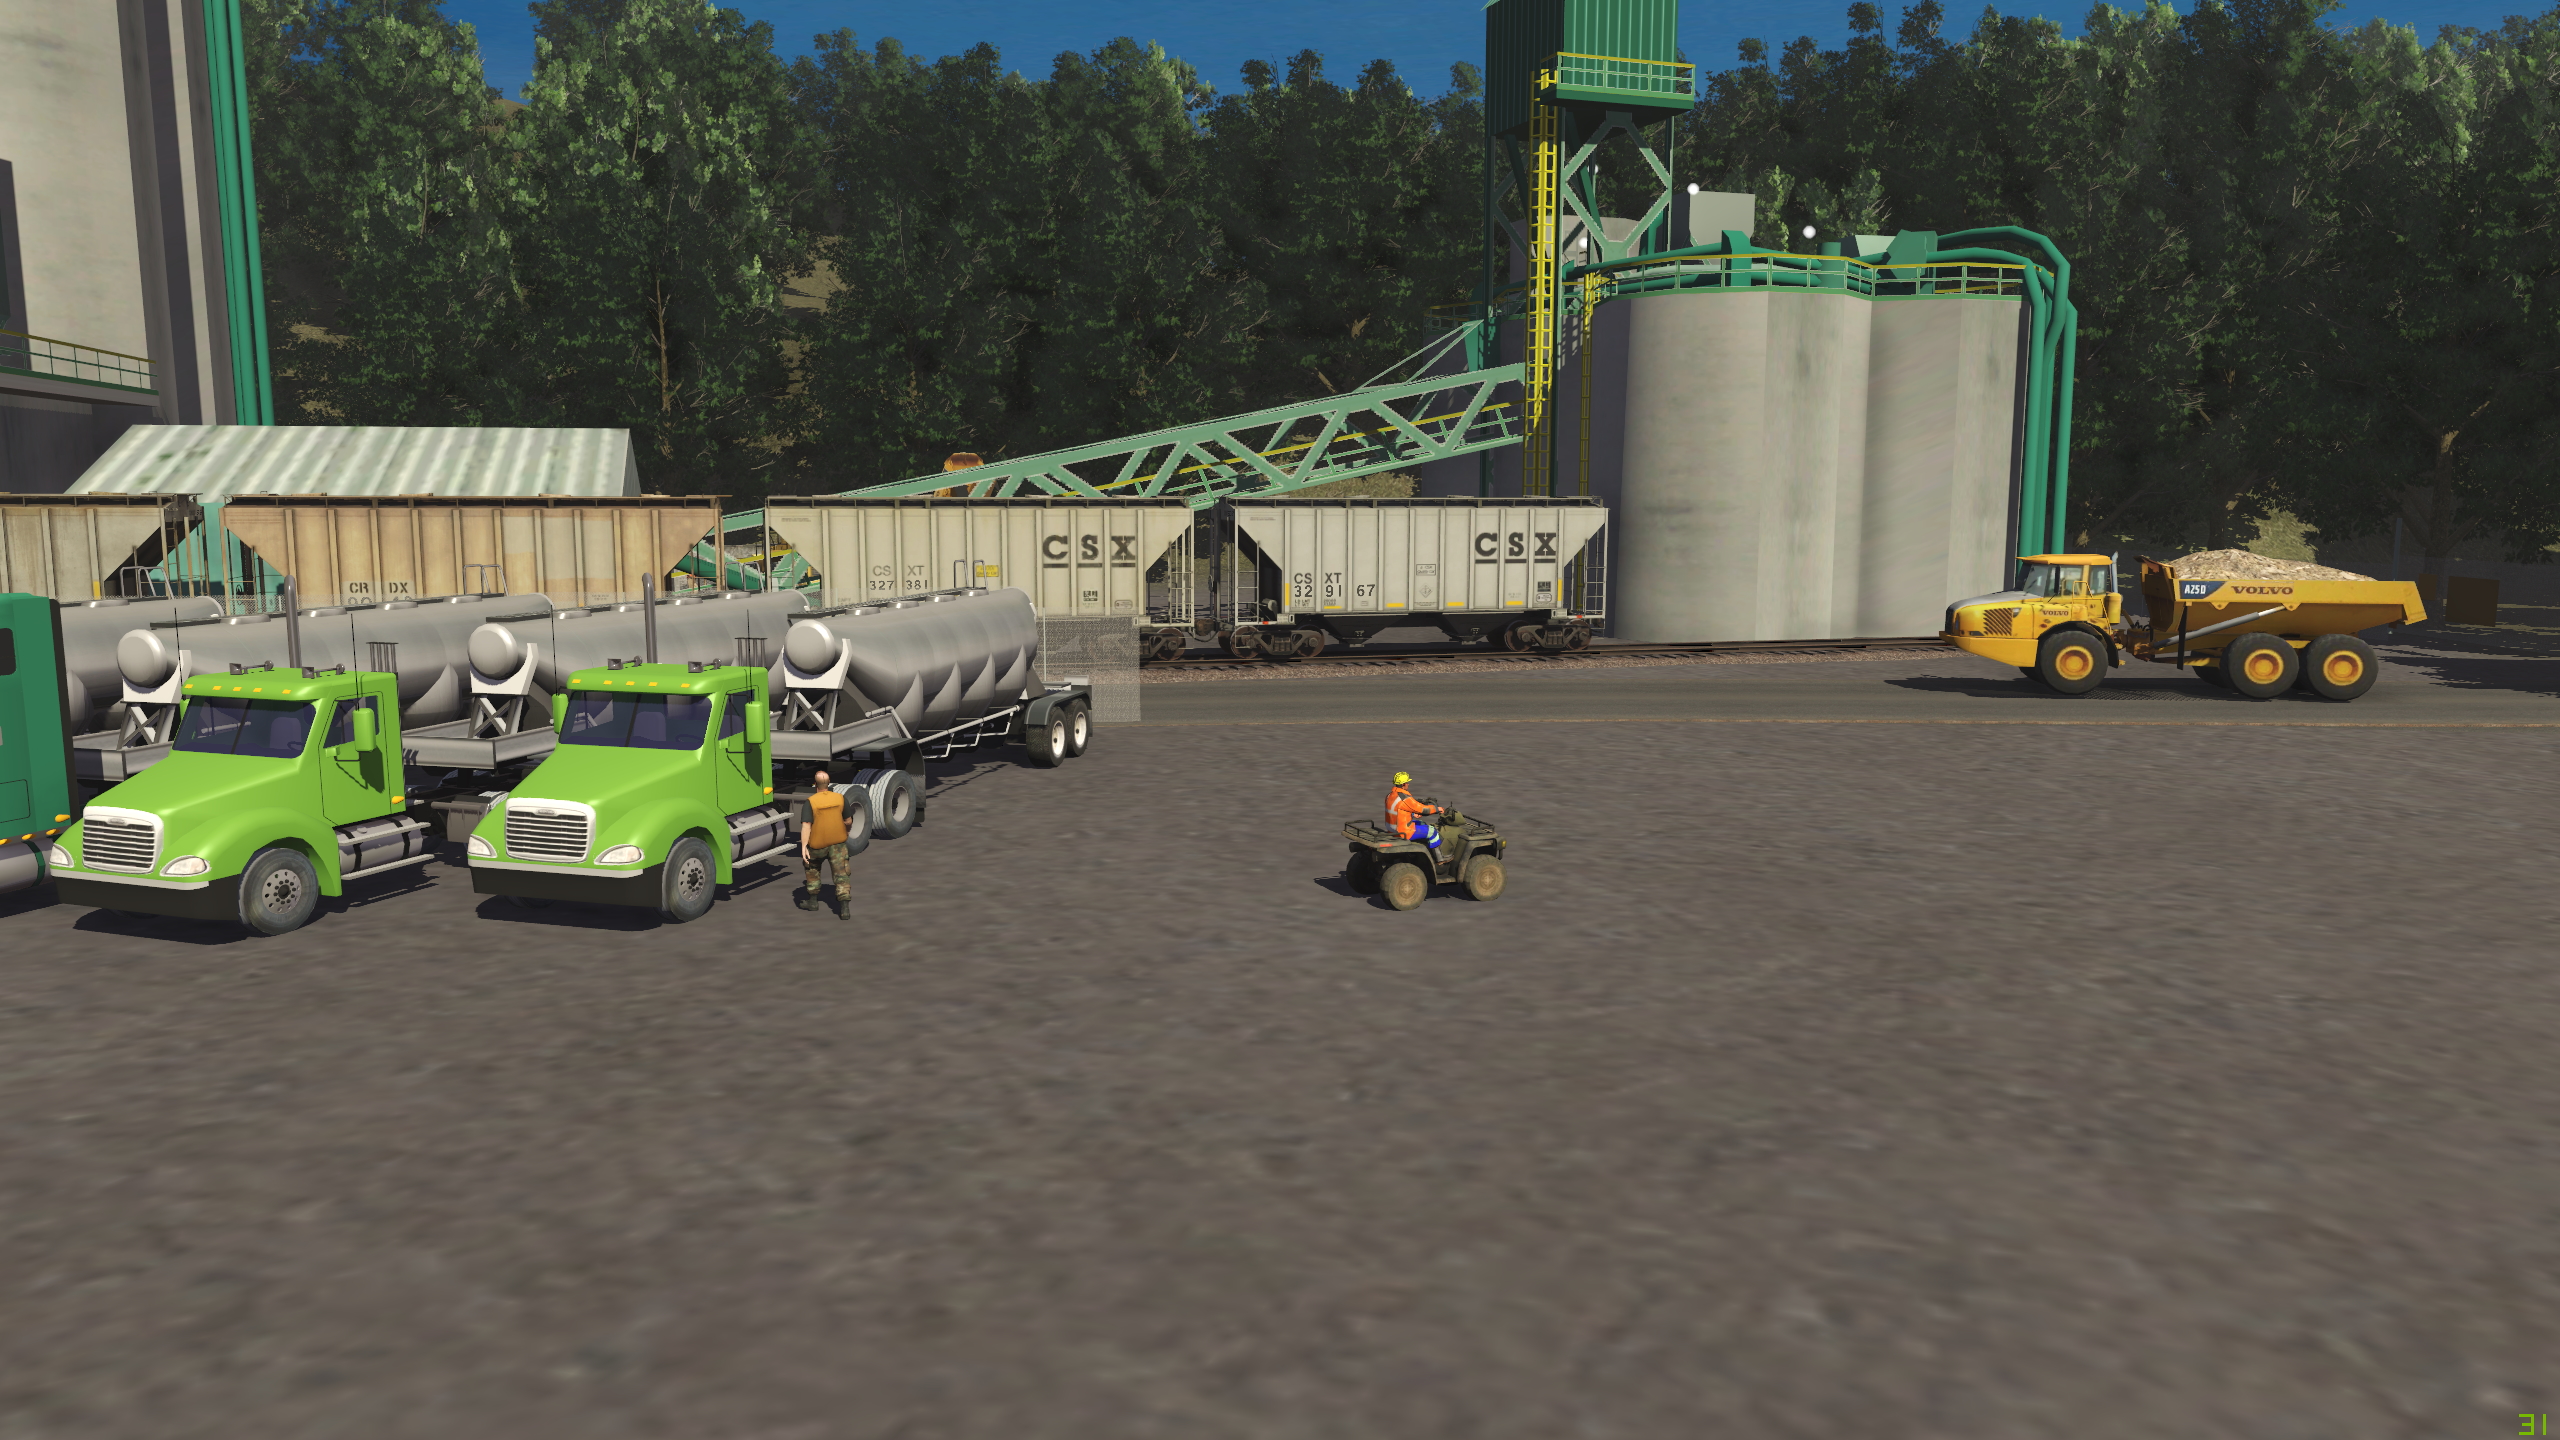
2.
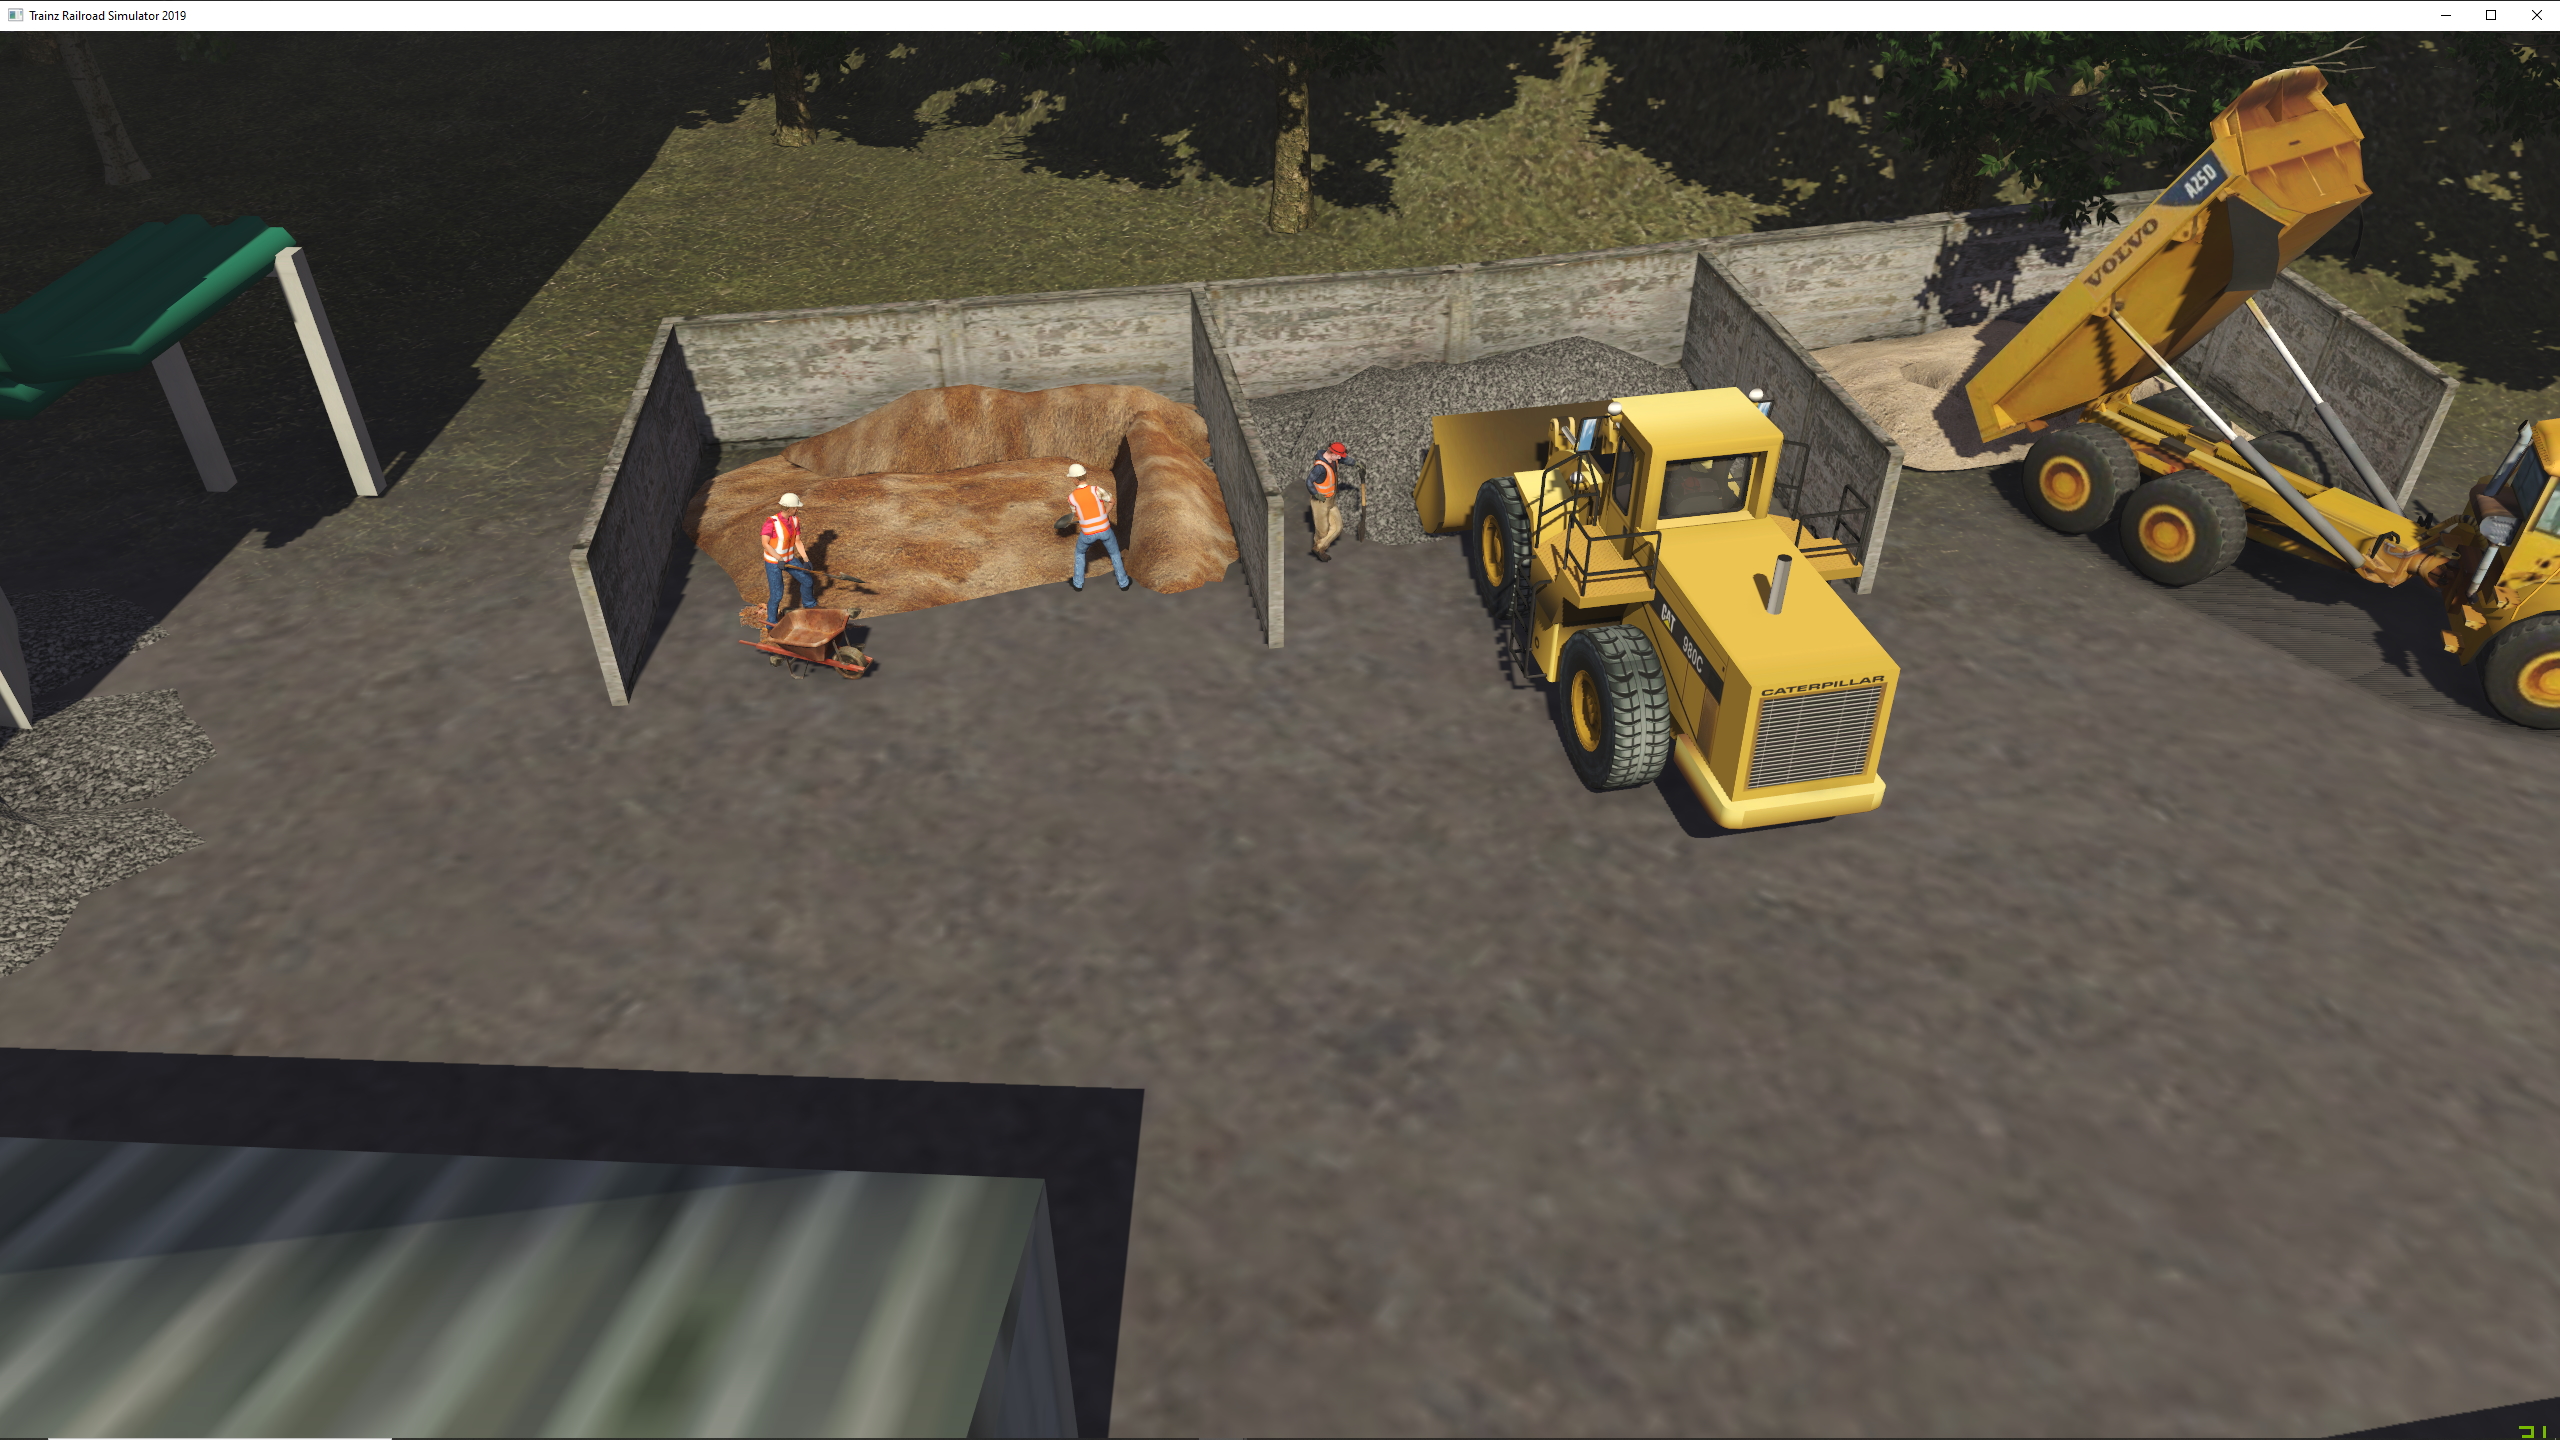
3.