Install the app
How to install the app on iOS
Follow along with the video below to see how to install our site as a web app on your home screen.
Note: This feature may not be available in some browsers.
You are using an out of date browser. It may not display this or other websites correctly.
You should upgrade or use an alternative browser.
You should upgrade or use an alternative browser.
question when it comes to making a route:
- Thread starter john2002
- Start date
I agree with both of those replies. There are 3 terms from model railroading you may not have heard of but they apply to virtual as well. Prototype, Protlance, & Freelance.
I'm doing Prototype where I started at the main yard of focus Port Robinson and worked my way south to a major interchange. Eventually I will work my way north but I have most of the industries in place and can operate pretty much as is now. That was the plan and it's working well.
Protolance is when you like an area but want to change it. Now this could apply to scaling down the 1:1 or creating just the scenes you like. It could also be the railroad you like and cities you make up. But again there is a plan in place.
Freelance gives you open reign but still having a plan works well. The later 2 have room for changing things on the fly the latest more than the 2nd. But whatever you do sticking to a standard to a railroad you will enjoy to run is all that really matters.
Thanks
Sean
I agree with Sean. I've done a bit of all of the above over the years. On my own huge New England-themed route, I use freelancing with manual sculpting and freelancing using real terrain, which I really like doing. Using TransDEM, (hint, hint), I took the DEM and put in tracks where none existed ever in and around Plaistow and Exeter. With this area, I switched the order of the topo-maps and terrain and blended things together. In real life, the area is separated by 20 miles, but when viewing the line, there's no way of knowing that except now because I said so. In real life, there is the existing B&M (Pan Am Rwys.) line and off of that I added some branch lines including a few abandoned lines with one of them becoming a rail trail. I also did the same around Amesbury and Newburyport where the former Eastern Railroad has been abandoned since the 1970s and 1980s. Here I put the track back in and I've merged in part of the terrain into my own route. Included in this area, is the former City Railroad that served the docks along the Merrimack River, and I freelanced a branch out to Plum Island. At one point there was a trolley line out there, but that's been gone since before the Great Depression. I put in a steam-road out there and had to work in a drawbridge over the Parker River just outside the island proper. The area today is covered with expensive oceanside cottages, but on my route, I will have a proper town, station, engine facilities, and residential areas.
I also did this on my reworked Gloucester Terminal when I added on the Eastern Point line. I ran the line along what is in reality state Rt. 127a and Eastern Point Blvd. I kept the existing town names, and created stations there and added in some switching opportunities such as docks and small industries. At the terminus in Eastern Point, I continued a short branch down to the waterfront to what was once the US Coast Guard Station area. In reality, the station has been gone for 45 years or more and I replaced that with docks and small fishing industries. The whole Gloucester Terminal, meaning GFisher's original and my electric version, are both built using this method. I owe it to George for inspiring me to do this with other routes.
On my own version of the same area in and around Cape Ann, I put in rail lines out to Magnolia through the Ravenswood Park. In reality it's a great swamp with walking trails and a few roads, but in my route I have a Ravenswood town with a bunch of houses, downtown, and a few industries. Magnolia has a small rusty branch that serves some docks and small industries and has a good sized passenger station with some storage sidings. The line runs up and around through Lanesville to Pigeon Cove and I added some short spurs to Thatcher Point, Wheeler Point, and Mill Creek. In real life, this area was covered with small disconnected quarry railroads and in my version I have connected some together to form a larger rail network all on its own. When I finally finish this route, in a gazillion years, it'll be a combination of freight, quarry, and passenger service.
As always, my intent while building this way is to keep the landscape and road network as intact as possible. This becomes a challenge as I work out where I can run the line without disrupting too much of the existing infrastructure. Working around the towns so not to disrupt things is tough, but it's even tougher figuring out how to work around the landscape without inflicting too much damage on the terrain while keeping the line realistic as possible.
This brings up the other thing I mentioned before. Keep the intent of the route in mind. By this I mean create a backstory that says what the line is, its industries served, and its purpose just as Sean has done. This helps keep the route on track, no pun intended, and makes building a lot easier and quicker than meandering along aimlessly without knowing where the end is or ever will be. Now related to this, I recommend working slowly and setting a goal of finishing up a few baseboards at a time. The reason for this is to allow time to clean up quirky bugs that creep into the building process, and also it allows you to enjoy the route as you build it even if it's only a few short baseboards that are completed.
Last edited:
I built a route in TS12, made from routes from the DLS and linked together with portals. I could run a train from Los Angeles to Chicago, with AI drivers, useing 47 portals. It took 5 minutes to load at the start. I had some routes that I built in the mix as well.
It was a lot of fun and worked really well. Unfortunately I lost it in a hard drive crash. I didn't have a backup.
Tried to do it again in Tane but the early versions didn't handle merging well. Still might do it again one day.
Cheers,
Mike
It was a lot of fun and worked really well. Unfortunately I lost it in a hard drive crash. I didn't have a backup.
Tried to do it again in Tane but the early versions didn't handle merging well. Still might do it again one day.
Cheers,
Mike
I can't answer that. But on your original question one last thing. Prototype will also keep you from cheating on a standard if not set. So if you do freelance or prototype, then you want to have a standard perhaps such as minimum radius, maximum grade, with between rails. Otherwise you slip into fitting things in more than making it feel realistic. Of course ultimately as long as you enjoy it that's what counts.
Thanks
Sean
Thanks
Sean
another question: how do you do realistic, smooth terrain without doing DEM data?
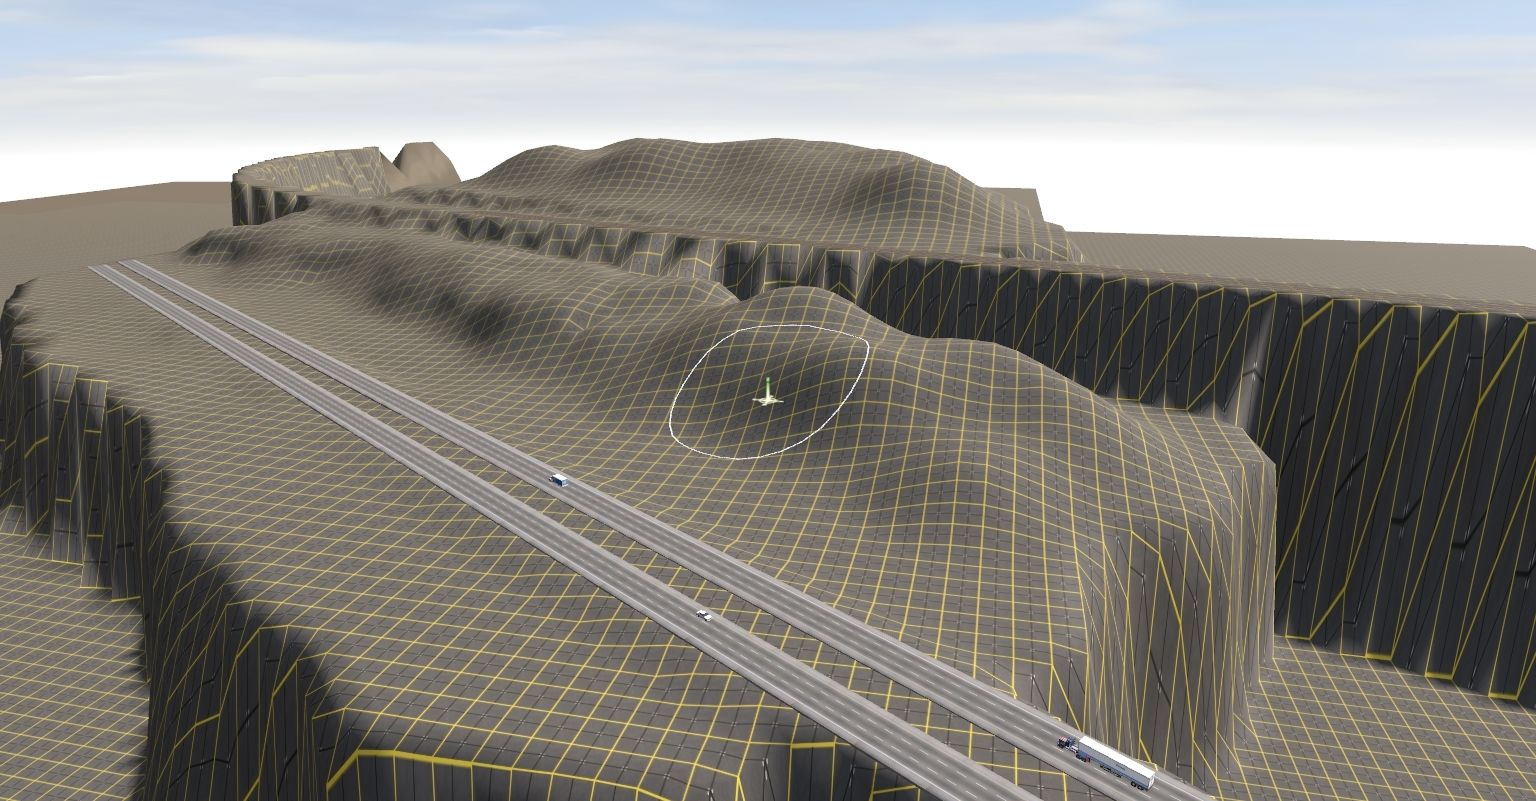
this is an area of my situation testing route, and I have a long way to go before it's a big mountainous area
and also should there be a portal at the unfinished end of a route that's moved with each modification?
this is an area of my situation testing route, and I have a long way to go before it's a big mountainous area
and also should there be a portal at the unfinished end of a route that's moved with each modification?
Last edited:
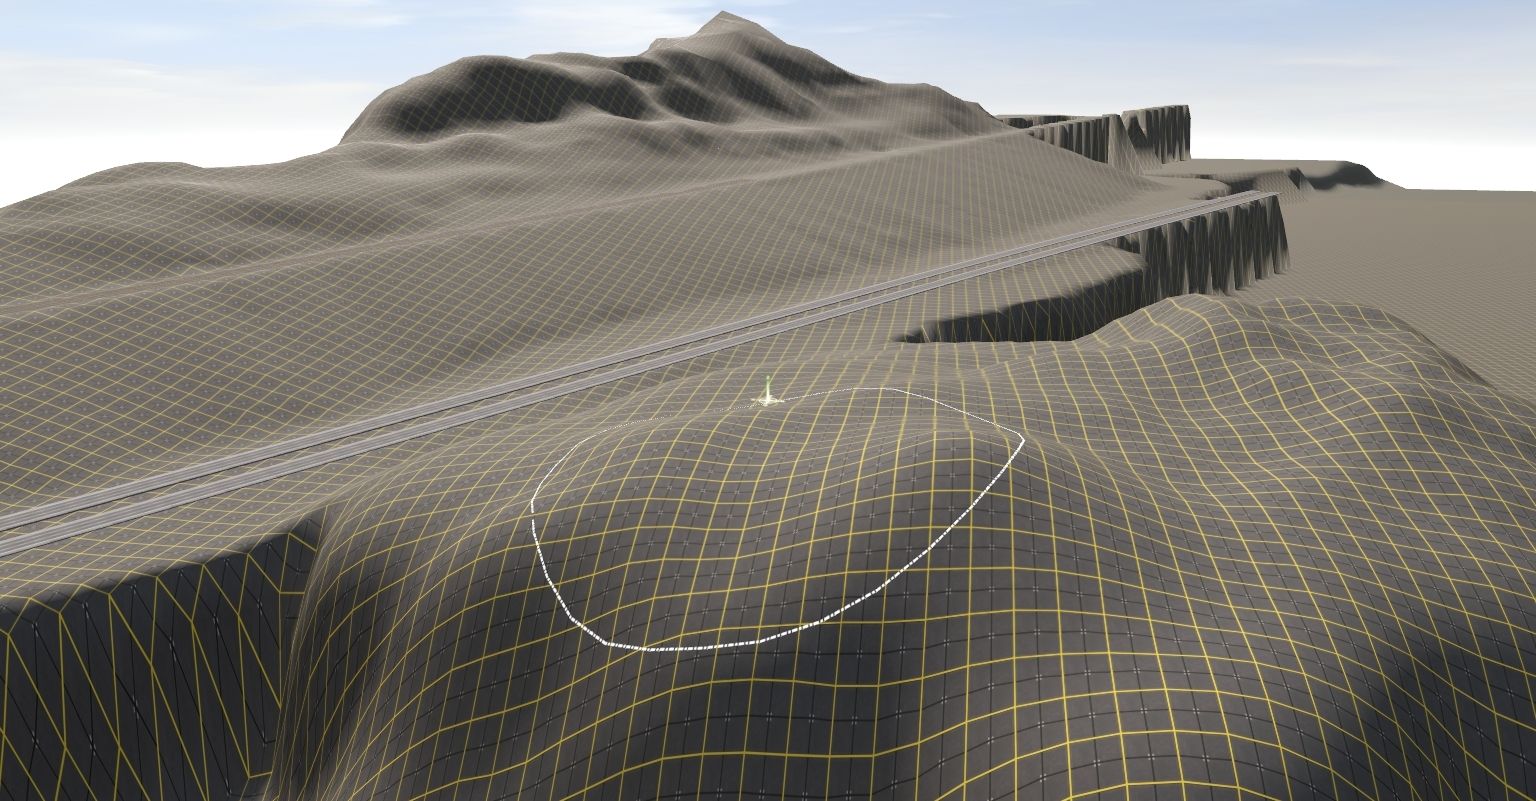
another question: how do you do realistic, smooth terrain without doing DEM data?
<pic removed from quote>
this is an area of my situation testing route, and I have a long way to go before it's a big mountainous area
and also should there be a portal at the unfinished end of a route that's moved with each modification?
You can put a portal on the unfinished end since that part goes off "somewhere" else. What I've done in this situation is move the portals further and further down the line as I complete those sections rather than deleting them. You simply disconnect the track and move the portals down to the next baseboard or two and then run the track up to them as needed. Moving a portal asset a few baseboards or a few more is fine, but don't go overboard because that's a real pain - been there and done that a few times!
Smoothing terrain takes patience and time to do it carefully.
Here's one process which is quite successful.
1) Create the hill roughly shaped how you like it.
2) Take road splines and drape them over the bumps on the rough terrain like you're placing strips of plaster-coated paper or cloth over chicken wire and window screen running from the top to the bottom.
3) When you've got the hill covered with roads, use the level terrain button in the advanced pull-out for roads.
4) Delete the road splines since you no longer need them.
What this will do is shape your hill more or less how you like it.
Once this is done, open the topology tool.
1) Adjust the sensitivity knob up to about midpoint on the dial. You can fiddle around with this to get something that works best for you.
2) Adjust the radius down or up, depending where it was set before.
3) Run the smooth terrain over the bumps.
This method also removes the stepped edges along railroad grades and cliff edges as well. It's not perfect, but it does a good job for that.
Portals are good especially if your just looking to running trains and I used this method in the early starts to my route.
Once I managed to get some of the major operating yards in play though I started creating staging yards. For me personally this is a model railroad method that works really well even in a full scale 1:1 route like I'm developing. Every mile is exactly where the line stands, sidings are full size, etc.
Once you have developed a staging you can do all kinds of model railroad like things with it. For example despite having 15 full miles of mainline laid out on the east side of the canal, I wanted to have operations reflect what was happening on the west side of the canal with CP, and PCHR. CP only needed a small staging yard for my interchange for the time being (I'll deal with mainlines later) but PCHR represented about 30 miles of mainline and compressed it into a few miles. This will not only allow me to have every industry I intend to model, but a place to tag them and work them accordingly on the finished side.
The good part about staging yards is they can be easily moved and copied. I set-up a staging yard for Toronto (though I'm in the process of completing something big and will share more later). Once I have completed this monster I'm going to copy it again over to the Buffalo side. The only thing I need to do is line the mainline up to the connecting track and orient the paste from the copy in the best direction that the line is facing.
This was actually a method the model railroad club I belonged to has used as they are building a 6 level mushroom layout. Every new addition has a temporary staging yard to represent operations much more compressed to give the trains meaning on the modeled section. Of course this method is similar only this time from 1:1 scale down to compressed to make the system work.
Thanks
Sean
My general life experience is that hard & fast planning always leads to disappointments and sometimes disasters. It can set impossible targets that, when you fail to meet them, leach away your persistence and intent. Nothing gets finished. The environment and it's ecologies (Trainz versions) also change so the plan must adapt. Some hard & fast plans can't.
The world - reality as a whole - doesn't plan itself; it evolves. This involves drift, mutation and the emergence of the successful or well-fitted. No one plans it (unless you're a Creationist). In making routes for Trainz, I've always found that those that start with a seed - perhaps a small and unfinished route tossed into the DLS with an invitation to use it - are the best for eventually producing something with detail and interest. Because you evolve them, there is never the feeling of failing to meet a plan - some theoretical design, level of detail or (worst of all) timetable. There is only the play (not work) of making something ad hoc, leaving what's good and obliterating what isn't.
As an example, I offer you Dearnby & DIstrict, a route begun by two uploads of small and unfinished routes by Neville Hill. I was impressed with the detail and quality of ole Neville's stuff so added to the blank bits of grid in those routes then stitched them together with an even older route: Dark Dan's "UK Somewhere", already heavily modified by me on my PC only for many years.
Neville liked the result and suggested a collaboration. He did the great majority of the new route that emerged eventually as Dearnby & DIstrict. I was in charge of signals and splashing flora about, along with a bit of road building and creation of the odd corner here and there. Also a couple of sessions.
Neville eventually incorporated parts of another route of his; did a winter version of one of the the original small routes he'd posted; and eventually uploaded an enhanced and expanded V2. He is currently working on a V3, which I have at the moment for doing some signalling on. (Heel dragging because of Covid just now, though).
The point is that this route was evolved rather than heavily planned. Neville did have some plan in making the starter seed routes - but they were very limited and more about achieving a high quality core than making a whole big route. There's some planning in making V3 - but the additional stuff will also be evolved: made up as we go along and the building of it suggests various things. The advent of TRS19 with it's extra stuff is also a stimulus to change the original (often vague) intentions.
Evolution. It's a rather more natural and productive mode than the dreaded plan, even if a bit of planning now & then is part of the evolutionary process.
Lataxe
Similar threads
- Replies
- 10
- Views
- 267
- Replies
- 8
- Views
- 327
- Replies
- 1
- Views
- 184