Building a mountain railroad

Screen shots - continued...

Screen shots of the BCSJ route - continued from the previous post...


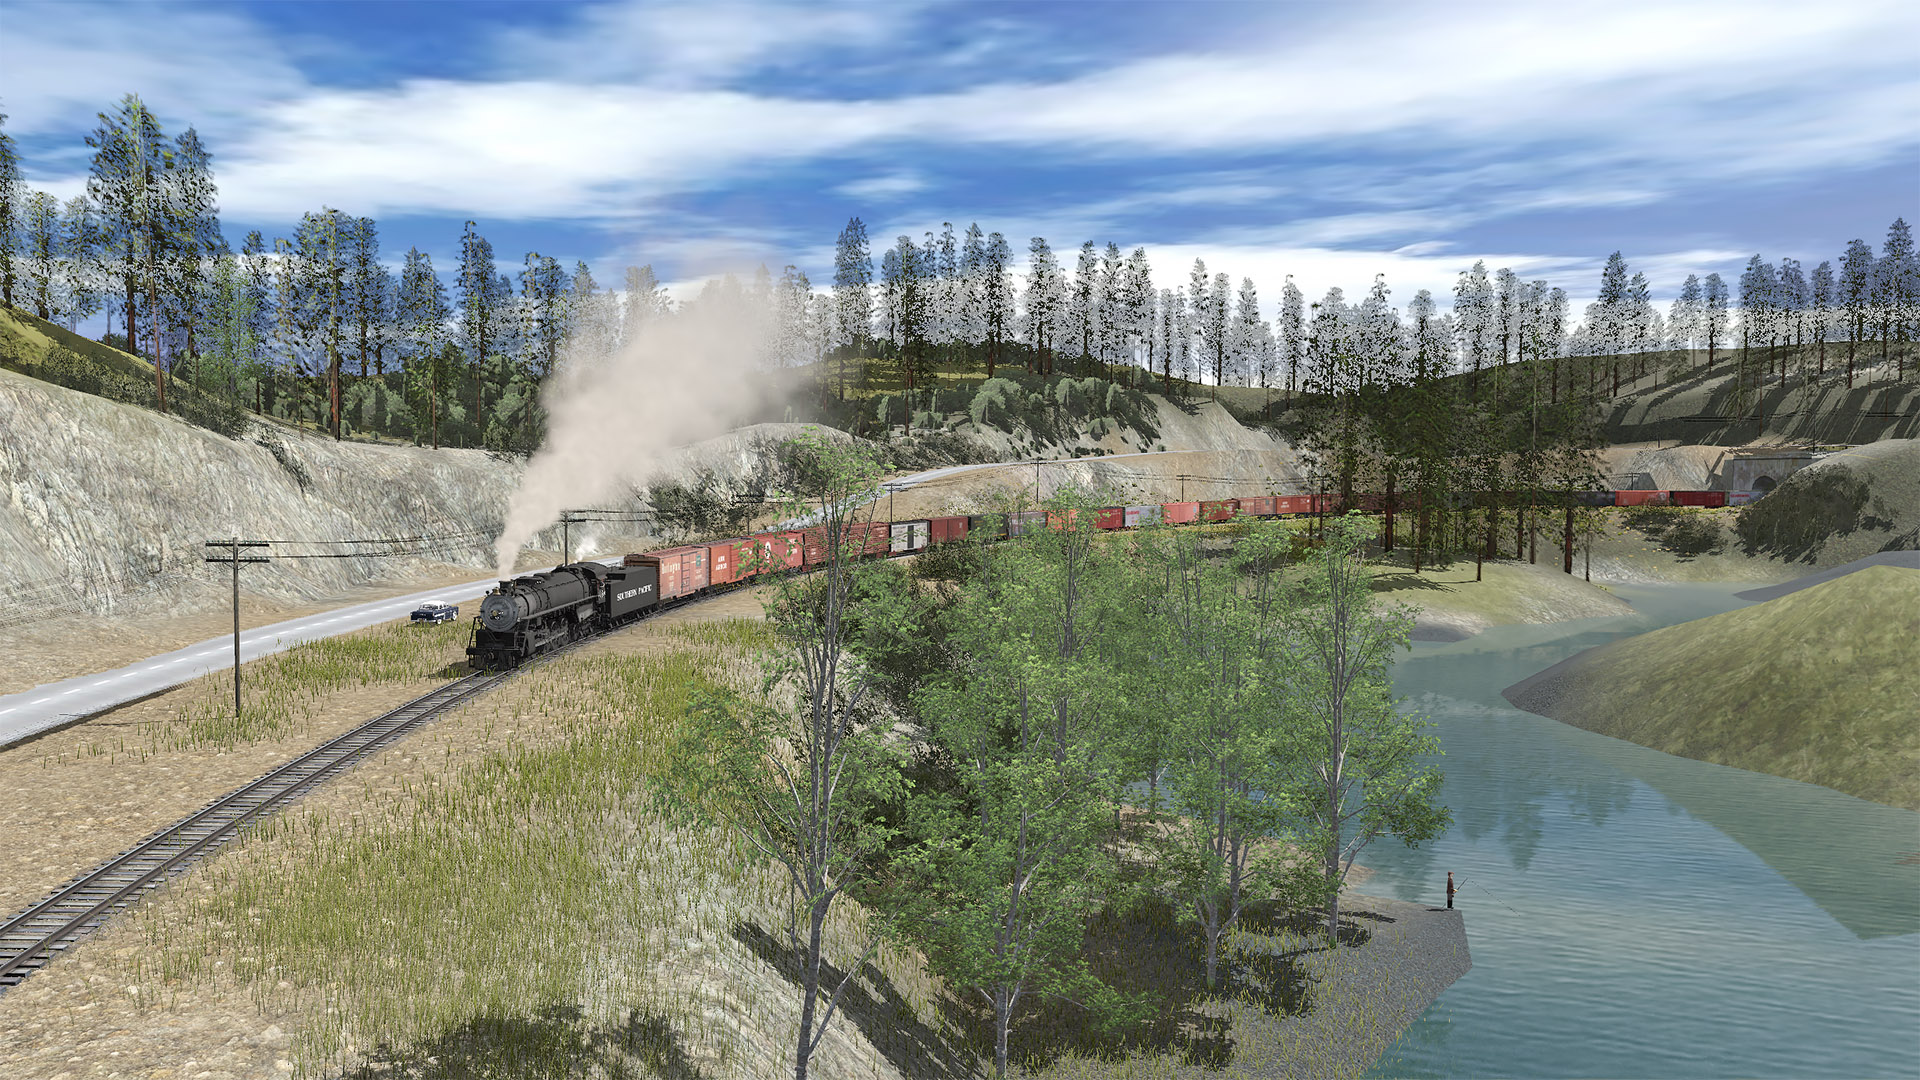
Drifting westward down the grade below the summit tunnel.
20190125-bcsj-v-008-1080p.jpg


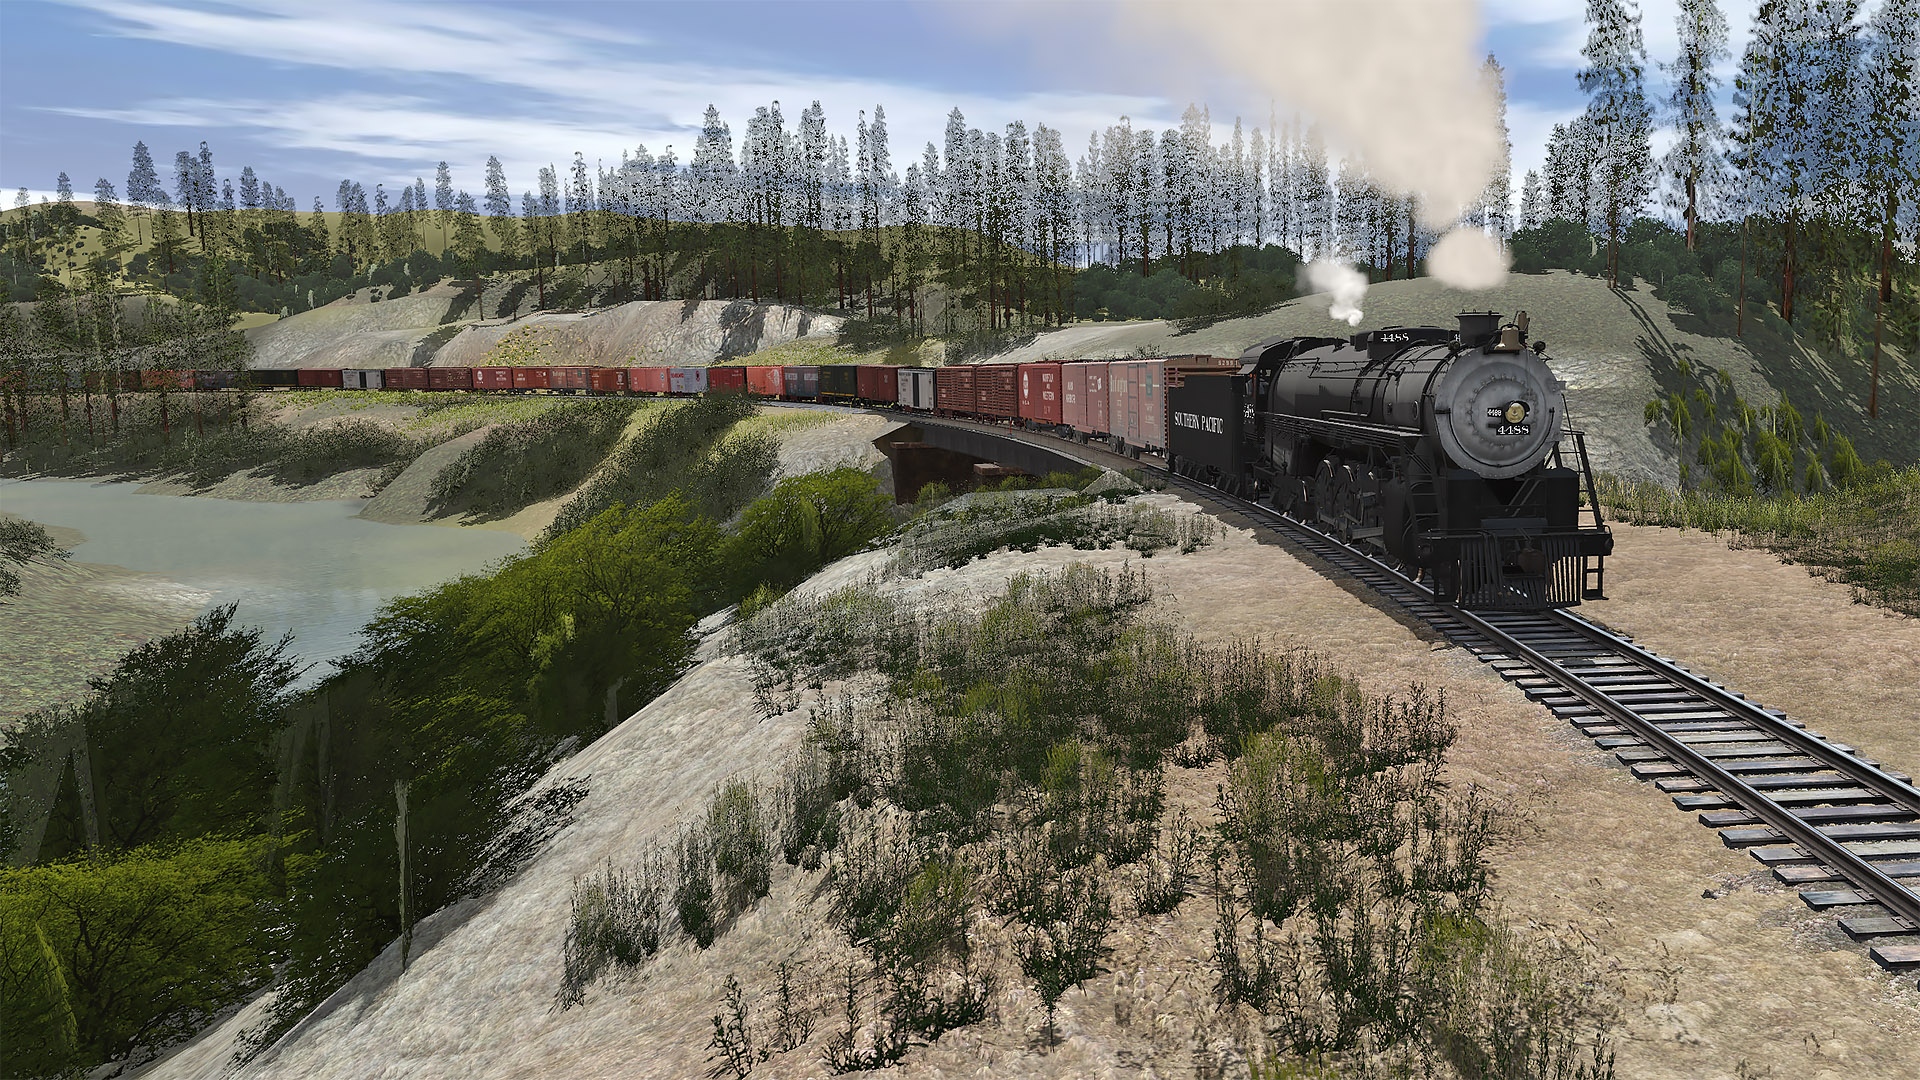
Crossing the deck girder bridge just east of the summit tunnel.


20190125-bcsj-v-007-1080p.jpg


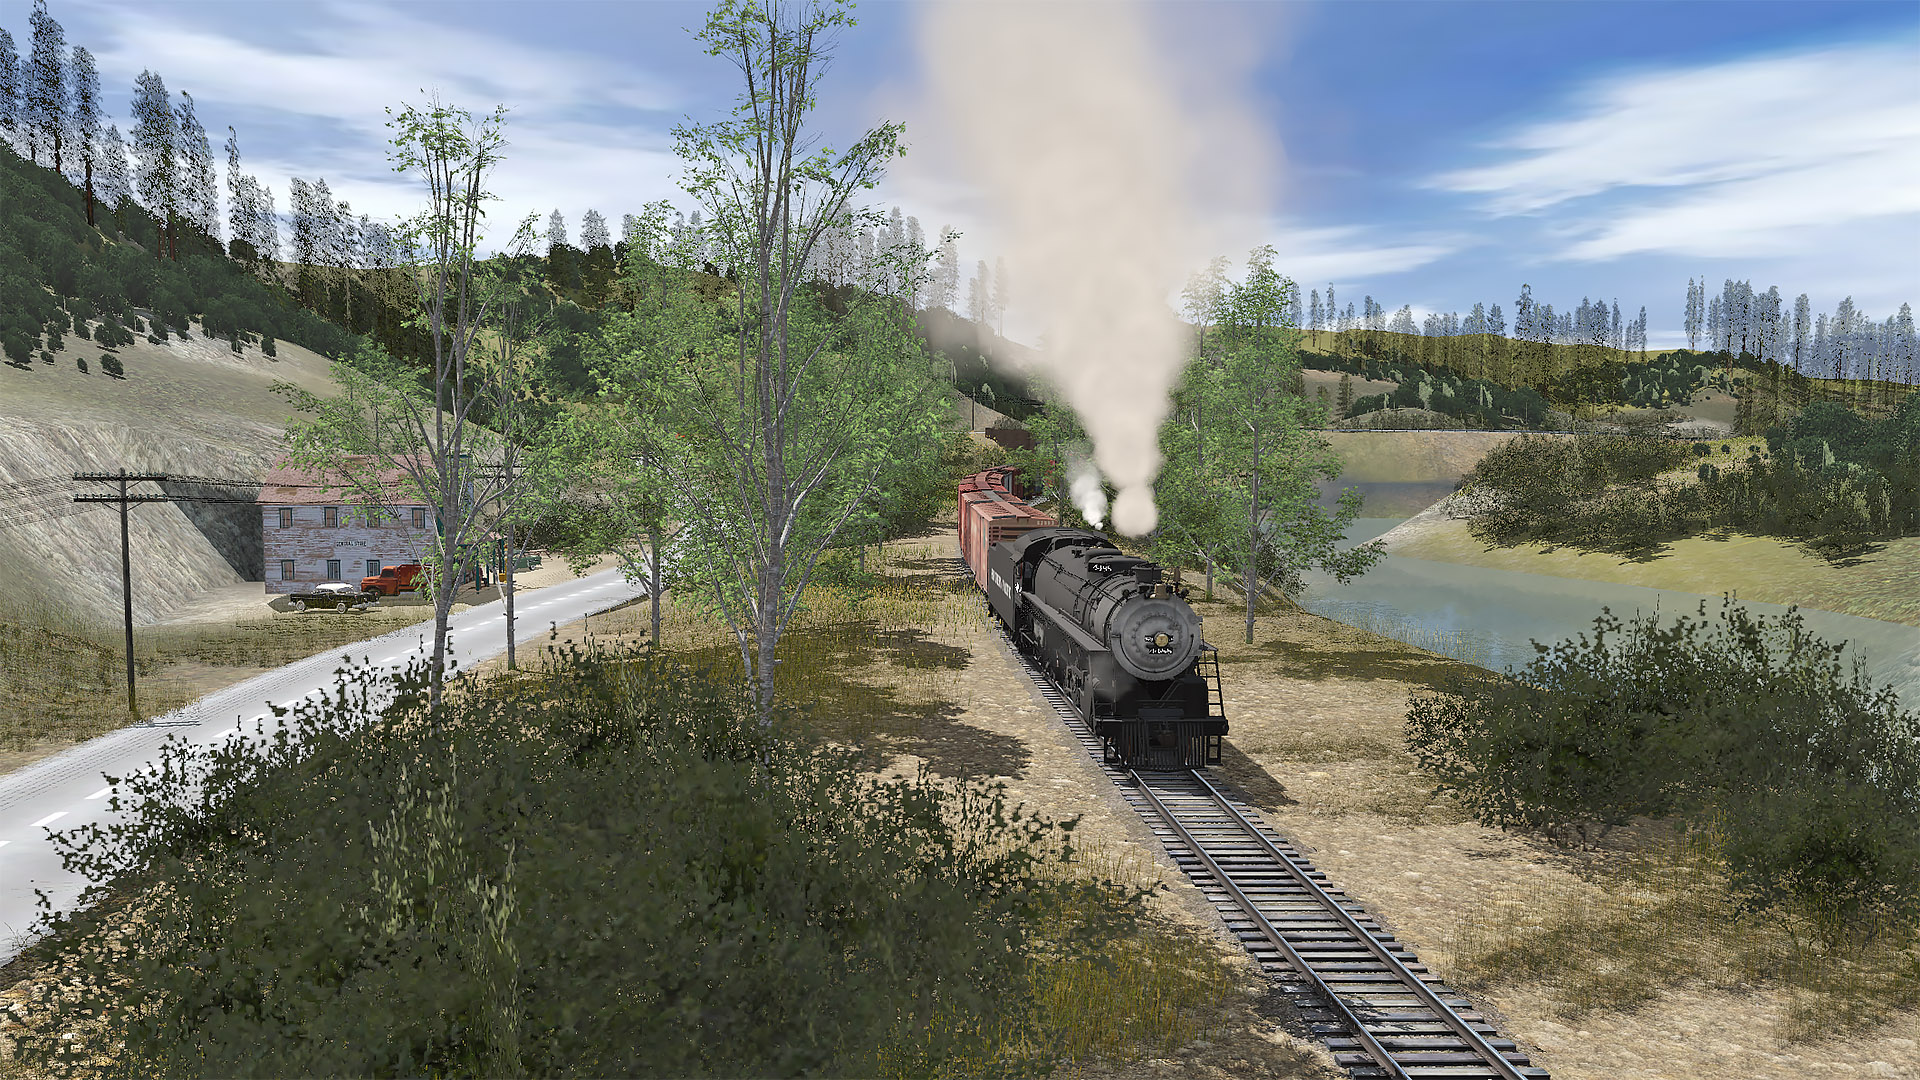
Head eastward with Browning less than a mile ahead. This train just crossed the first pass on the railroad. A hint of the mountains the lie ahead (to the east beyond Bear Creek yard).
20190125-bcsj-v-005-1080p.jpg


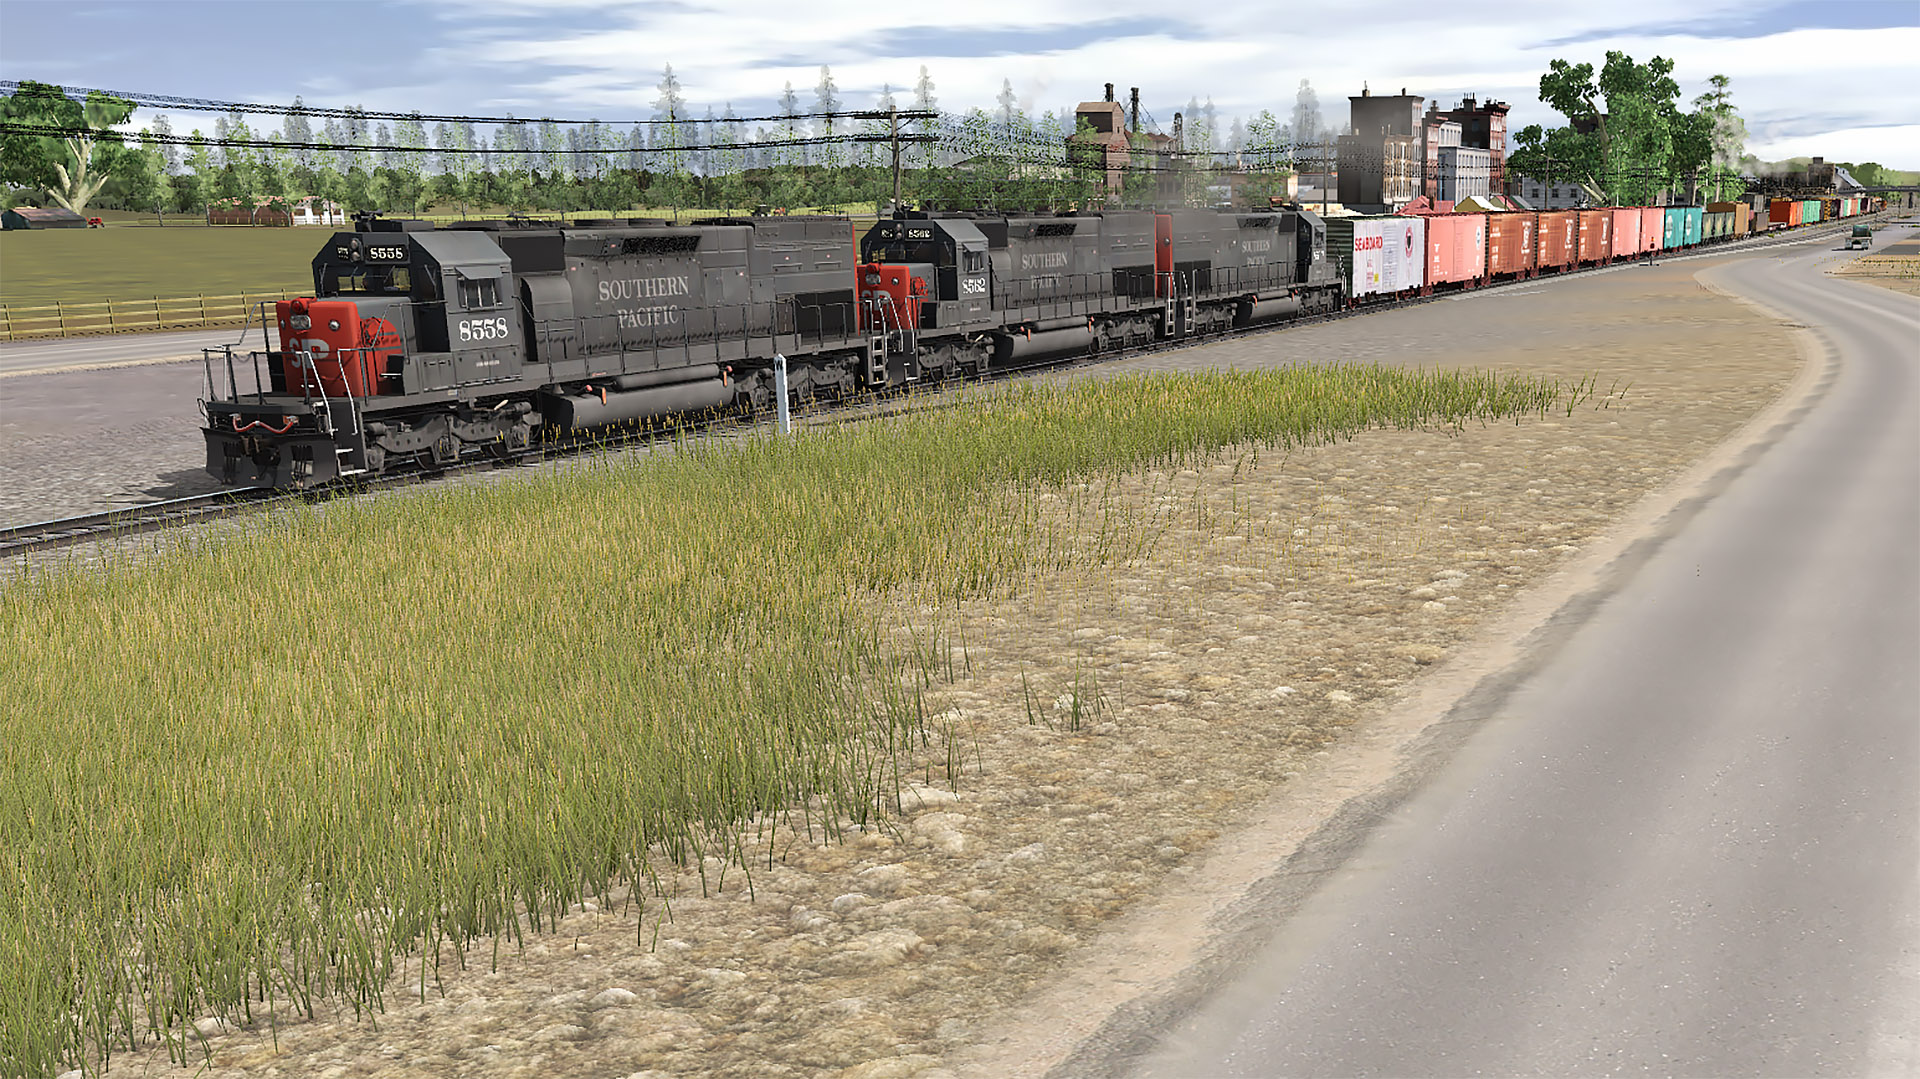
Three SD-45Ts (tunnel motors - the SP lengthened the chassis and added vents - an easy identifying mark - low down to let the prime movers aren't pulling air from the very hot top of the many tunnels in the Sierras and Cascades on their routes) pointed westward at Junction City (somehow I managed to not shoot and photos of Browning). Junction City is a bustling place with lots of industries.
20190125-bcsj-v-004-1080p.jpg


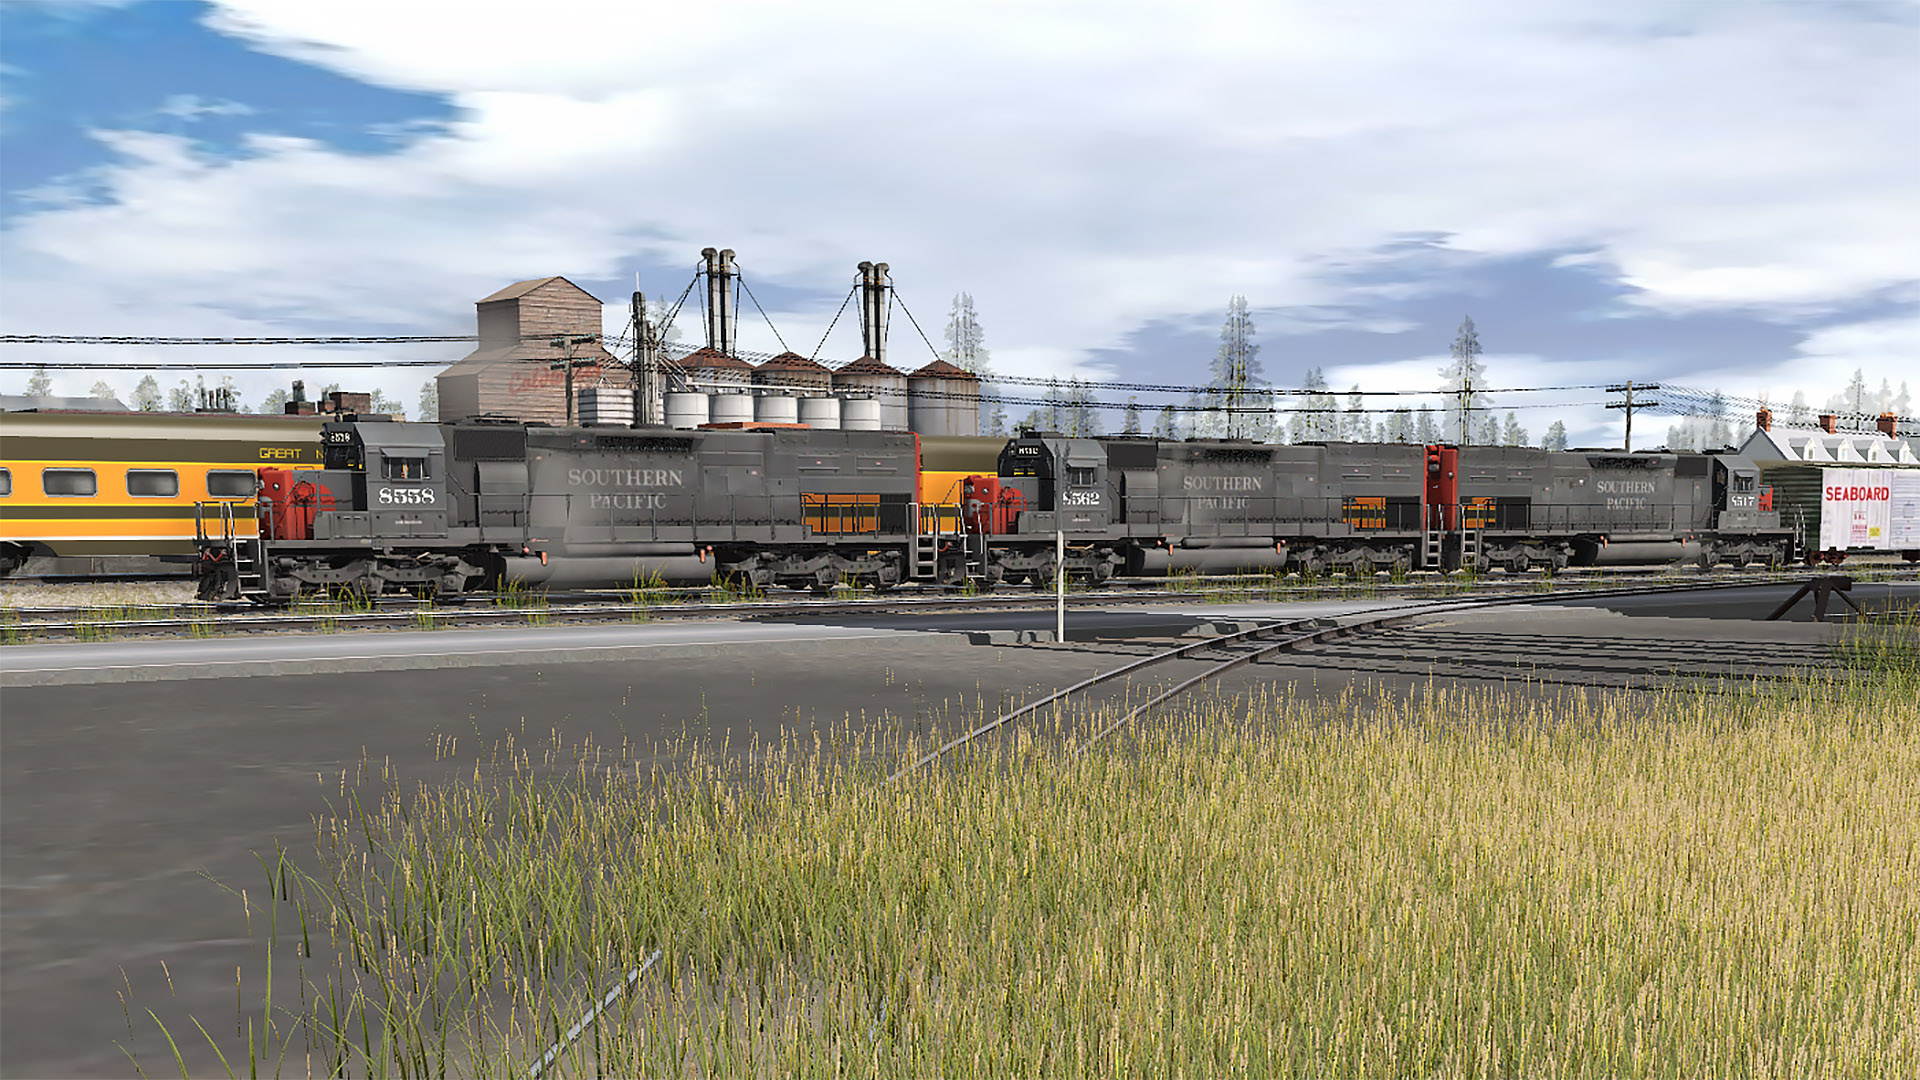
The three tunnel motors on their way westward leaving Junction City.
20190125-bcsj-v-003-1080p.jpg


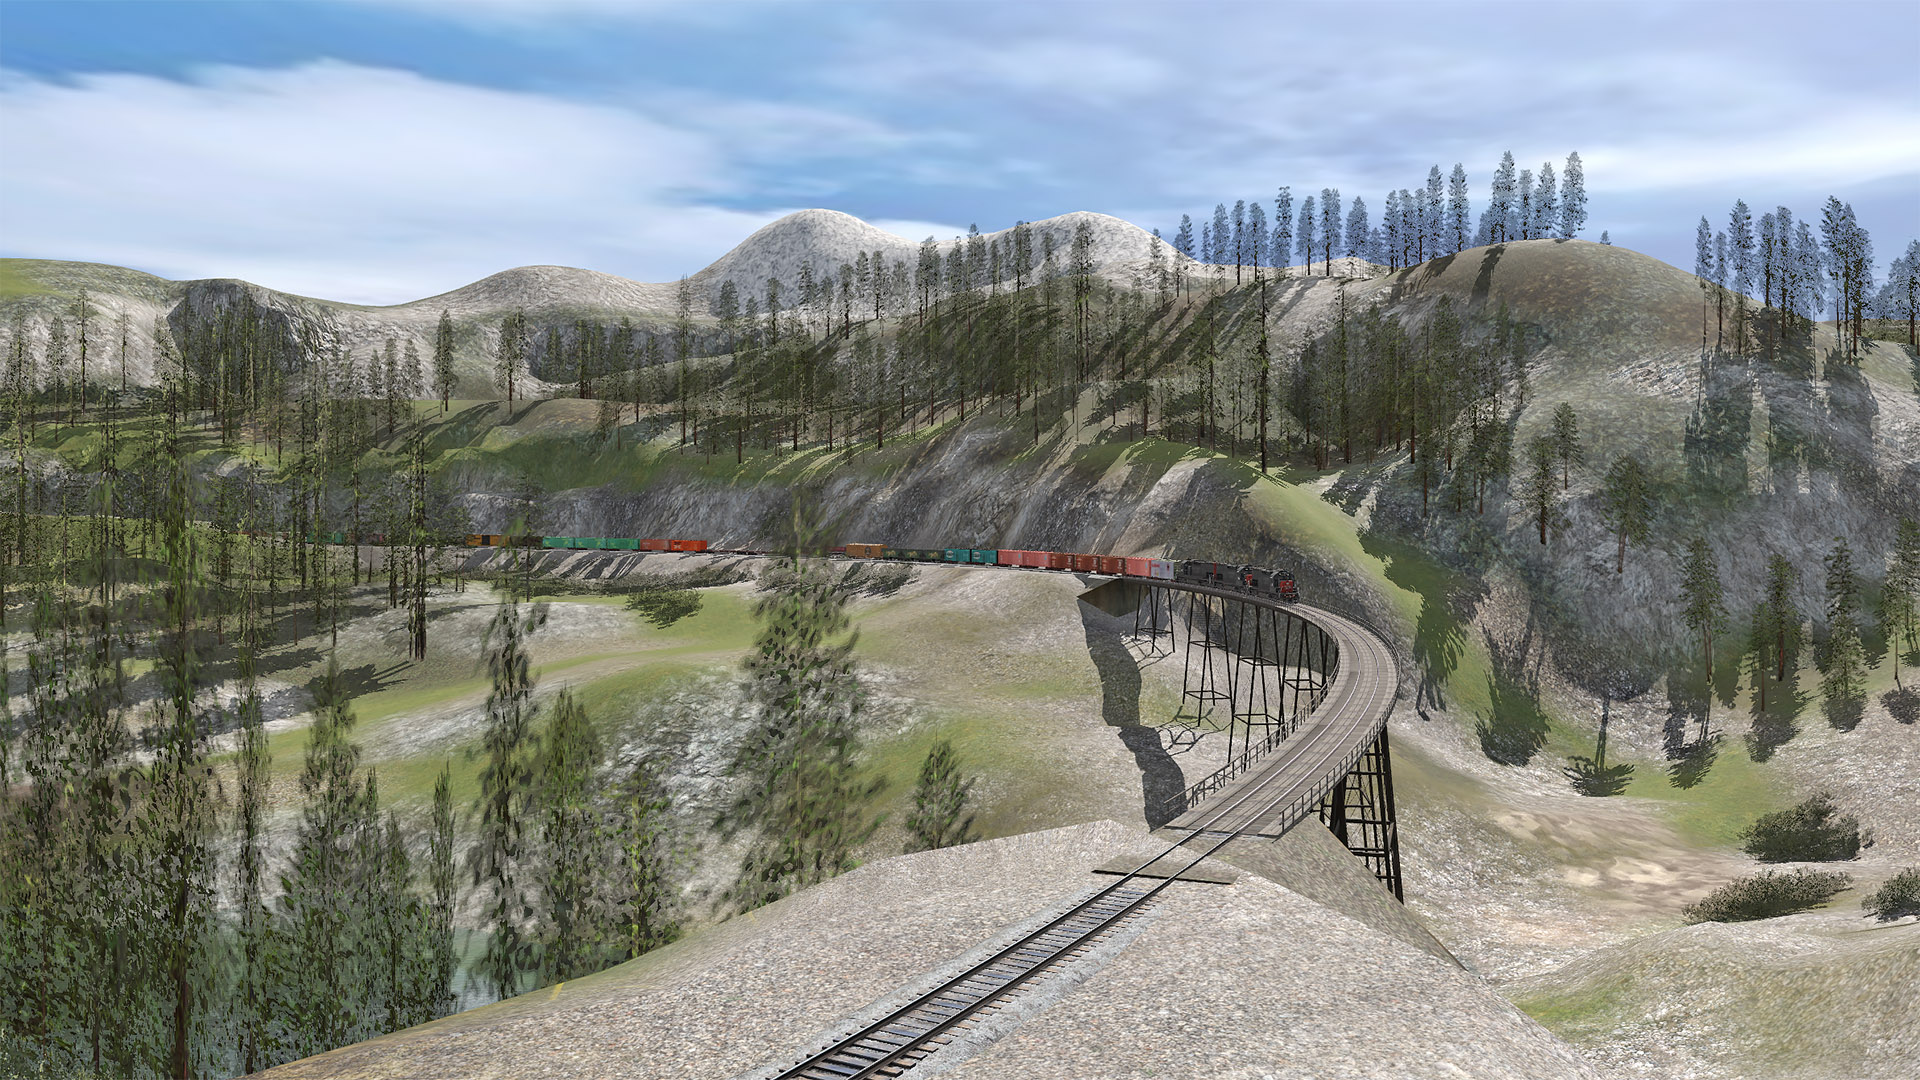
The latest construction (yesterday) has been happening east of Bear Creek (which itself is barely started) on the route to Oakhill high up in the mountains. Mountain construction is definitely time consuming with the need for major terra-forming everywhere. Here a long train with mid-train helpers heads onto one of the many steel deck trestles where the railroad negotiates a switch back to gain altitude.
20190125-bcsj-v-002-1080p.jpg


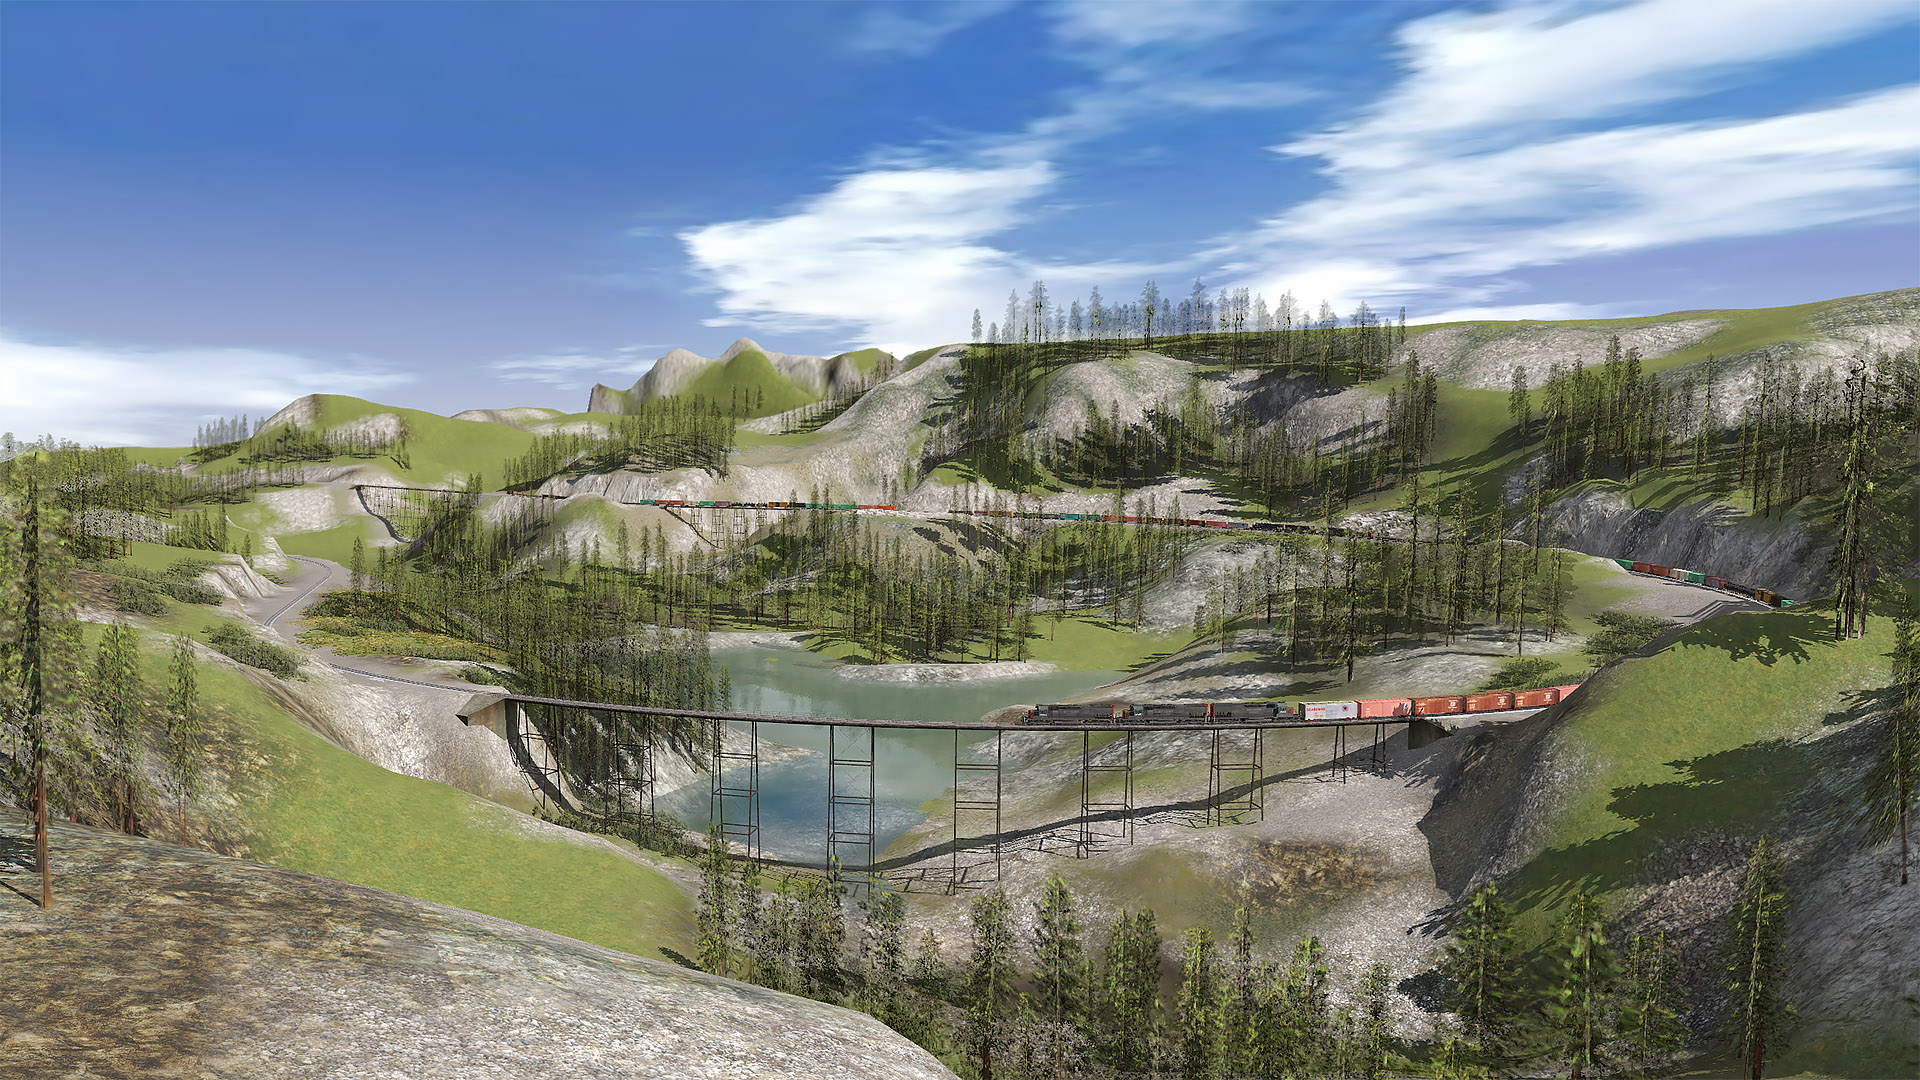
The view from up the hill behind the train in the previous shot. How many trees does it take to build (er, decorate?) a railroad? Answer: all of them!
20190125-bcsj-v-001-1080p.jpg


Well, that's about it for now. I hope you enjoyed the foto-fun.

I'm retired and have been sinking huge amounts of time into creating the BCSJ route. A combination of fun and frustration (I gotta find better Douglas Fir models then the 30m, 40m, and 60m splines I've been using...).

If I can get the time, I'll try to make a video soon.

H. Fithers & associates
 
Very well done! :D

To get your Wig-wag to wig-wag ensure your track is connected on both sides and your road is connected to the crossing on both sides. By the looks of the pic, your road doesn't look like it's connected to the crossing.

For trees, I recommend looking at some Speed Trees by Roystrainz. His Elka (the Russian name for spruce/fir trees), are truly beautiful. They come with the Canadian Rockies route and are built-in. There are trees by others as well which may work well too. User RMM made a series of various sized trees of every species imaginable. They have Russian names too, but there's a list available for translation. Elka are the spruce and fir trees you're interested in. The pines might be helpful as well Sosnia I think they're called. (I don't use them much, right!).

You can bulk replace these trees so if you find one you want to replace the older one, use the bulk update/replace/delete utility. You can update/change a gazillion of these trees all at once. This is something that didn't exist prior to TS2010, and replacing trees or anything like that was an arduous task.

But anyway you're doing a great job, but there's a couple of things that need attention. In your screenshot where the steam locomotive has just crossed the Warren trusses, you have a "pointy" hill. You might want to smooth that down by clipping the top of it with the level terrain tool. This will take that artificial edge off the landscape there. Roads too need a bit of adjusting in places where they float. It depends up on the roads, but some need to be "pushed in" a bit into the terrain to get rid of the space underneath. This wasn't as noticeable in the older versions, but we now have shadows and this is more obvious. These are all little things that go into route building and you probably missed them as you are going along. Even today I find things like that myself in routes I've had running for ages and worked on years ago.

All and all the best part is it looks like you're having fun. Enjoy the program/hobby, but do take breaks otherwise burn-out, mistakes, and frustration will ensue.
 
Thanks JCitron

Very well done! :D

To get your Wig-wag to wig-wag ensure your track is connected on both sides and your road is connected to the crossing on both sides. By the looks of the pic, your road doesn't look like it's connected to the crossing.

I'll check that the road connects. However, if memory serves me correctly I think those are stand along wig-wags...

For trees, I recommend looking at some Speed Trees by Roystrainz. His Elka (the Russian name for spruce/fir trees), are truly beautiful. They come with the Canadian Rockies route and are built-in. There are trees by others as well which may work well too. User RMM made a series of various sized trees of every species imaginable. They have Russian names too, but there's a list available for translation. Elka are the spruce and fir trees you're interested in. The pines might be helpful as well Sosnia I think they're called. (I don't use them much, right!).

You can bulk replace these trees so if you find one you want to replace the older one, use the bulk update/replace/delete utility. You can update/change a gazillion of these trees all at once. This is something that didn't exist prior to TS2010, and replacing trees or anything like that was an arduous task.

I spent some time in the asset manage looking at the trees you mentioned. I found some pines and spruce, but didn't locate any doug firs. I'll keep looking. The problem with a bulk replace is the replacement trees are individuals, while the existing trees are splines. I don't think bulk release will work for that.

But anyway you're doing a great job, but there's a couple of things that need attention. In your screenshot where the steam locomotive has just crossed the Warren trusses, you have a "pointy" hill. You might want to smooth that down by clipping the top of it with the level terrain tool. This will take that artificial edge off the landscape there. Roads too need a bit of adjusting in places where they float. It depends up on the roads, but some need to be "pushed in" a bit into the terrain to get rid of the space underneath. This wasn't as noticeable in the older versions, but we now have shadows and this is more obvious. These are all little things that go into route building and you probably missed them as you are going along. Even today I find things like that myself in routes I've had running for ages and worked on years ago.

All and all the best part is it looks like you're having fun. Enjoy the program/hobby, but do take breaks otherwise burn-out, mistakes, and frustration will ensue.

It's funny (well not really) how one (at least me) can travel up and down the route looking for floating roads and miss a bunch of them until they appear in 'photos' (screen shots). Ditto for the pointy rock next to the Warren Truss bridges. That photo reminded me that I never added bridge abutments for that bridge - its quite inappropriate to have such a massive bridge resting on the dirt. Sigh.

I'll make another pass through the world before I post more screen shots or a video.

Working on the route is a combo of fun and frustration. I used 3rd Planit enough that I got pretty good at it for model railroad design and other CAD work. Sometimes I feel that I'm building a route despite the user interface instead of aided by the user interface. Don't get me wrong, there are a number of good things with it. And I certainly can't fault the quality of the screen shots and video. The graphics quality is nearly the level of Kingdom Come: Deliverance which I though had absolutely outstanding graphics quality and I suspect War Horse studios had a lot more people (and money) working on KCD. In the end, seeing a scene come to life is a joy for me.

As far as burnout goes, its always a danger, but I don't work around the clock (my wife would have certain things to say to me if I tried). Trying to keep up the other things in life and spend time with my wife (who let me build a 'outer than can render using ultra settings with a decent frame rate (well not so decent in the area of the last two screen shots!)

Thanks for responding,

Cheers,
HF
 
Back
Top