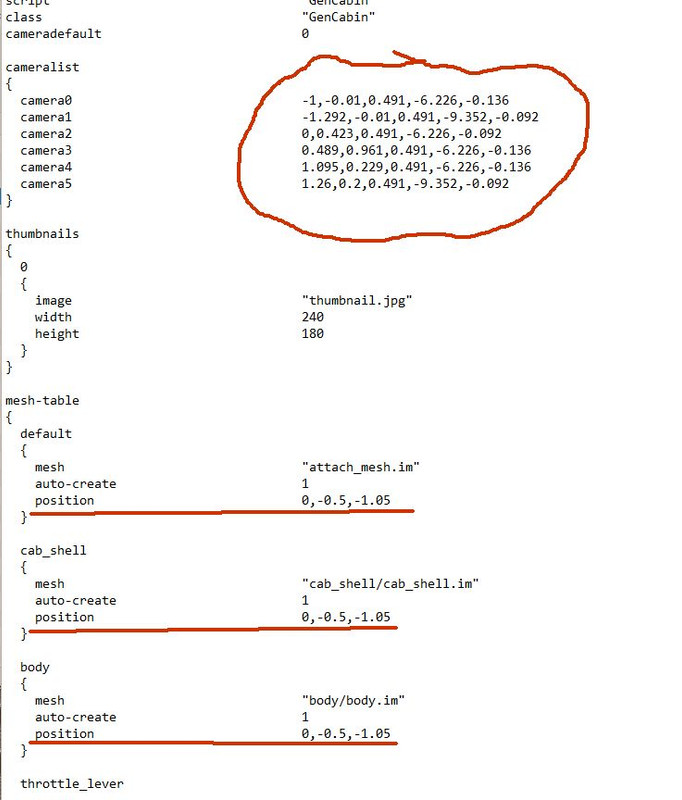
The problem with using the position tag in the config file
for interiors, is there are so many different meshes the work
with each other. If you put the position tag in one, you will
have to put the identical tag in all the meshes, or they will
not line up in the game.
By that I mean things like the throttle lever, etc will be out of place.
The best way is to mount the whole shebang to an attachment point a bit
lower, or higher, whichever is the case.
This can be done using Attachment maker. Lots of tinkering involve along with
changing the name of the attachment point in the locomotive.
That attachment point name must remain the same. It involves a bit of
editing of the original mesh. ( Illegal I think ). You certainly could not
release such a modified unit, that I know is a no no.
I have done this in the past, but it will take a bit of effort.
Again... good luck!
-AL