Model Railroadz

Sorry don't know what has happened.
Anyway once again the whole route is gone......LOST IT and don't know why.
A frequent occurence for me.
Anyone who has uploaded this should just delete it unless they want me to send them session rules that will at least run in some kind of fashion.
Just download the route from the DLS, voila, It's back.

Rico
 
Hi hotgrove,
You may have lost the route on your computer I presume; however, you can download your own route from the DLS and you will have it back to apply fixes / update and upload to DLS again.
 
I must apologise for the annoyance this route must have caused to the 30+ users who thought it was worthy of download.

If you haven't pulled any of the track apart in anger here is a session that will run if you can be bothered setting it up.
This is the sequence i used but it can be experimented with.

In this order and using these TM wait times.


Departing from ELSBRIDGE Plat 4 TM 8 (10 secs) TM 9 (10secs) TM 10 (10 secs) TM 11 (10 secs) TM 12 (10 secs) TM 13 (2 mins) repeat.

Departing from WICKLEY Plat 3 drive via TM Z / TM 29 (10 secs) TM 30 (10 secs) drive via TM Z / TM 29 (10 secs) TM 30 (10 secs) drive via TM Z / TM 29 (10 secs) repeat.

Departing from BARNHILL Plat 4 TM 1 (10 secs) TM 2 (2 mins) TM 3 (10 secs) TM 4 (10 secs) TM 5 (10 secs) TM 6 ( 10 secs) TM 7 (2 mins) repeat.

Departing from WICKLEY Plat 1 TM 14 (10 secs) TM 15 (10 secs) TM 16 (10 secs) TM 17 (10 secs) TM 18 (2 mins) repeat.

Departing from BARNHILL Plat 1 TM 19 (10 secs) TM 20 (10 secs) TM 21 (10 secs) TM 22 (10 secs) TM 23 (2 mins) repeat.

Departing from WICKLEY Plat 2 TM 24 (10 secs) TM 25 (10 secs) TM 26 (2 mins) TM 27 (10 secs) TM 28 (2 mins) repeat.

Departing from ELSBRIDGE Plat 2 TM 31 ( 10 secs) TM 32 (10 secs) TM 33 (10 secs) TM 34 (10 secs) repeat.

Outward lying 2 carriage train ( can be found outside the layout walls) optional TM 35 (5 secs) TM 36 (6 mins) repeat.

Parked blue car (sitting on invisible track) optional TM Car 1 (20 secs) TM Car 2 (20 secs) repeat.

Truck (sitting inside warehouse at tram stop) optional TM Truck 3 (20 secs) TM Truck 1 (20 secs) TM Truck 2 (20 secs) repeat.


This is the TM running order for each train but the wait times can be experimented with.

If you decide to run all 8 trains at once they will go on forever but periods of mayhem will occur as well as periods of normality.
If you haven't pulled any of the track apart and you think the layout is still worthy set up this session and sit back and watch.

If anyone runs this could you give me your opinion.
I'll brace myself don't hold back.
Since this sub-thread re: Your route and session is rather long for this thread re: Model Railroadz, I suggest opening your own thread for the route.


Rico
 
What I've been up to lately...
o31TOdn.jpeg


Cheers
 
That looks interesting Hiawatha, would you care to share a little more about what it is? I'm very interested to know about your project and see more screenshots!
 
Interesting, I look forward to seeing more of it. You might like to take a look at the Chicago Crossing Model Railroad channel on YouTube - he models railroading in Chcago using N-scale, very nice channel that really gives a good look at what Chicago can look like, especially in the industrial areas.
 
I didn't even know there was a such channel - thanks for sharing!
I've took a look at it and wow, already has a Chicago feeling to it. I found a video showing off the entire layout and impress on the overall size and the details it has. :D

Cheers
 
VERY cool @hiawathamr !

I have a strong interest in the Chicago rail system, particularly the older railyard configuration on Goose Island and across the river in the old Kingsbury warehouse district.
I have modeled all the buildings for that small area from Bill Denton's Kingsbury Branch, and the model railroad itself.

I still have all the buildings, and many era and IND specific vehicles, and have been intending to finish and publish the little layout, but these days, I'm considering instead to add the old Goose Island yard and IND and some of the trackage along the two canals. The Kingsbury branch as-is does not have a great deal of operating potential I think. I get about an hour's worth of switching play when I run it.

Old GI trackage plans > C&E: Railroad on Goose Island and Big Bay Lumber

A long-term project for sure, but one I intend to start in the near future (y) 😊


You can see most of the buildings and some other KB scenery made in the following shots. I used them in a rebuild of @etozorak's Mountenay MRR layout.
The wonky texture shading on some of the mesh panels have been corrected, these are older pics from before those fixes


2022-01-07-013323.jpg

2022-01-07-024158.jpg

2022-01-07-024127.jpg

2022-01-07-024213.jpg


Rico
 
That'd be very cool to see!
I've took a look at the website you linked and will say, that will keep you busy. I haven't been to Goose Island but been by it when I took Metra on the Harvard line. Ddin't even know that was an industrial area since they left nothing remaining (well, except some street running tracks that wasn't taken up yet). Hard to believe.
Again, would love to see that.

@etozorak's Mountenay MRR looks like a fun little switching layout there :)

========

NB0VM9X.jpeg


Cheers
 
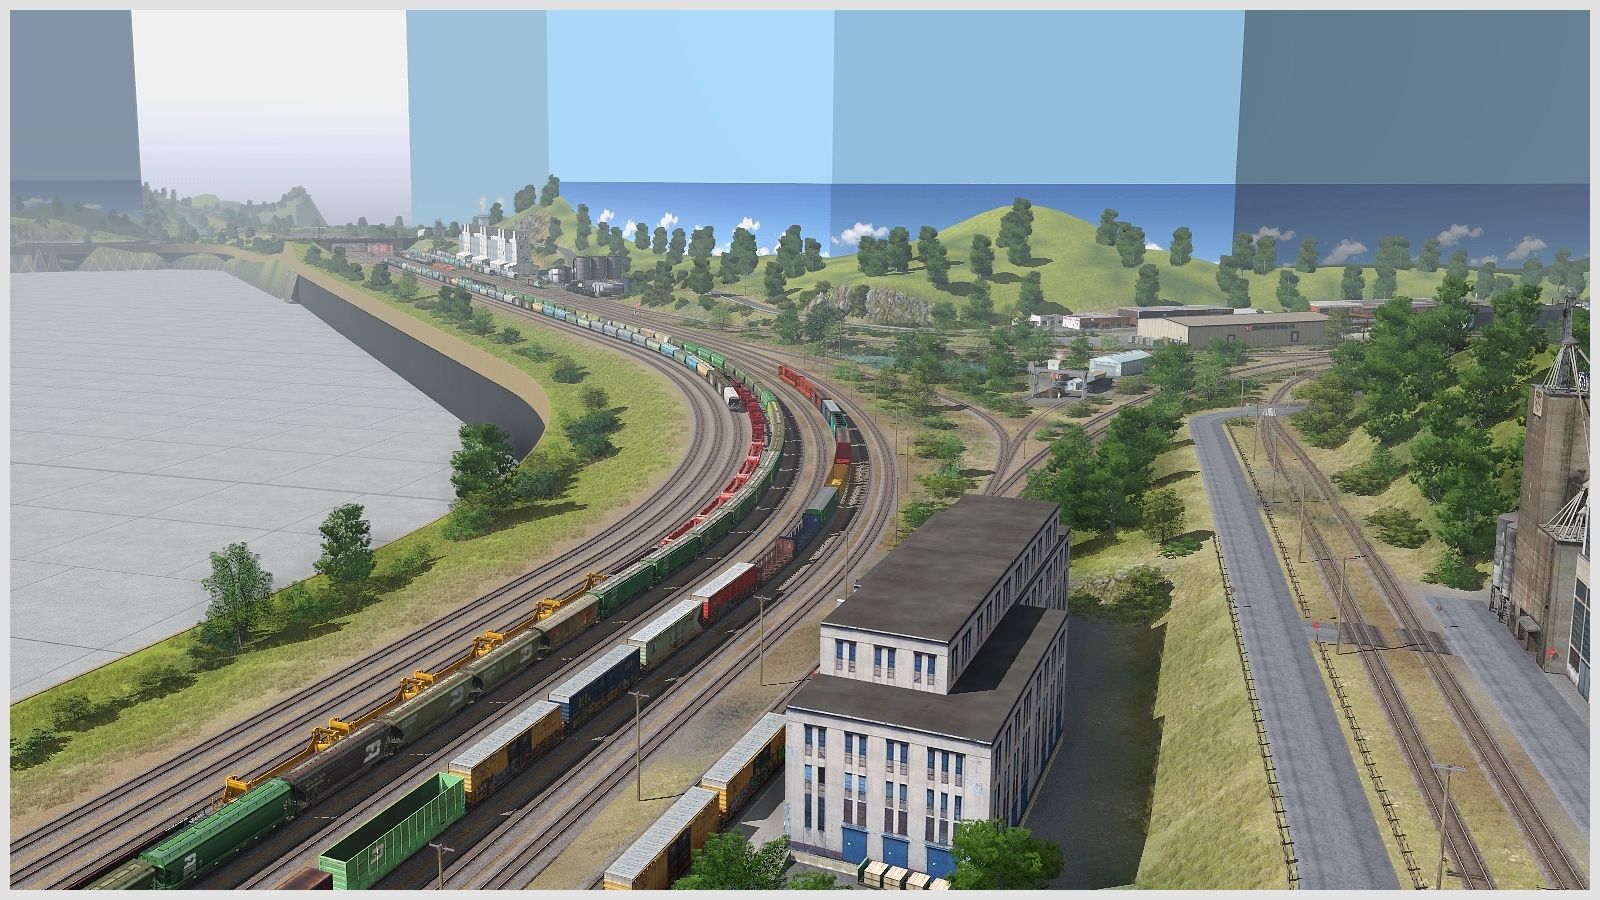
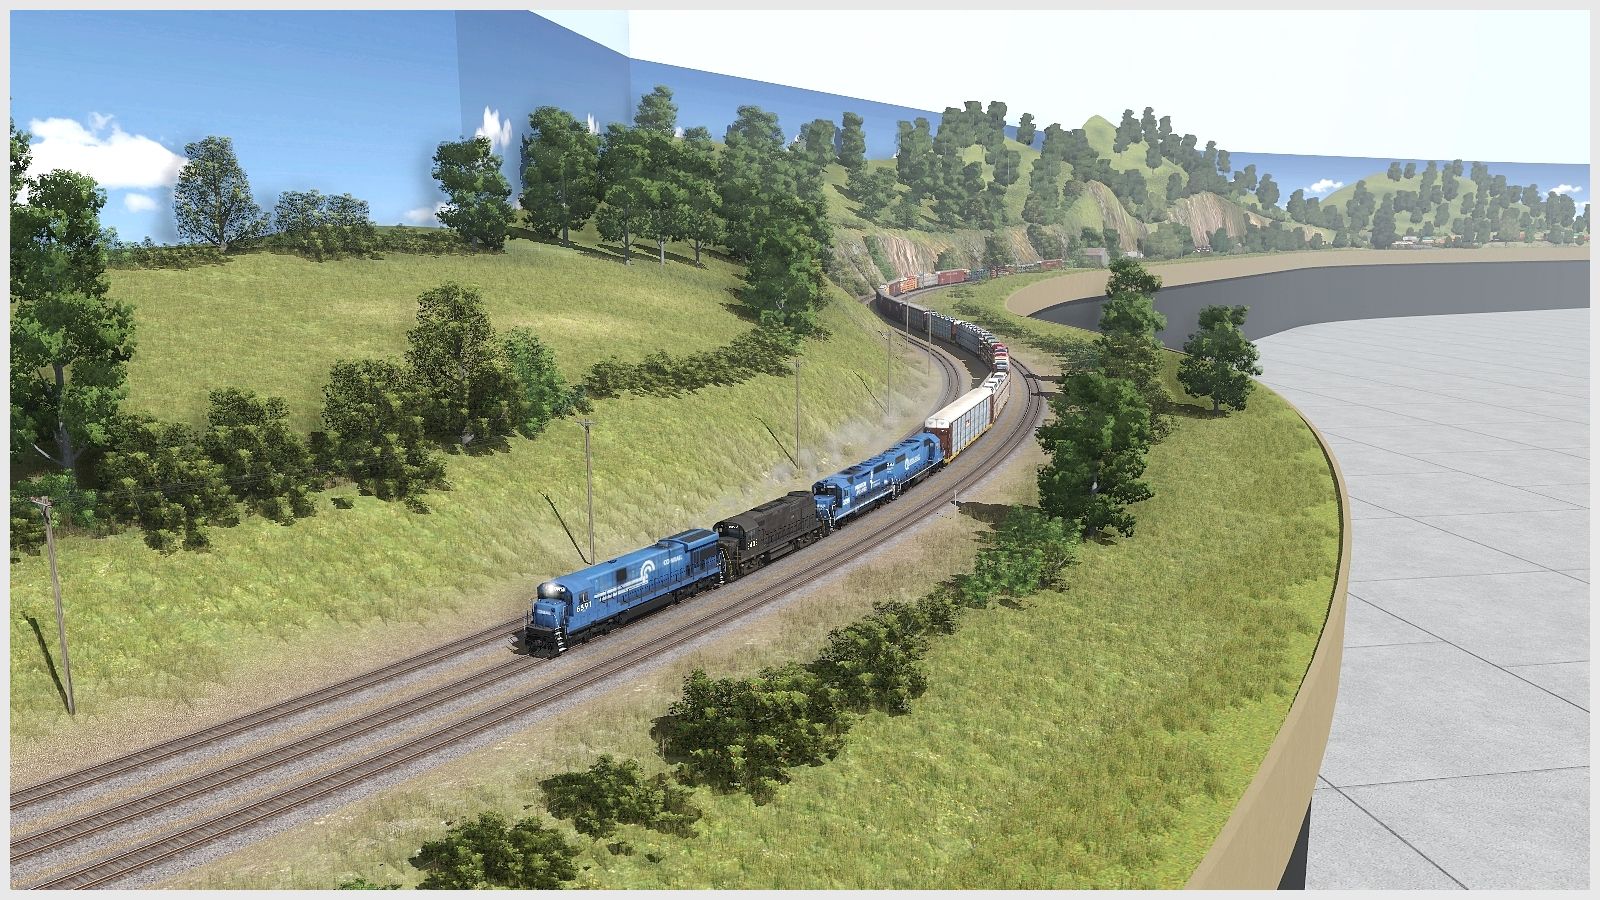
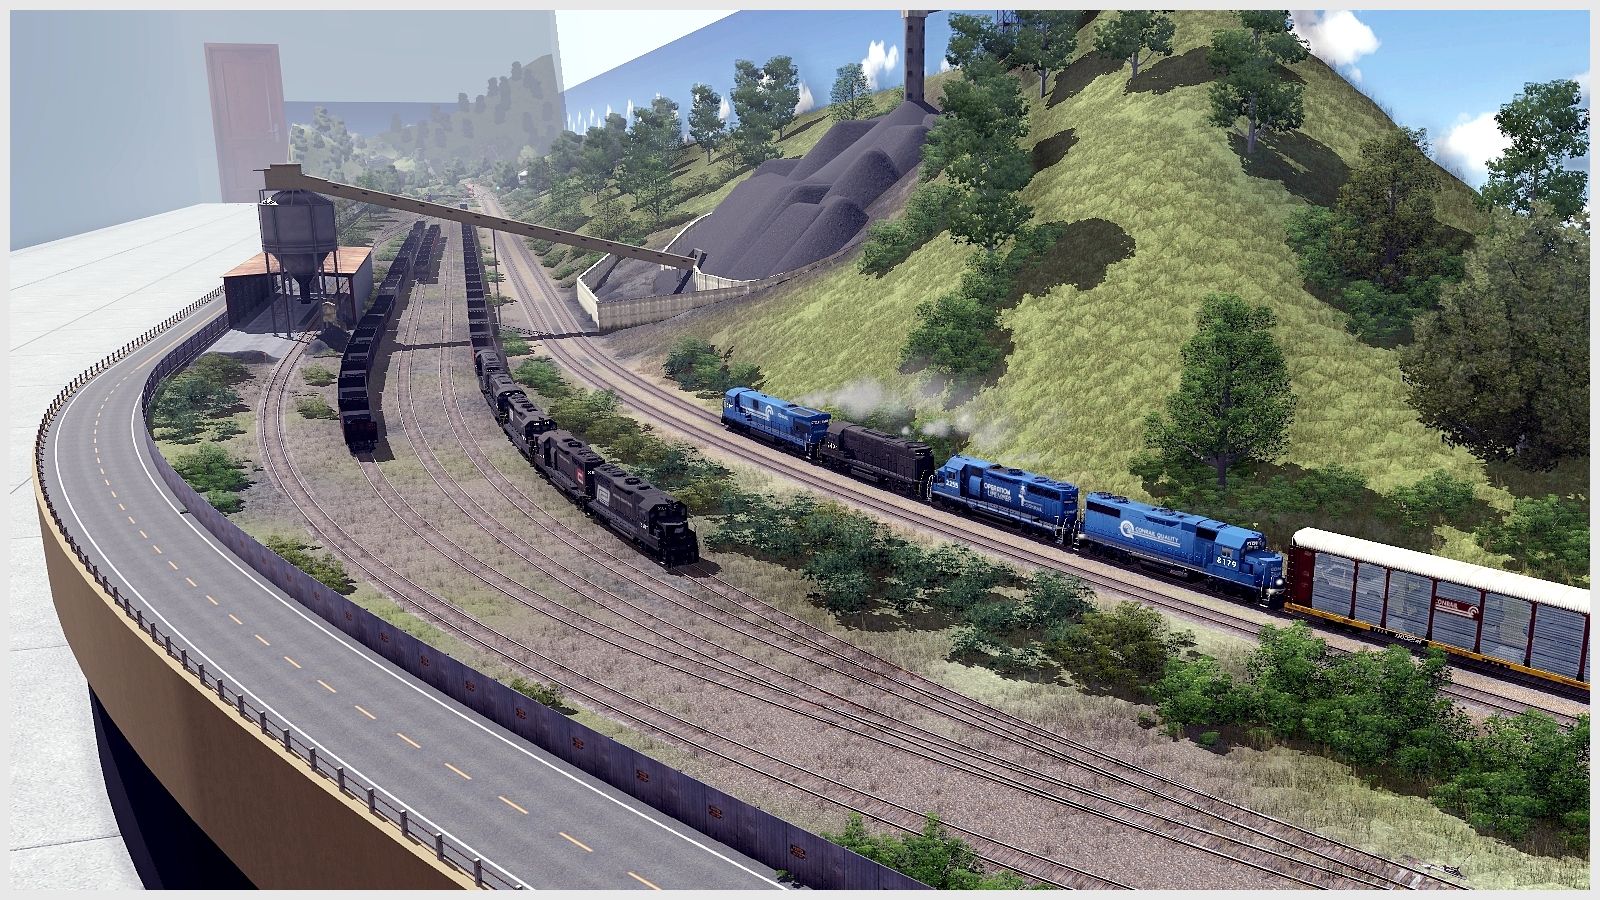
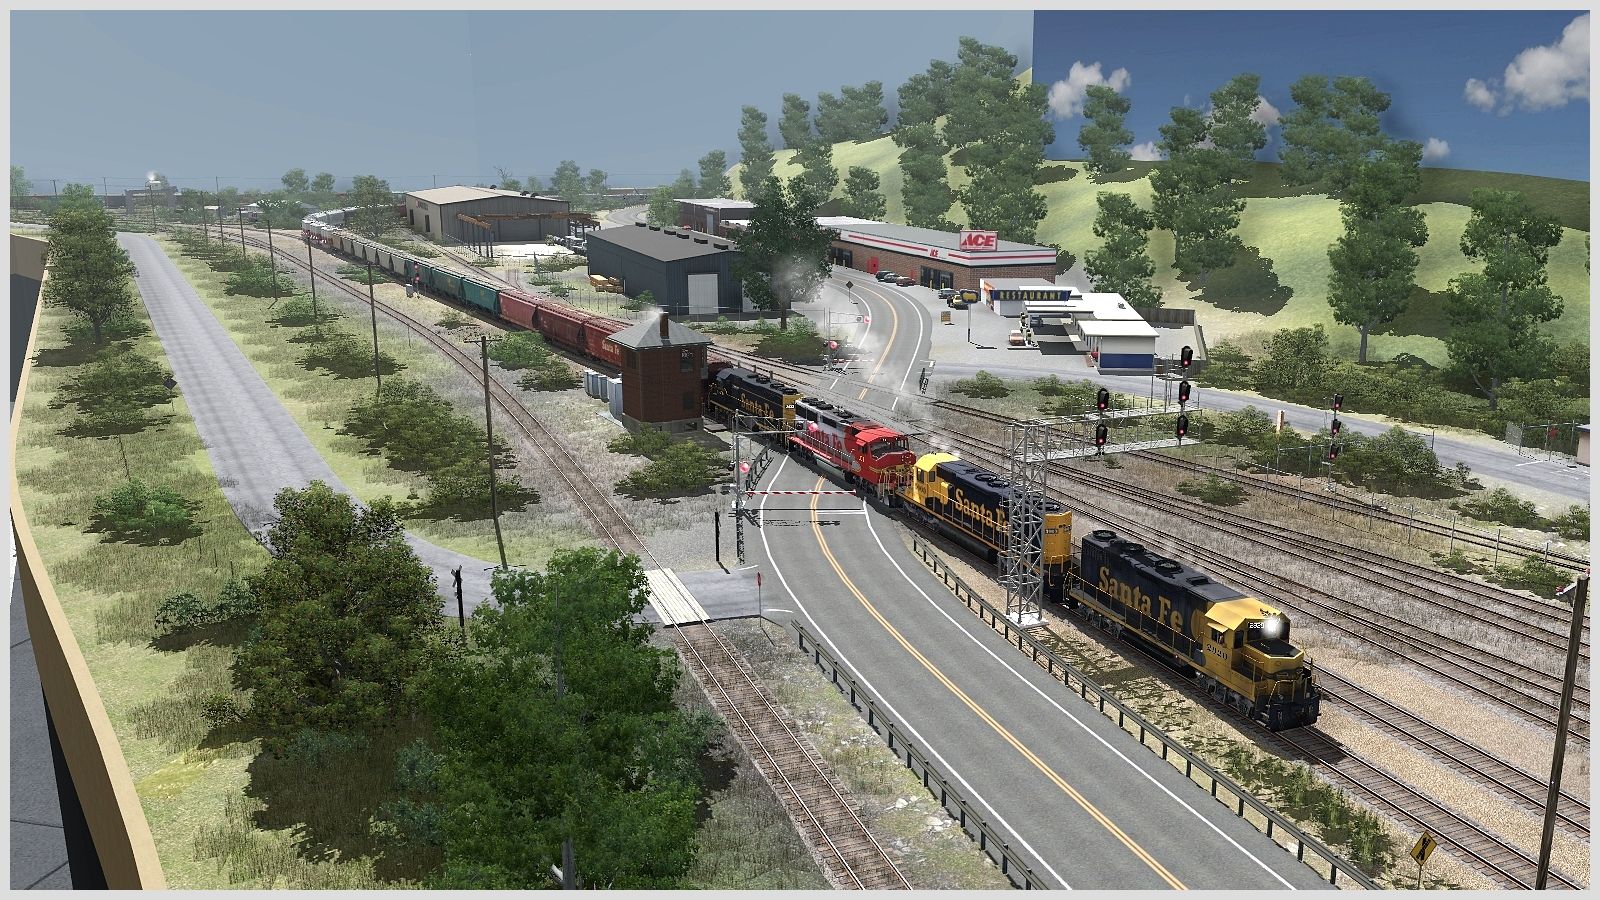
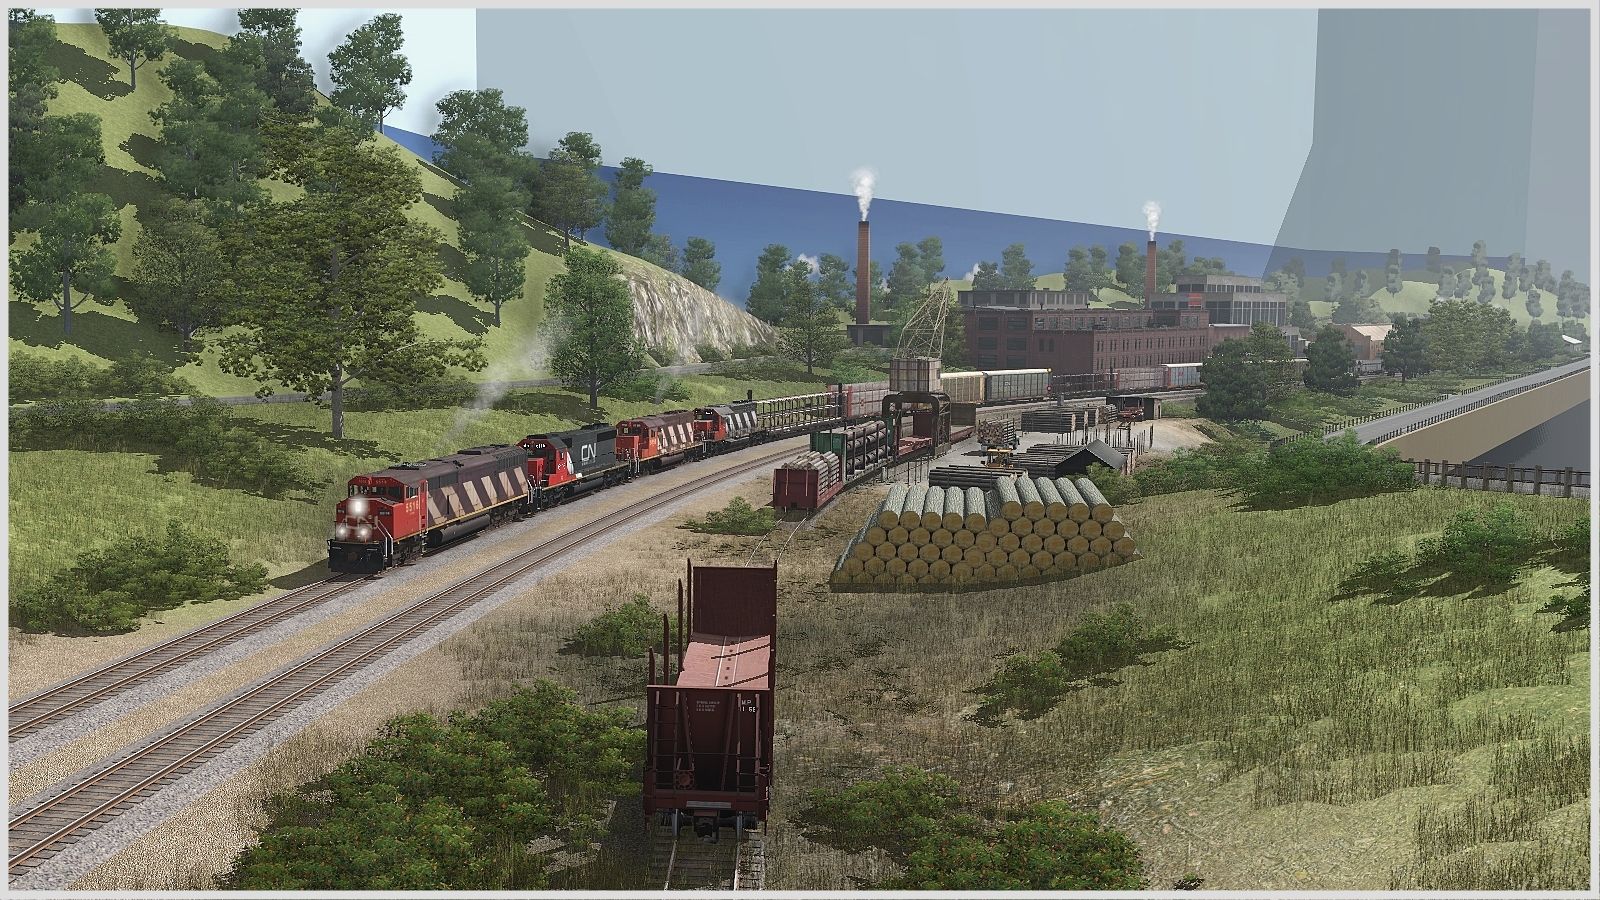
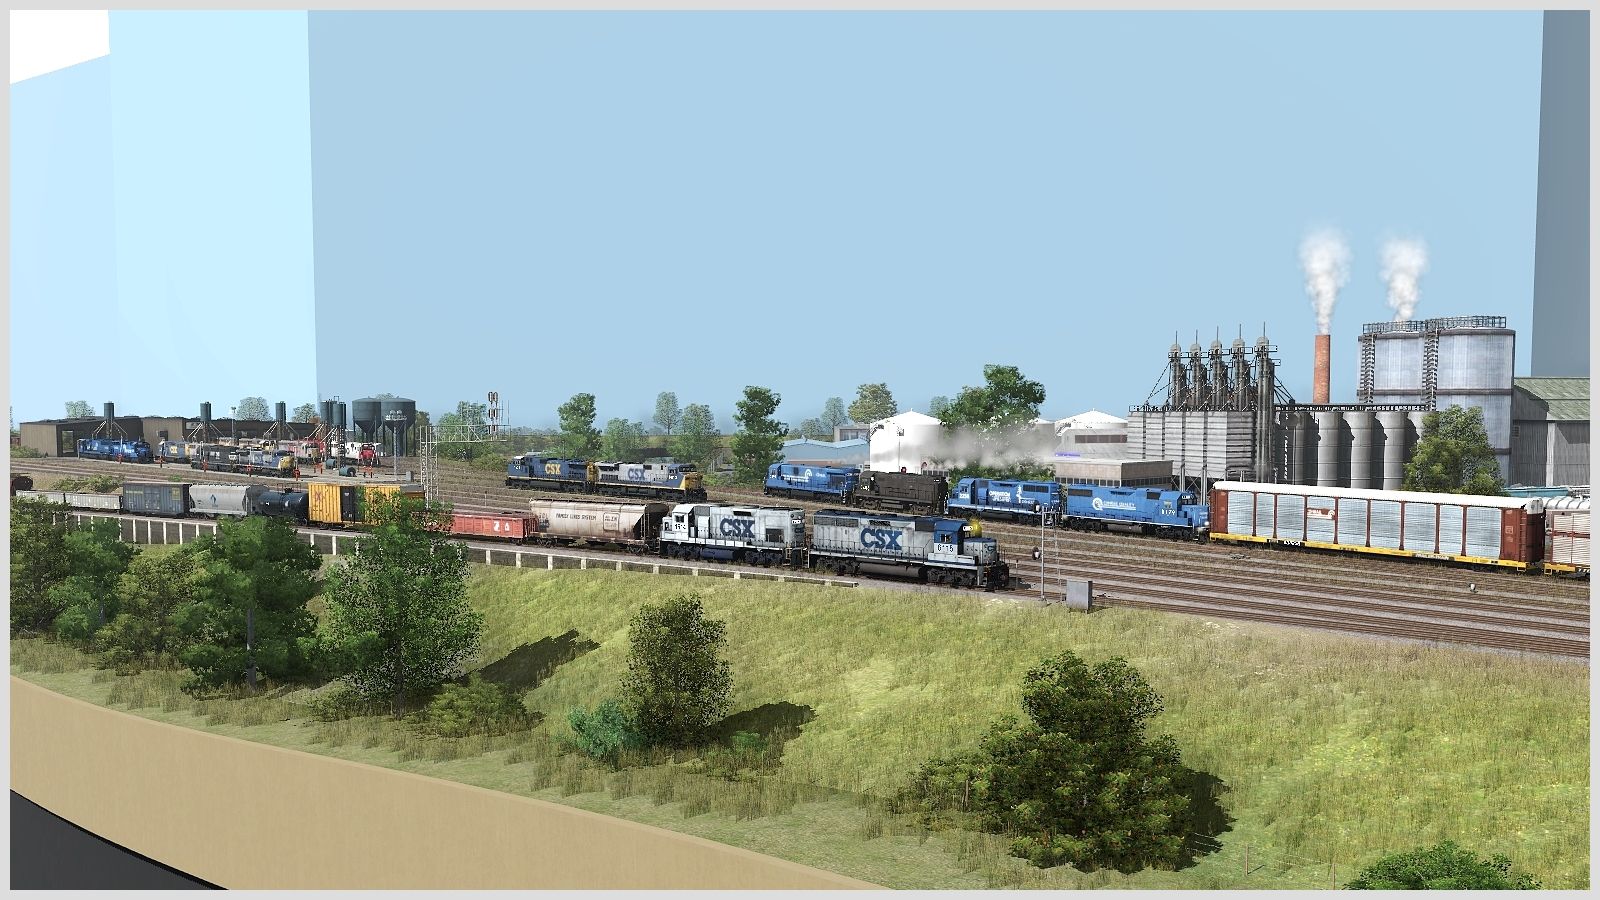
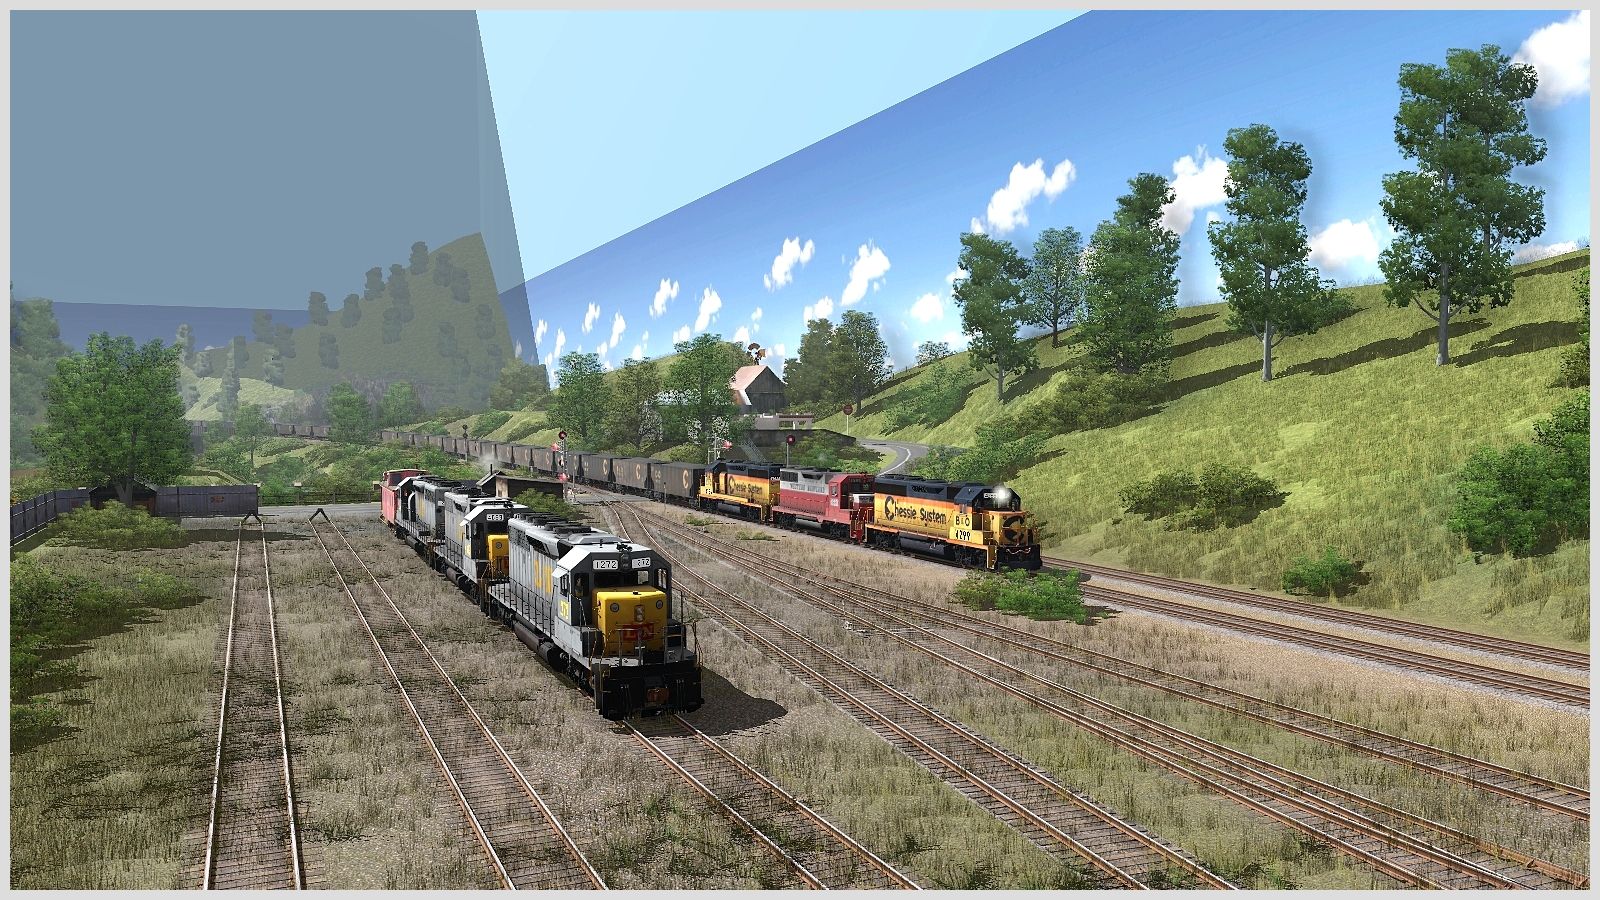
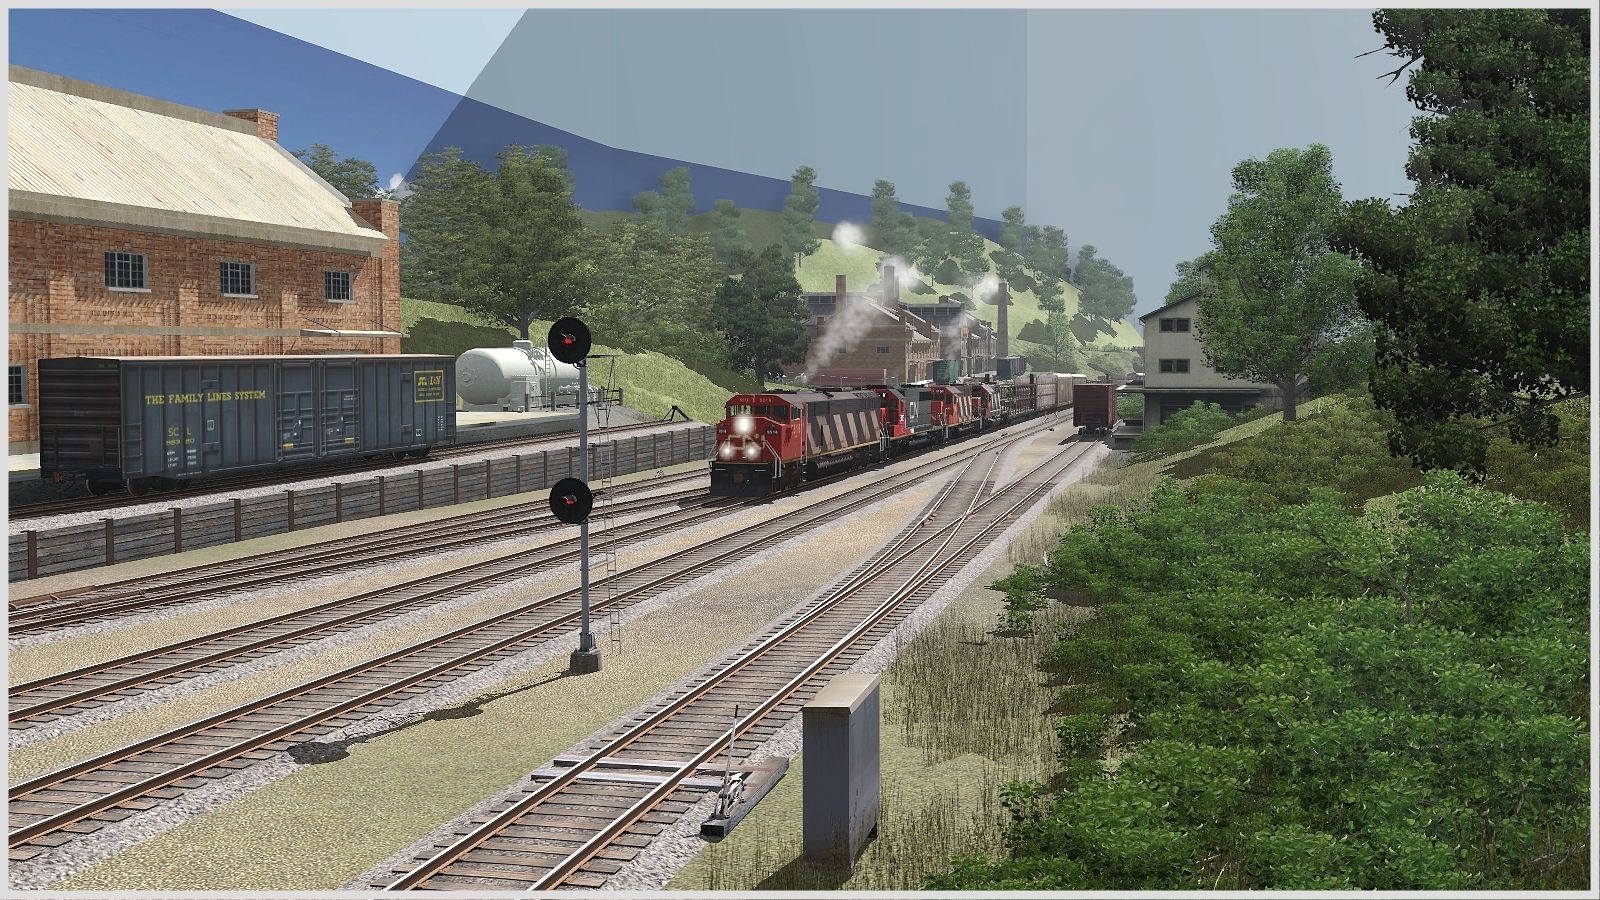
Old timers may remember my McCall Yard route, originally released for TRS04 way back in 2007 – ouch!! After lurking in the shadows for a while I have several routes nearing completion and the first among them is a McCall remake – a ‘model railway’ on steroids! It is built on the same DEM base as the original and retains essentially the same track plan, but has moved East and is completely re-textured. It features mile long trains, no less than five off-scene staging yards capable of reversing those trains, four major industries (Intermodal; Grain; Automobiles and Coal) plus several smaller industries. It retains all of the operating features of the original, except the paper mill which is replaced (in a different location) by large coal loadout and associated yard.

Why a ‘model railway’? I started this rebuild in 2015 when the model-railway-in-Trainz idea was relatively new (albeit full circle from the original concept!) and I wanted to try it out, thinking (erroneously) that it would be quicker than re-texturing the whole route. It definitely wasn’t quicker (or easier) to do it this way, but it’s an exciting concept that solves the ‘background’ problem on a route like this, and focusses attention onto the trains in a way that no other approach can.

My-Trainz-Screenshot-Image.jpg


My-Trainz-Screenshot-Image.jpg


My-Trainz-Screenshot-Image.jpg


My-Trainz-Screenshot-Image.jpg


My-Trainz-Screenshot-Image.jpg


My-Trainz-Screenshot-Image.jpg


The 'grid' visible below the route in long shots is a LOD issue with the valance, as are the disappearing walls and sky!

When? Soon (which is a relative term lol). The release will be route-only with no session because it’s essentially a geographically ambivalent display case for whatever grabs your fancy….

It has a TS19 build number, but loads without issue in TS22.
 
Last edited:
Thanks for the kind comments! YEARS ago? I started the rebuild in 2015 - I'm thinking of petitioning those in authority for a change of username to Snailpace....

A couple more shots below, posted mostly as an excuse to ask a question in a Screenshots Thread:

I mentioned above a LOD problem with the valance, but on closer inspection the problem is actually the Dighole - it ceases to be a 'dighole' after a given distance, and the 'hidden' grid square pops back into view, masking the valance. I have downloaded several other digholes and Bulk Asset Swapped them around for no improvement. Can any tech-minded friends advise if this is a necessary part of a dighole, or if one can be created (or already exists) which maintains it's invisibility more or less for ever? For convenience a 1x1 'Offset' Dighole would be best, enabling a Bulk Asset Swap - the original on the route is an old andi06 one from (I think) his station kit <kuid2:12285:1010:2>.

My-Trainz-Screenshot-Image.jpg


My-Trainz-Screenshot-Image.jpg


The shadow problem in both shots has since been fixed.
 
Back
Top