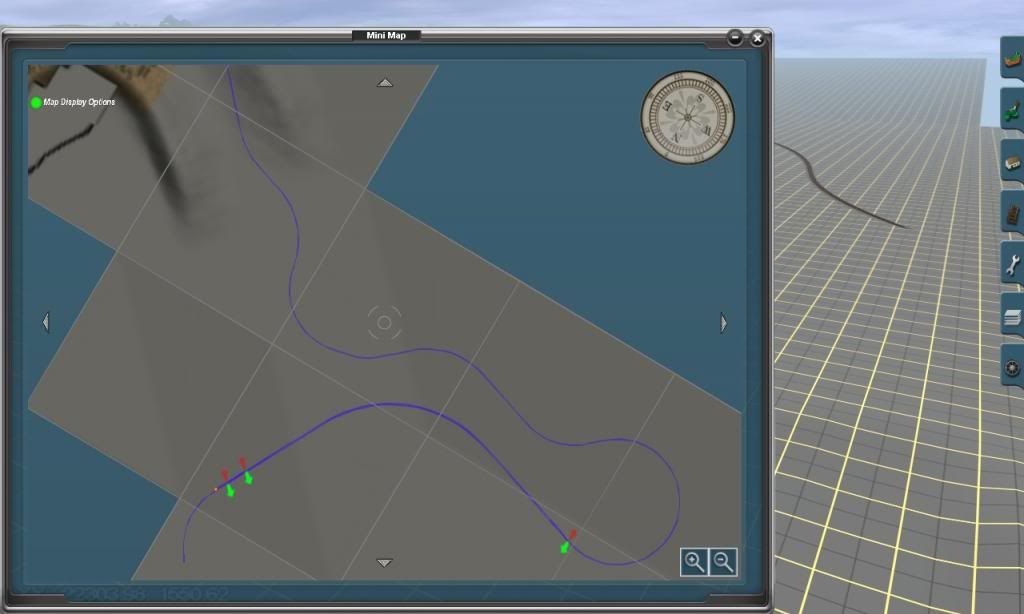
Which order to build a route in?

Hello, all. I've been building routes for years, but never been 100% happy with them. I'm just wondering, in which order do you build routes? I always end up messing it up :eek:
 
A great way to mess up a DEM is to press the "Smooth Spline" tool button, an deform the terrain. I always wait till months down the road to do so.

I always look staright down when laying track, and use wireframe mode, (dialing the time of day till the wireframe grid is a light chocolate color) and lay all my track and switches.

Clutter up an unfinished route with oodles of buildings, grass & trees (this is called fluff & filler).

If the track ain't right ... the route is all wrong !
 
Thanks for the tips! So, you lay all the track first on a flat baseboard and then make it the correct height and then raise/lower the terrain afterwards? :)

Jack
 
For what it's worth, I build a route in the order in which it would have been built if it was a real one. So, the first thing I do is to block in the terrain and water--lakes, oceans, streams, and rivers. Then I lay out where towns older than the railroad line were located. Then I locte the railroad, using the principals used at the time--as flat as possible, and as straight as possible; bridges, cuts, fills, and tunnels only when there is absolutely no other option.

Some of this design process may be on paper, preceding the actual route building, but I generally always follow the same process in designing a route.

ns

I use a similar method as I find this keeps the railroad on a realistic course.

I also use DEM maps and lay my own rail lines where none existed before using the same methods. I put in road crossings, whether over or under, where they are located on the map image, and I work the tracks around the hills and other obstacles while keeping the line as flat as possible. In the end the results are quite convincing.

Now, depending upon the size of the route, you may consider finishing up sections at a time rather than just laying tracks then going on to the next step. The reason why I say this is it will vary your work and keep the project interesting. It's also a nice diversion to take a ride on the finished parts and see what they look like before continuing on the next section. This is also a good time to proof the section for stupid things like trees in the way, floating buildings, roads, and other oddities that become more difficult to find once the route is complete.

John
 
For fictional routes: I look at real world places, get inspired, then draw out the plans on paper; from trackwork to stations, signals, roads, bridges and industries to general elevation. Other times I just build whatever I feel like, so long as it looks realistic and operates logically. Oftentimes the terrain may not or cannot exactly match what I've drawn, but with some fudging everything always works out.

I try to fully complete each section - which may be a couple of boards or a specific area such as a yard - before moving on to the next one. This includes all scenery, industries and track infrastructure like signals, trackmarks, switches and their frogs. This effectively breaks the route down into many easily manageable "bite sizes".

Cheerio,
Nicholas
That is exactly how I do it as well, I tend to take a section(say 3 baseboards in length) and finish everything in that area so that it is fully operable before moving on, otherwise you end up with a route in so many different stages of construction you easily get lost, confused, and burnt out as to where to work.
 
@mjolnir That's a good technique. I try to do it like that too, but I always end up making hills too high for the scenery and things like that :(

@JCitroen DEM Maps are a great idea for real routes but not very good for made-up routes :( my main concern is that if I create the scenery first, it causes problems when laying track and bridges etc... If I create a baseboard at a time, I end up with problems at the interface between baseboards if there are hills because it makes the whole hill look like a fault line is passing through it. I guess I just want to be able to create good scenery. I have a steady hand, it's just being able to lay terrain just above or below the track height. I sometimes use a road spline and then use the Smooth Spline button, then delete the road to create small hills. I don't know whether this is a good technique :hehe:

Edit: @nicky9499 and Gandalf0444 I think it's a good technique. I may start creating a route station by station, and doing everything in that area done. I'd say I'm quite good at the actual designing of things, it's the putting it into place. Mainly hills. I was creating a route last night through some normal British hill terrain and it looked more like an American mountain scene, the hills were that big and steep :')

Jack
 
Last edited:
The terrain tools in Trainz are pretty primitive. In the real world most elevation changes are usually very gradual and gentle, especially when we're talking about terrain that a railroad traverses. Therefore in most cases you should use the lowest power setting and largest area setting when moulding your world. Do not hold your mouse in any single location, instead keep moving the cursor around in a circular rubbing fashion. For minute edits at smaller area settings, try tapping the left mouse button until you achieve the desired form.

As for the fault lines, the simple solution is to not build your hills right up to the edge. Leave about half a baseboard and let the last hill you made gently return to ground level. This way when adding new baseboard your terrain is not abruptly cut off.
 
Agreed! A terrain gradient option would be excellent. I always have the sensitivity on about number 2 but I think number 1 would make it look a lot more realistic :) I guess I just need to take my time a little bit more when it comes to making accurate terrain :)

Thank you for the tips!

Jack
 
Hi
That's an important point that nicky9499 makes about the speed of raising the ground. Anything below a slow setting will make the hills look as though they have come out of jelly-moulds!!!

Another point is that when your terrain looks about right but still with a few blemishes, set your tool to the smallest possible diameter and slowest possible speed and adjust up or down one square at a time - a bit tedious but well worth it.

Good luck
Alan
 
Ooh okay, cheers for that! I do that occasionally but my game/laptop doesn't seem to be able to cope with small adjustments like that :hehe:
 
@mjolnir That's a good technique. I try to do it like that too, but I always end up making hills too high for the scenery and things like that

@JCitroen DEM Maps are a great idea for real routes but not very good for made-up routes :( my main concern is that if I create the scenery first, it causes problems when laying track and bridges etc...

... <snippage> ...

As far as causing problems when laying track and bridges, it might be useful to remember that the engineers who build real railroads don't have any choice to address these issues. As far as hills to high for the scenery, those who developed most of the routes I've investigated don't seem to have a good eye for the actual height of the scenery. Their scenery generally seems to be too short.

ns
 
This may seem obvious, but a good way to create convincing slopes is to use wide road splines top to bottom. The slopes can be varied by shifting the spline ends or by adding extra points and varying their vertex height. I find this way more effective than using the elevation tools. Remember to use shading to augment the effects.
 
This may seem obvious, but a good way to create convincing slopes is to use wide road splines top to bottom.
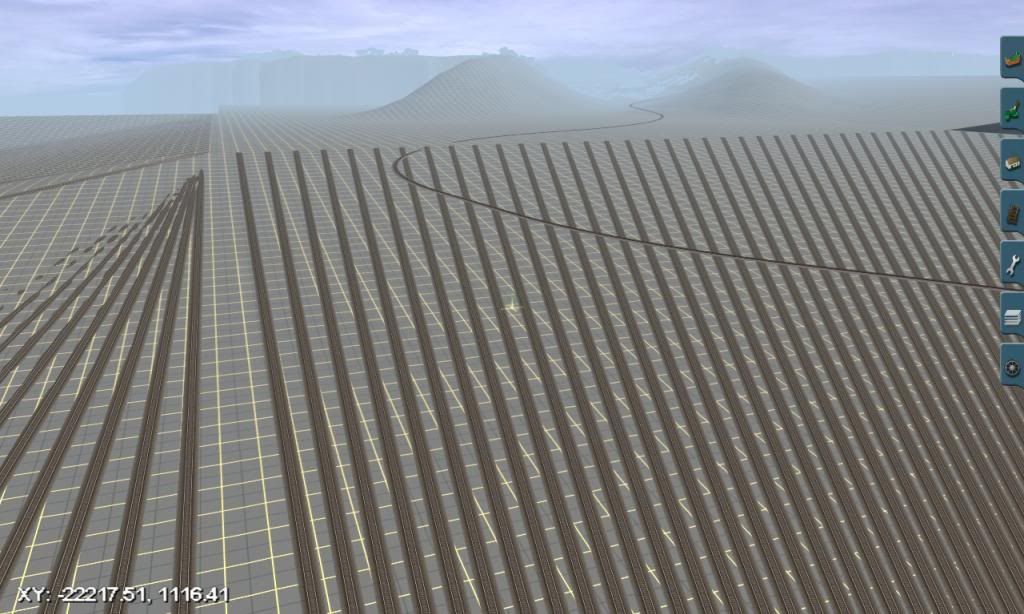
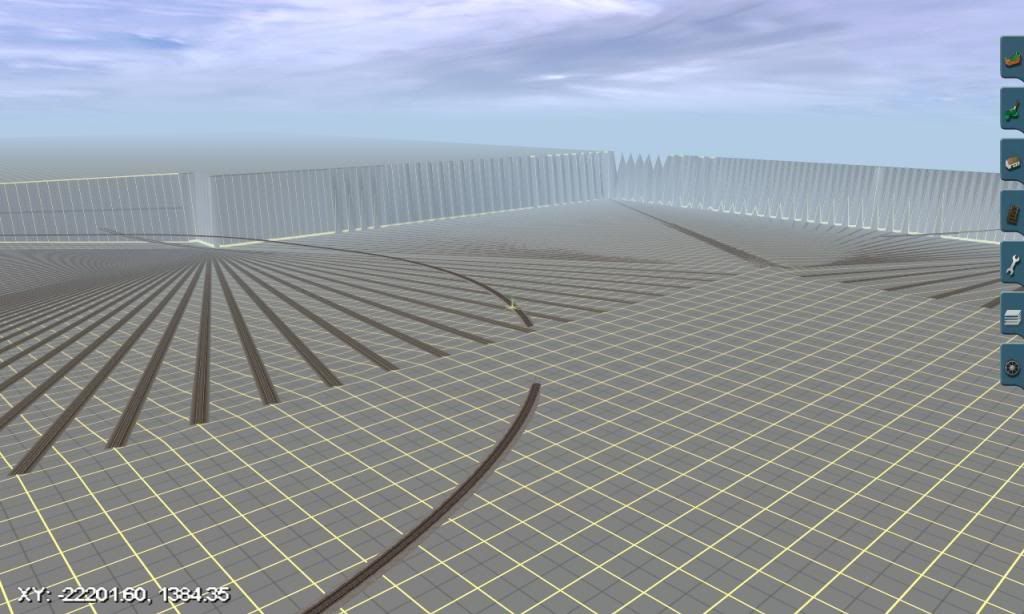
Yup...about right.


For higher elevations where it may be impractical or excessively time consuming to raise terrain from zero, creating an artificial "base level" to work on saves alot of time.
 
I have actually given this a go in the past but I didn't think it would give good results, but seeing your photo's it's clear that if done right, it can look great! Thank you for the advice! :D

Jack
 
Well I don't build routes but I use other people routes and make changes to them for MP routes.
Now the two thing I do is change the radius of the junctions.(this is done in tracks under track marks)in the advance there a part that said 20.00 in blue
click on this change this to 00.05 then click the apply bottom then click on the junction(s). you will be able to change the junction as soon as you pass it not no car an a half.
I do this at all junctions in yards and places where one has to do a lot switching.
(two) I name my industry accordingly to what they do.(coal load ____ coal mine, coal unload____ power station)These will show up in your drive to or Nav.to commands.
This makes it easy-er for people to fine there way around your route and they will know where to load products and where to unload them.
 
Back
Top