Next set
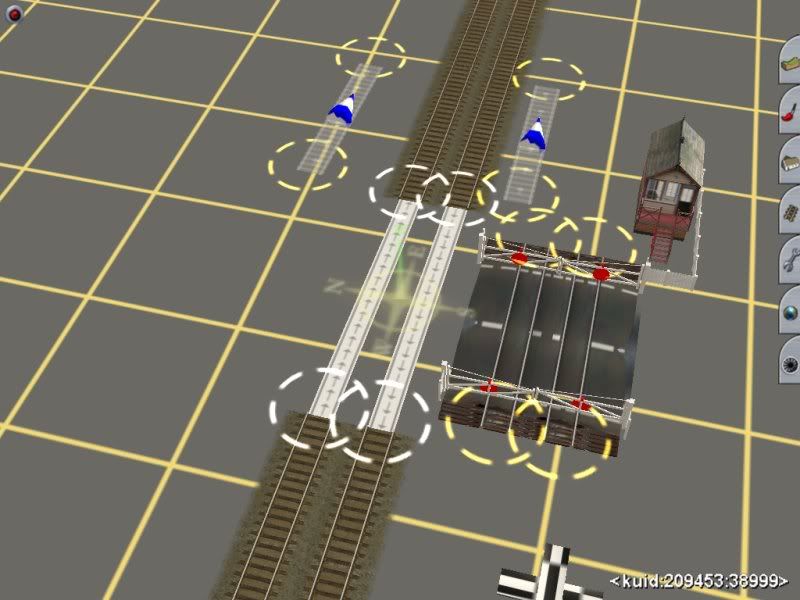
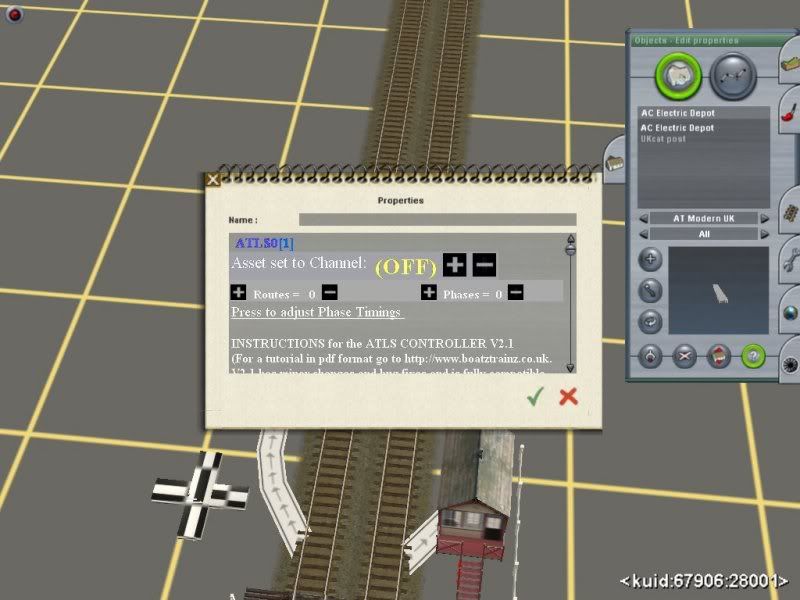
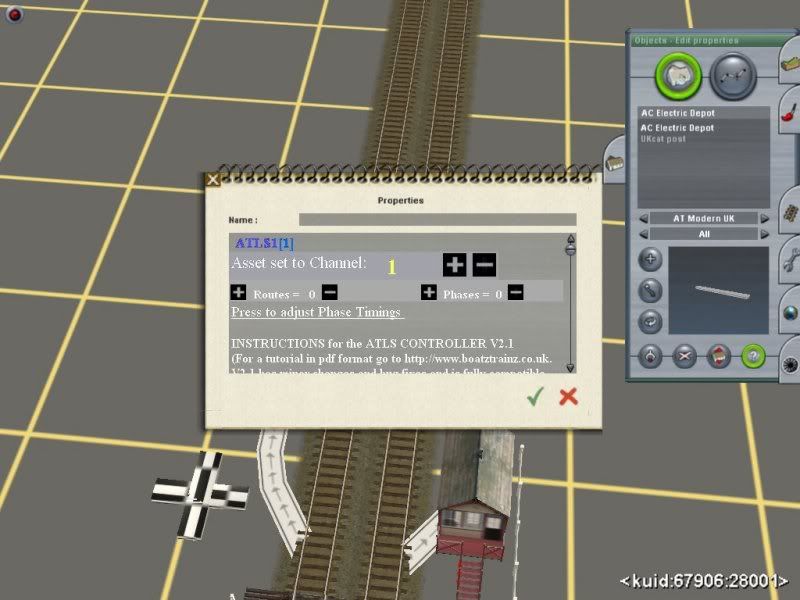
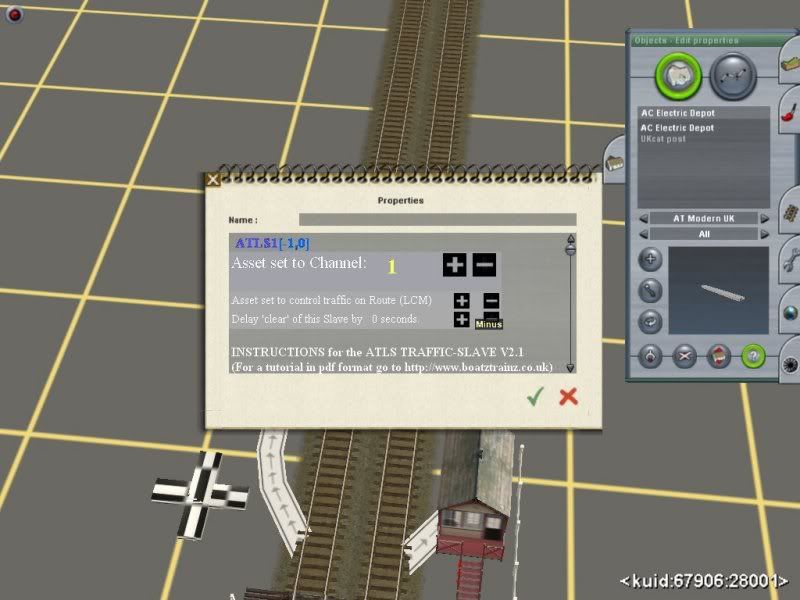
Click the BIG plus sign which sets the Controller to Radio frequency 1. You must set all components to this number for this crossing. The next crossing/bridge will be 2 and so on.
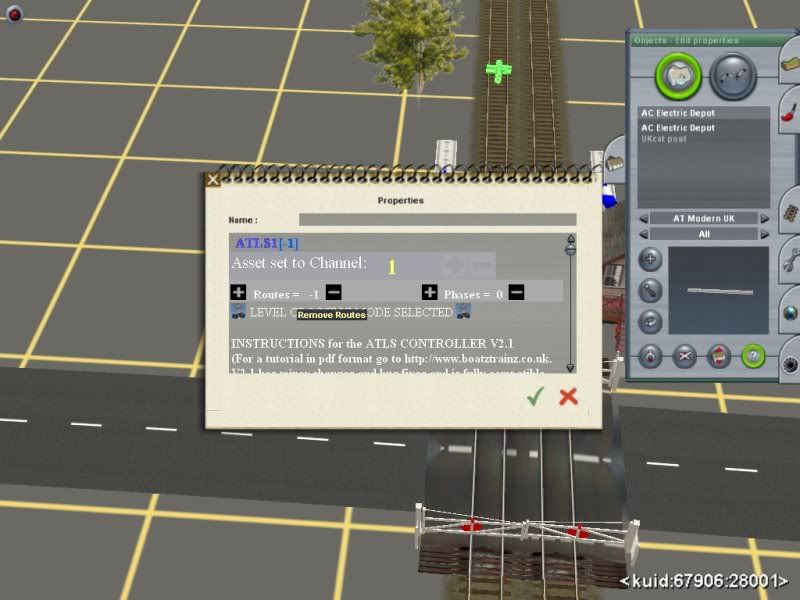
Now click the SMALL Minus just about my little line 'Remove Routes'. This selects Level Crossing Mode. Job done on this asset.
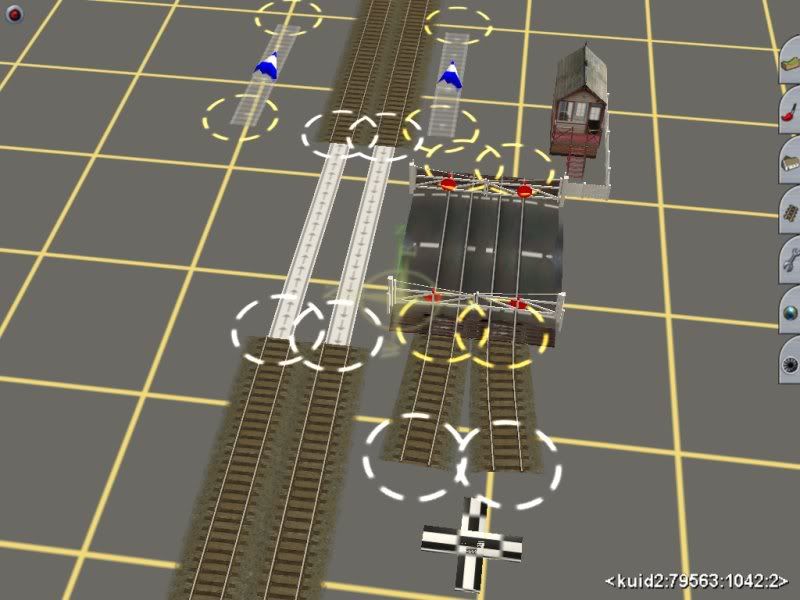
This is the Slave you connected to the crossing, well one of them but both are set them same. Again click the BIG Plus to set it to 1.
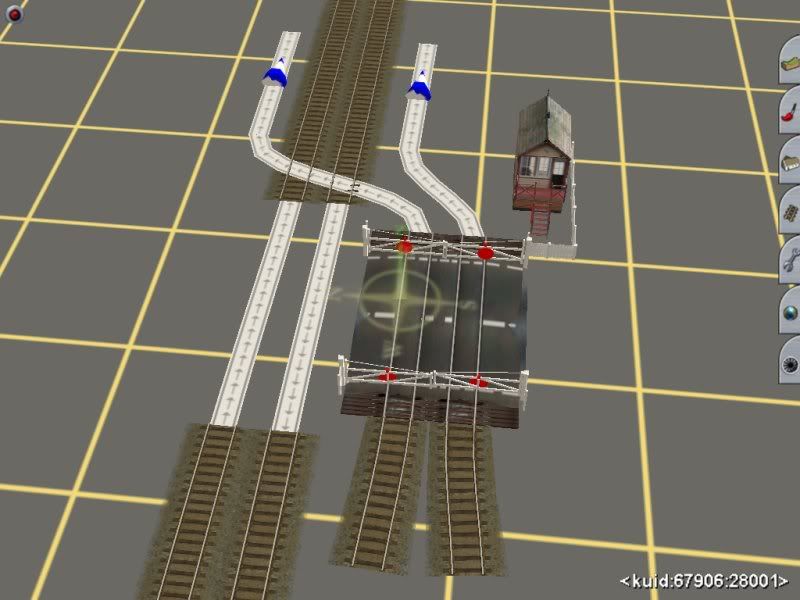
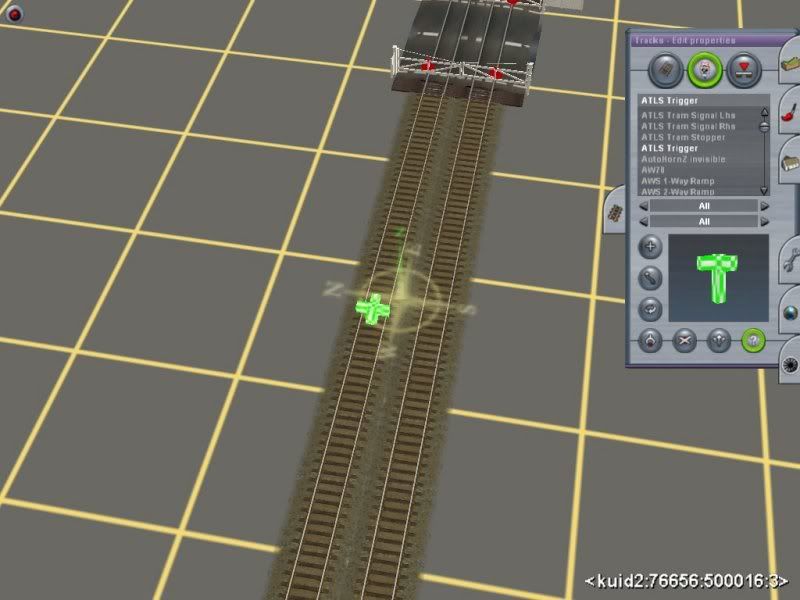
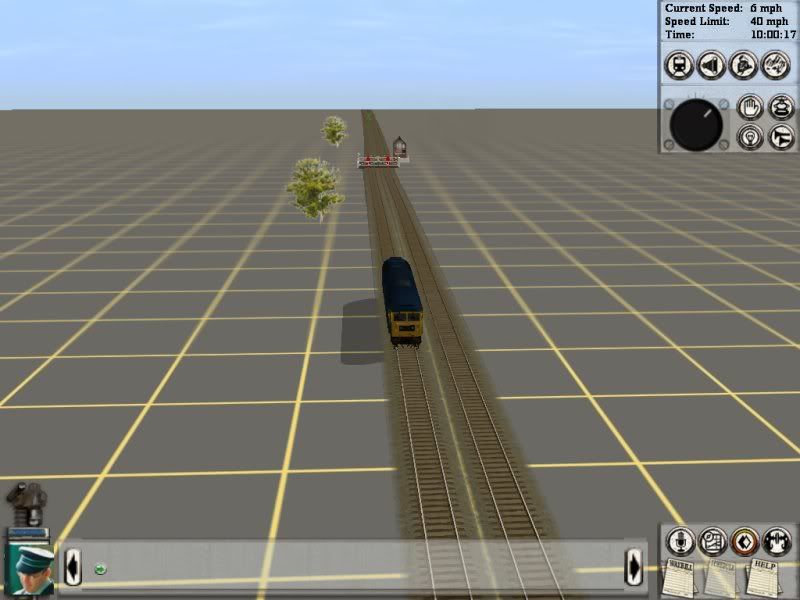
Now go find the Triggers, they are in the track menu centre section where the signals and stuff are kept. Place one on the track BEFORE the crossing on the left (just for instance).
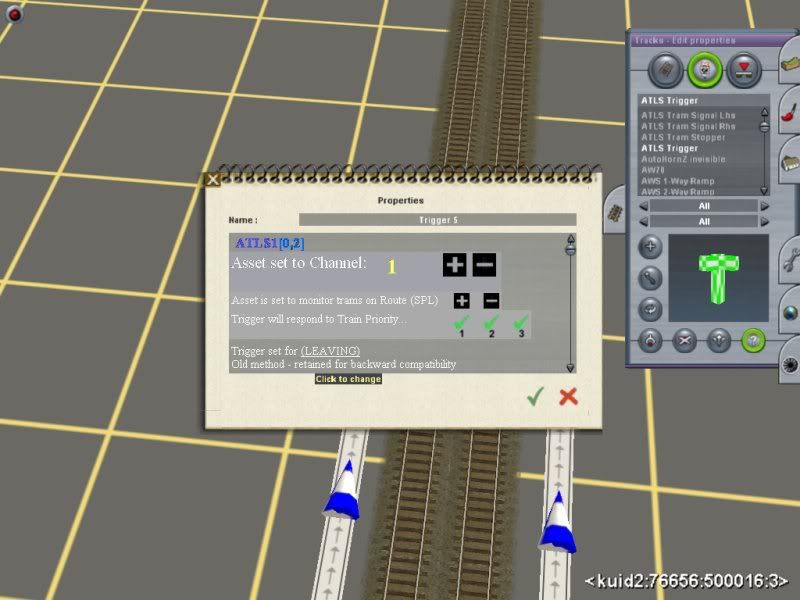
Choose the ? button again and then click the Trigger for this menu.
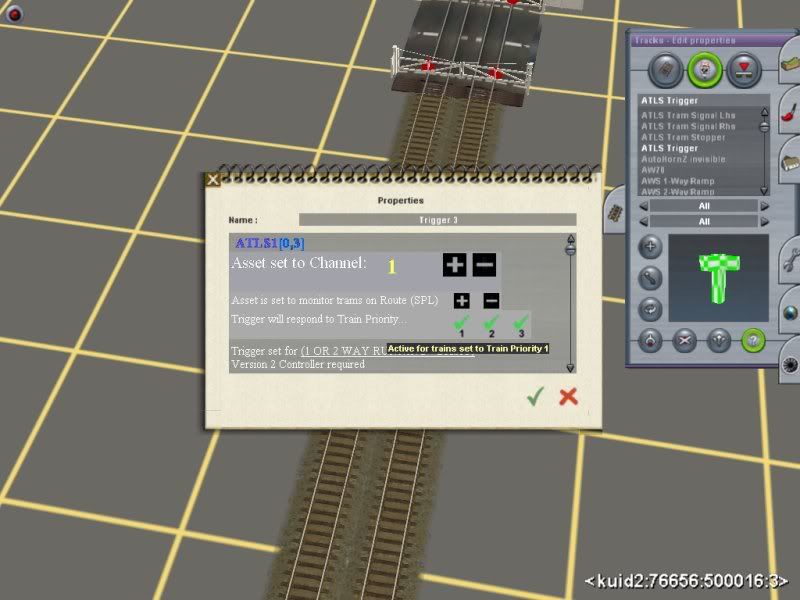
Again use all your might and click the BIG Plus to set this unit to 1. Note that under this on the other plus/minus line the top line is set to (spl), this is correct for crossings/bridges.
Move down to the line 'Trigger set for' and click the part in brackets until it says 'Arriving'. This then will sense the train and open the gate for this crossing set to Radio 1.
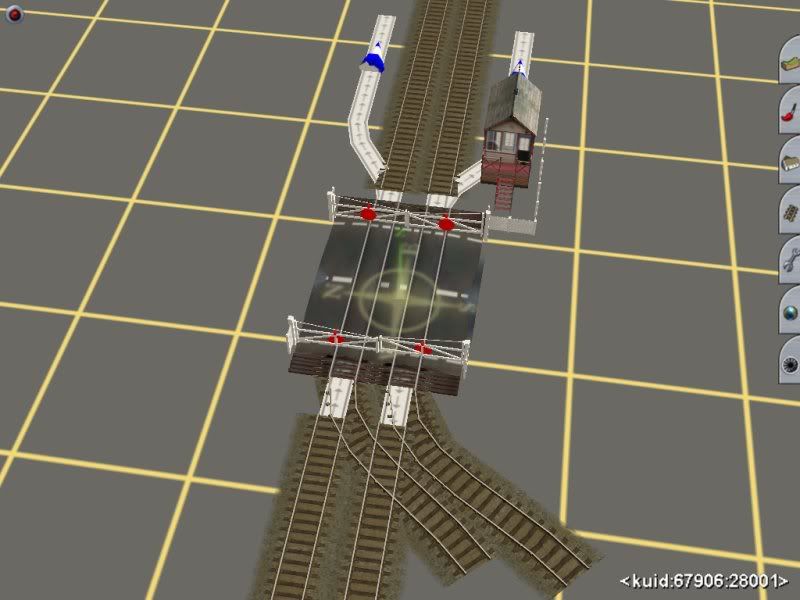
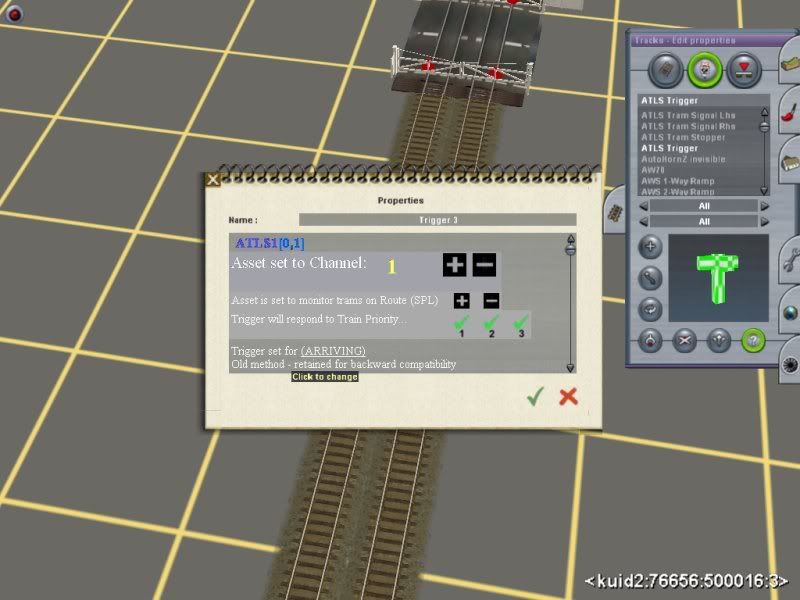
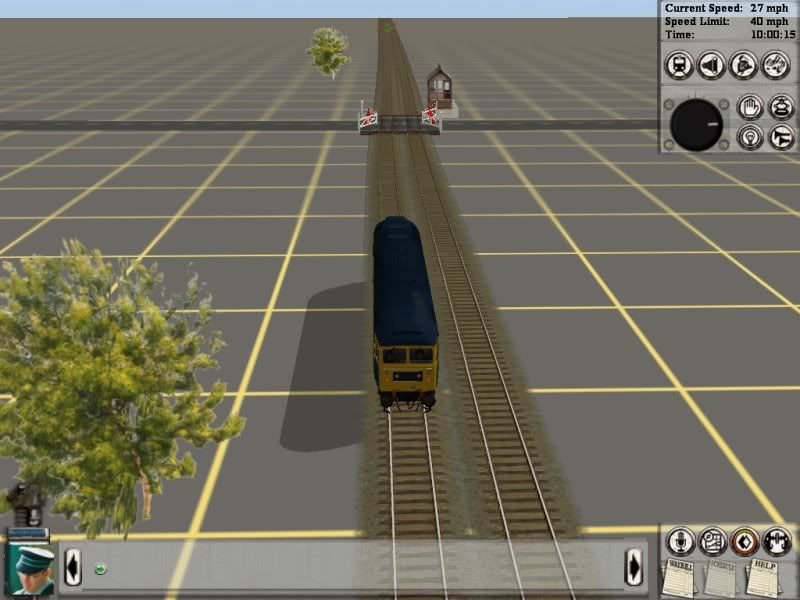
Place another trigger after the crossing, set the Radio to 1 and then click the lower line again until it says 'Leaving'. This senses when the train has passed and will close the gates.
Do the same the other side track but round the other way, the Arriving trigger will be besdie the Leaving trigger you have just edited.
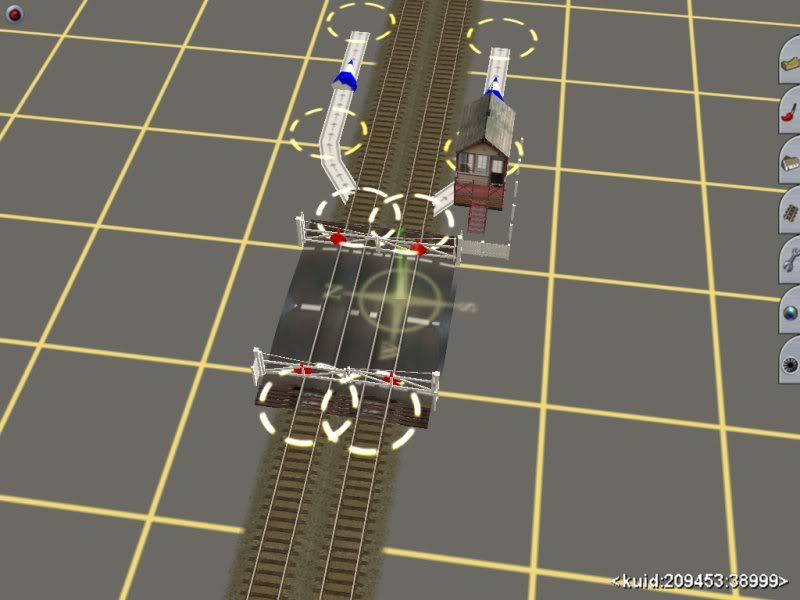
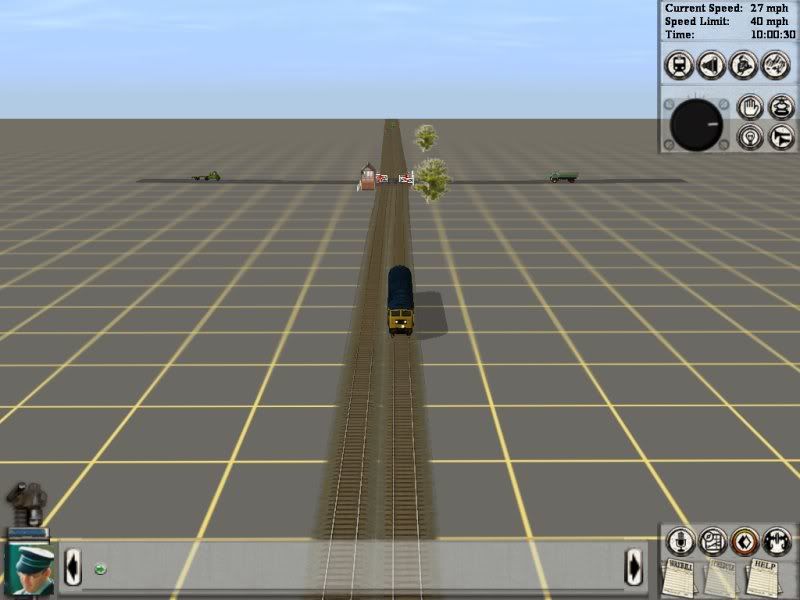
The crossing completed.
Thanks to Photobucket yet again...
A bit more to come.
Angela


")
 )
)")